The Mini 4 Pro adds the possibility to take Quickshots with the three color profiles, making it an interesting tool for videography, handy in many situations to reveal the landscape around a landmark, quickly gather cinematic footage of an unknown location, or for real estate videography
QuickShots is often considered a feature for beginners, to take elaborate selfies with friends, or for vlogging
Let’s see how it works in the Mini 4 Pro, as there are a few differences compared to how it is implemented in previous models
You can check the prices for the different configurations of the Mini 4 Pro through the button below (commission earned)
At the end of this article, there is my video about this topic for users who prefer to watch rather than reading
Other related articles you may find interesting:
- How to use MasterShots with the Mini 4 Pro
- Point of Interest with the Mini 4 Pro
- Spotlight with the Mini 4 Pro
- Active Track 360 new version
- Mini 4 Pro Video Quality
- Mini 4 Pro Camera Settings for Video
- Mini 4 Pro video color profiles
- Mini 4 Pro Photography review
- Mini 4 Pro Waypoints
- Low-light footage and Night Mode
Quickshots Settings
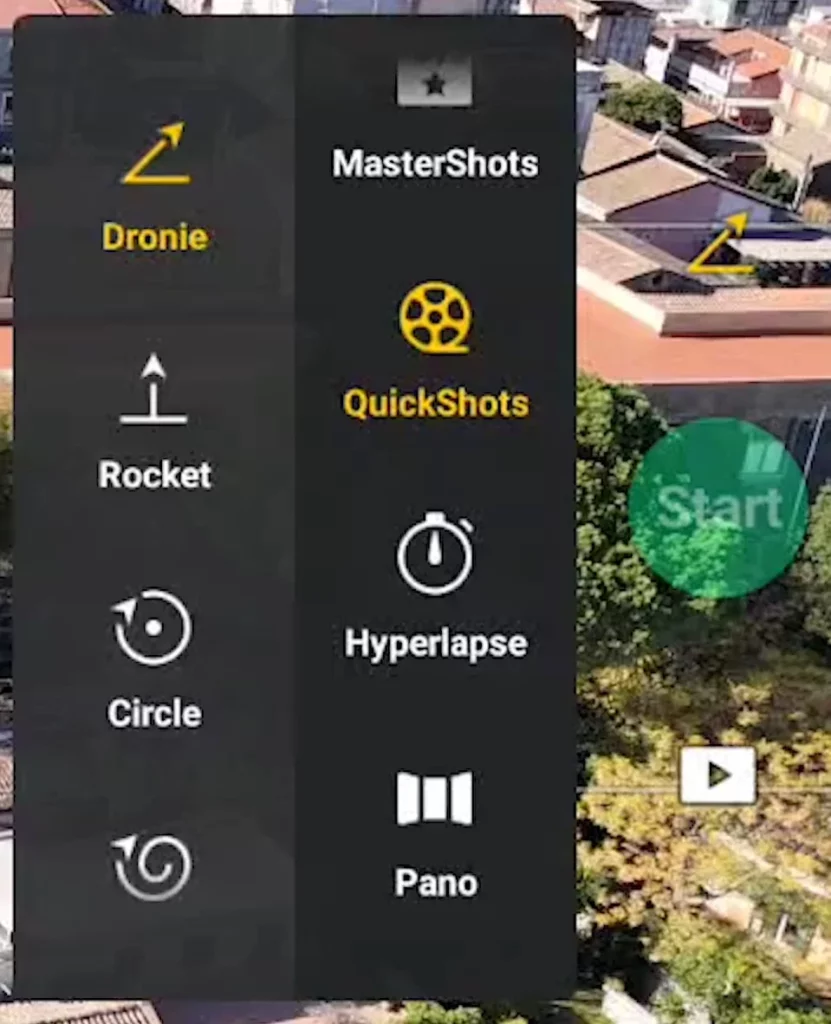
On the Photo/video menu above the shutter, after choosing Normal, we find the icon for Quickshots below Mastershots

In the vertical menu to the left, the different modes are listed:
- Dronie
- Rocket
- Circle
- Helix
- Boomerang
- Asteroid
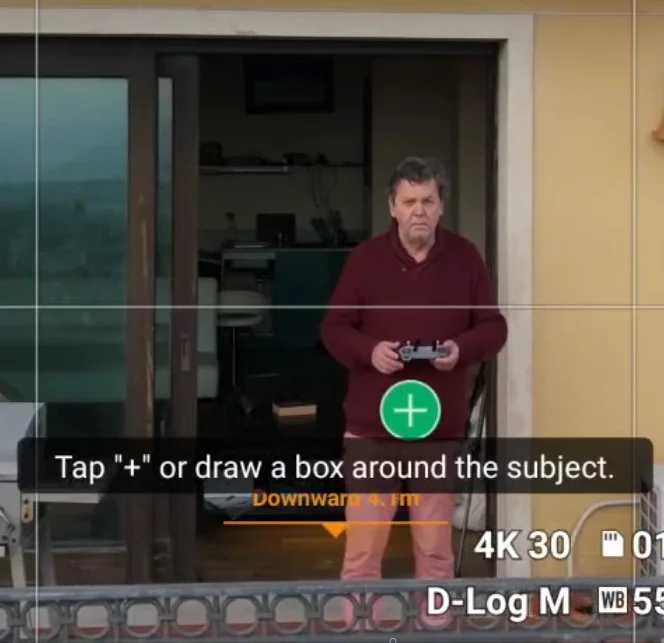
After choosing one of the six Quickshot modes, a target must be selected by drawing a box around it

If people or vehicles are on the frame, a plus sign will be overlaid and we can select them as targets by simply tapping on the plus sign
During the different Quickshots the sticks of the remote controller are not available, if we touch them the move will be aborted. Another way to stop the aircraft during a Quickshot is to hit the left button of the remote controller, this is useful in case of danger
After completion of each move, the aircraft returns to the initial position, which is useful if we want to try a different shot or play around with different values for the same Quickshots
Exposure Settings
It is possible to choose between Auto or Manual exposure, which is excellent
I suggest using manual exposure, as during the different moves the light intensity may vary considerably and this will lead to unwanted shifts of luminosity when using Auto exposure
For best results, I suggest avoiding the middle hours of a sunny day, as the differences in luminosity are severe and the shadows too harsh
It is better to use this feature after sunrise, before sunset, or with the sun covered by clouds to reduce the shifts in luminosity and for softer shadows
Resolution and Frame Rate
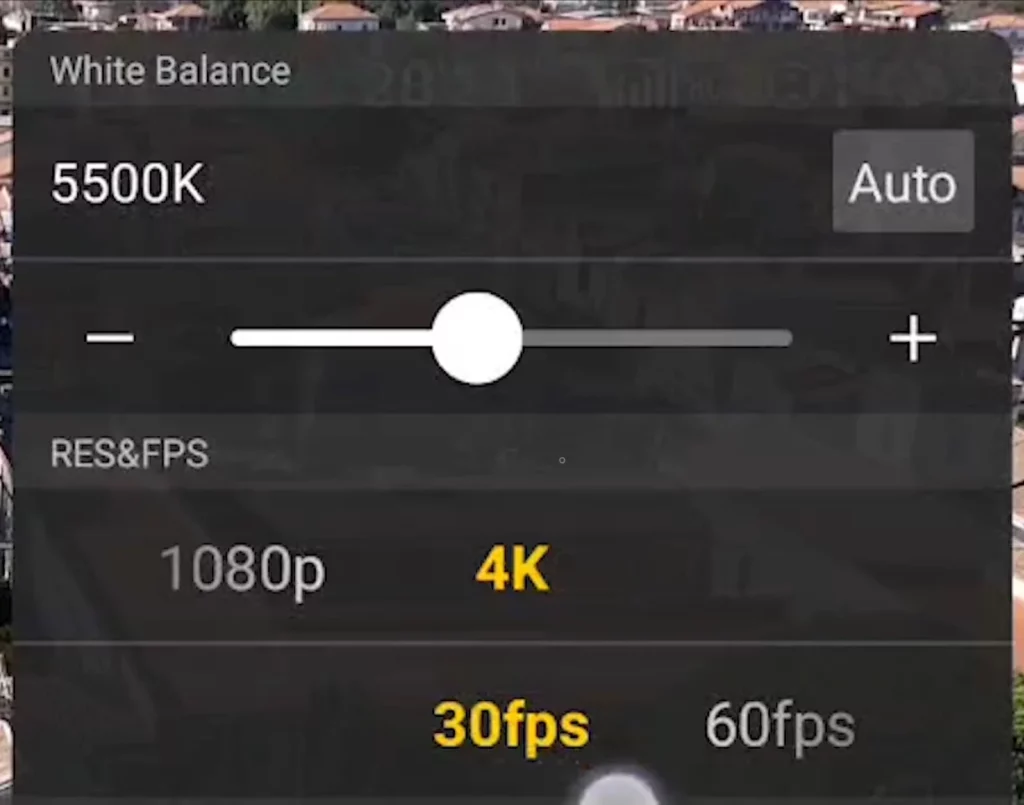
We can then choose the resolution between 4k and 1080p. In the Mini 3 Pro, there was also an option for 2.7k, but I don’t I have ever used it

4k has become the standard and I suggest using it all the time, although 1080p can still be used if file size is an issue
Regarding the frame rate, it is now possible to choose between 30 and 60 fps, to apply some slow motion, while with the previous model only 30 fps was available
It would be better to add the widely used 24 fps, but it is not a major issue
White Balance and Color Profiles
At the top of the window, we can set the White Balance. Manual mode is the way to go, as auto mode causes serious shifts of colors when the luminosity changes

With the Mini 4 Pro, it is possible to use Quick Shots with the three different color profiles, Normal, D-Log M, and HLG, while with the Mini 3 only the 8-bit Normal can be used. Please refer to my in-depth review of the color profiles of the Mini 4 Pro
This is an important new feature for professional users, as it makes it easier to adapt the clips to the specific color scheme of a project
Vertical Format and Tracking
Quickshots mode works exactly in the same way in vertical format. This is great news for users who have a social media strategy on platforms like Instagram, Tik Tok and YouTube shorts
Most of the Quickshots have some capability of tracking a moving target, as long as the movement is not too fast. Helix and Boomerang can be interesting for following someone walking and for vlogging
Quickshot Modes
Dronie
After selecting the target, a small window appears in the lower part of the screen in the middle to select the distance of the aircraft from the target during the shot
The values go from 30 mt to 120, lest start with a short one of 40 meters
After hitting the green shutter the aircraft moves away from the subject while ascending, it is a perfect move for the ending of a movie
It is better to choose a very low value when filming people and a much higher one to show the surroundings of a landmark
40 meters is not enough to fully appreciate the surroundings. This is the result when choosing a distance of 100 meters, which gives a much better idea of the location
It is also possible to reverse the move while editing to punch into a subject from a wider view
Rocket
The drone ascends and advances while keeping the camera on the target, the move ends above the target with the camera pointing down for a bird’s eye view. It is practically the crane move, a classic in videography
I use this move very often and it is handy to show a landmark or for real estate videography, but it is not a simple move to execute manually. Using Rocket the move is always perfectly smooth
In the settings, we can select the altitude, from 30 meters to 80
It is often interesting to invert this move while editing, starting on top of the target and moving backward and downward to reveal the background. It often works well, unless when cars or people walking are in the scne, as they will move backward
The recording stops at the top of the move. It would be handy if it kept going during the second part when the aircraft comes back to its initial position. Then while editing we could choose to use the regular move or the reverse one
Circle
Circle is a very simplified version of the intelligent flight mode Point of Interest
The aircraft rotates around the target at a constant distance and height from the target. We can only set the direction using the yellow arrow
I don’t find this option interesting as with the intelligent flight mode Point Of Interest we can do the same thing with several extra options like using the two sticks of the remote controller to get closer or further away from the target
Helix
Helix is another excellent way to reveal the surroundings of a scene
The drone orbits around the target while rising in altitude. We can set the direction of flight and the maximum Radius from 10 to 120 meters, a slightly wider choice than the one available with the Mini 3
If we start from a relatively high elevation we might get an error message on screen, as we could reach the maximum allowed altitude
Boomerang
With this mode there is no control over the movement, only the direction of flight can be selected
The drone flies away from the target while rising in altitude and then comes back on the other side of the target returning to the initial altitude. It draws an oval around the target
This is not an easy move to perform manually and it is an excellent one for real estate to showcase a property
Both Boomerang and Helix are quite slow and it would be beneficial to have some control over the speed of the move. It is possible to speed things up in post-production, but moving subjects like cars, people walking or waves will look unnatural
Asteroid
Asteroid is available only at a resolution of 1080p
It is good fun to show it to friends who have not seen a tiny planet before or to post it on social media, but it is not useful in videography
It is suggested to start at a low altitude to avoid hitting the maximum value, in which case the QuickShot is aborted
