
The Mini 3 and 3 Pro are excellent drones both for video and photography. There are some common mistakes to avoid and best practices to be aware of when starting to use these models, to avoid unnecessary risks or to get better results with your footage and photos
More useful details can be found in my articles:
- Mini 3 Pro Guide for Beginners
- When and how to do the required calibrations
- Fly over water with the Mini 3 Pro
If you prefer to watch this as a video, you will find a link to my YouTube version at the end of this video
1 – Obstacle Avoidance
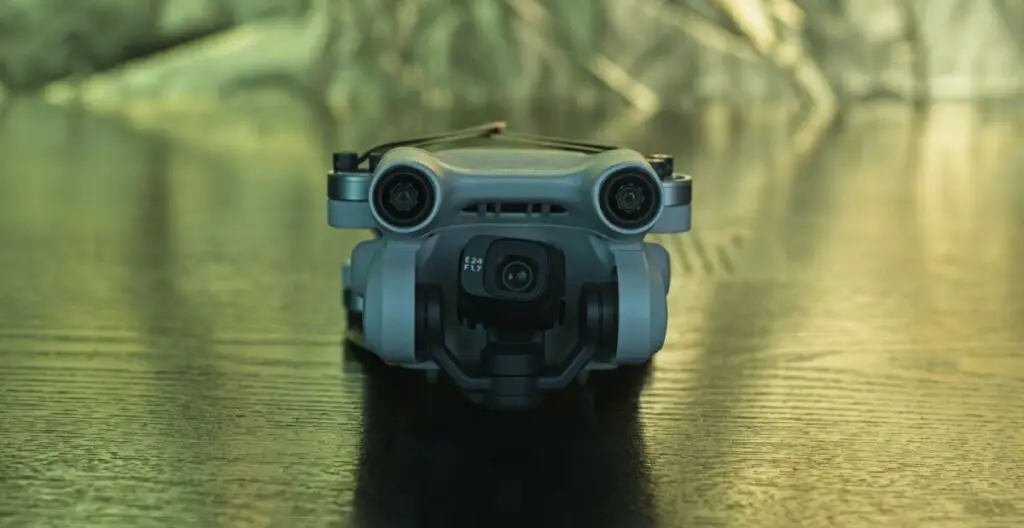
The Mini 3 doesn’t have any obstacle detection sensors and this is one of the main differences between the two models
A lot of care is needed when flying: always maintain a reasonable distance from obstacles and avoid very low flying
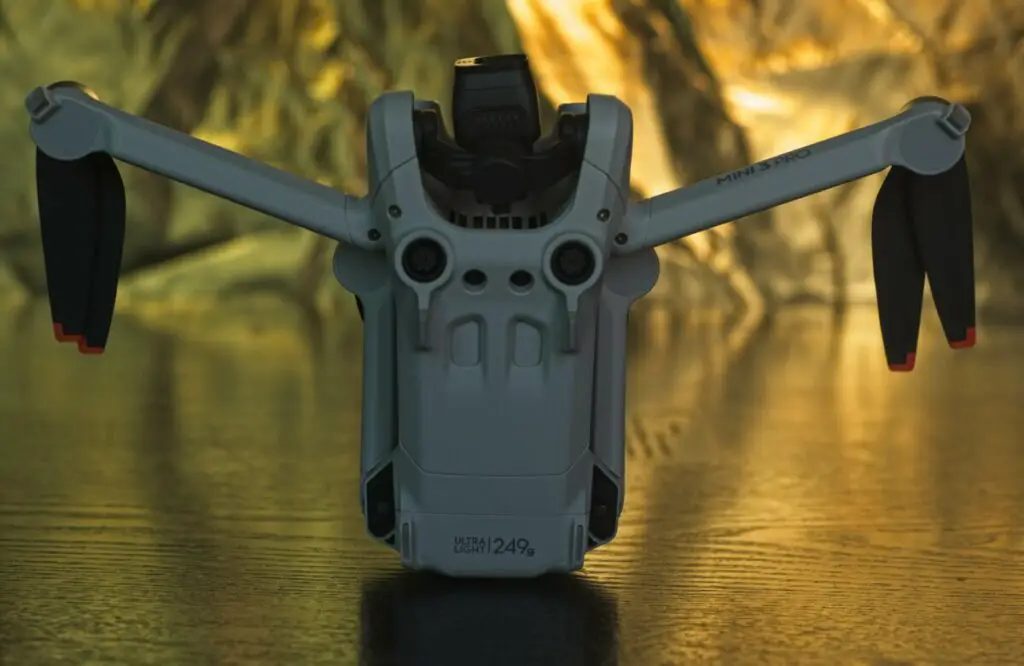
The Mini 3 Pro has a tridimensional obstacle avoidance system with sensors in the front, back, and bottom. It is possible to turn it on in the settings and to choose whether the aircraft should stop when encountering an obstacle or try to find its way around it
I use the obstacle avoidance system a lot, it has saved my drones from crashing on countless occasions. But some care is still needed when flying, as the system is not omnidirectional
The Mini 3 Pro lacks sensors at the sides and at the top, therefore it is not protected when flying sideways or upward. I would only suggest using it for close-distance tracking in areas free from obstacles
When circling or tracking it is suggested to maintain the aircraft above all obstacles and maybe use the zoom function to get closer to the action
The obstacle sensors of the Mini 3 Pro work remarkably well, but cannot be fully trusted with wiry obstacles like bare branches and cables. The obstacle sensors are not active when flying in Sport mode
More details in my article about the Obstacle avoidance system of the Mini 3 Pro
2 – Flying in Strong Wind
Even though the Mini 3 and 3 Pro are more powerful and have better aerodynamics compared to the Mini 2, they are still lightweight models below the important threshold of 250 grams and don’t have the same wind resistance as bigger models like the Air 2s or the Mavic 3
Always check the wind conditions before flying. In case of medium to strong wind, if I decide to take the chance, I always start the session by flying into the wind
If the drone can only advance very slowly, I can still return to the home point and land
If I start flying with a strong tailwind, the aircraft will quickly get very far from my position and I might be unable to bring it back home
When trying to bring the aircraft back into a strong wind it helps to lower the altitude and fly closer to the ground where the wind is less severe
A useful tool to check the wind condition at a high altitude is the Attitude mode in the Radar Map, as explained in my in-depth article
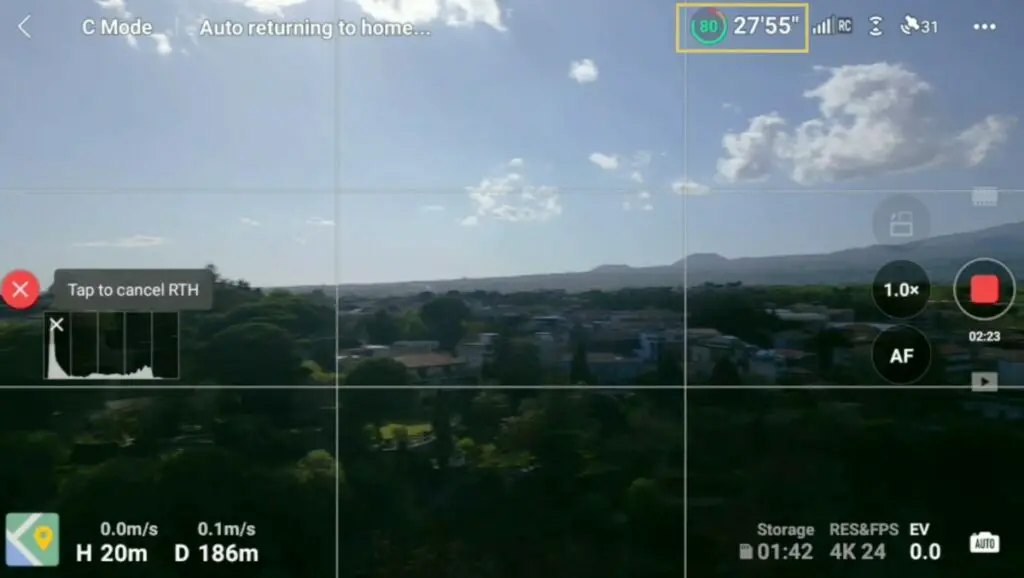
3 – Return to Home
Many users wrongly believe that when hitting the RTH button, the aircraft will return to the position of the remote controller, but this is not always the case
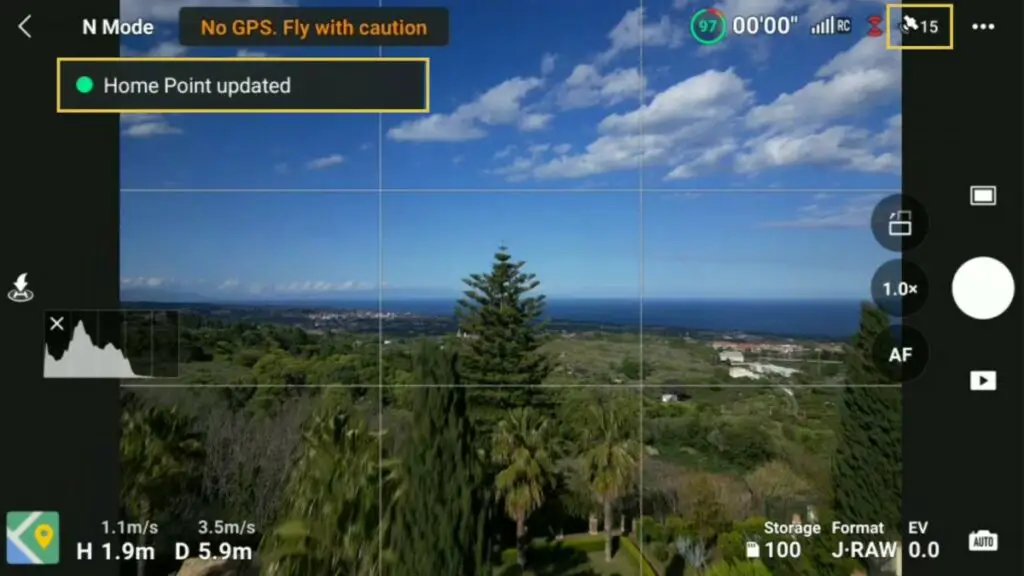
The Return To Home point is set after the drone’s connection to the different satellites. It is generally quite close to the position of the operator unless the drone started flying before the home point was set
Suppose the operator is moving during the flight, for example, on a car, a boat, a bicycle, or trekking, in case of return home
In case of a Return To Home, the aircraft will head toward the point set at the initial position, which might be very far from where the operator is currently, even in the opposite direction
This may be dangerous, especially if there is little battery life left
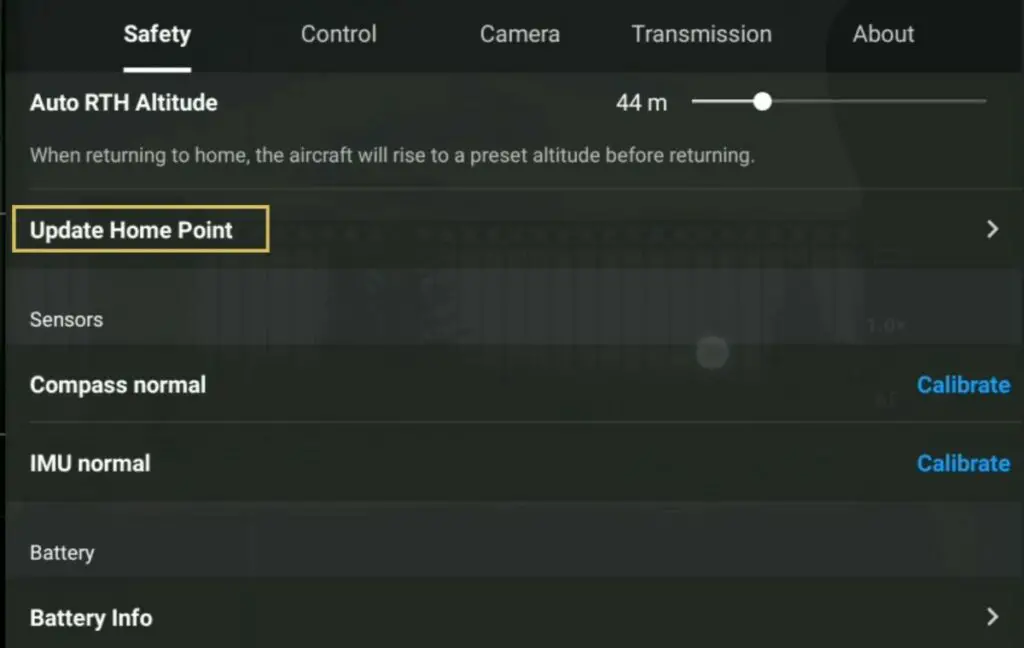
In the Settings, it is possible to update the Return To Home point to the position of the controller. It is recommended to do so when the operator is moving while the drone is flying
In the Safety tab of the Settings, it is possible to select the Auto Return to Home Altitude
The aircraft will rise to that altitude before flying toward the home point. Once the home point is reached, it will start descending
It is important to set the RTH altitude above all the surrounding obstacles, but not too high, as it will take time to ascend and then lower the altitude for landing, this can be dangerous when battery time is short
More info can be found in my article How to find find a lost drone and how to avoid losing it and in this other one: Return To Home with the Mini 3 and 3 Pro
4 – Control the Battery Level Before Flying
After charging a battery, the full level is kept only for a couple of days, after that the charge goes down to about half, to preserve the battery
When taking off it is better to check the battery level instead of assuming that it is fully charged to avoid bad surprises. Running out of battery is one of the most frequent causes of drone crashes
5 – Flying a Drone Over Water
The Mini 3 and Mini 3 Pro, like the majority of drones, are not waterproof. They can only stand very little rain for a few minutes. Salty water is particularly harmful so it is important to avoid splashes from sea waves
The downward sensors don’t work properly over reflective surfaces, they cannot be trusted to prevent the drone from entering the water, and even the altitude shown on the screen is not always accurate
I avoid flying close to the water’s surface and carefully monitor on the screen the distance of the aircraft from the waves
6 – Manual Exposure and White Balance
When shooting video beginners tend to use automatic exposure. There are many reasons why it is important to get used to manual exposure as soon as possible
With auto exposure, luminosity variations in the scene cause a noticeable progressive brightness adjustment in the resulting clip. This is one of the most obvious signs of amateur footage
These variations of luminosity are much more pronounced when filming in the central hours of a sunny day, which I carefully avoid whenever possible
Other situations involving changes in the amount of light in the scene are when rotating the camera progressively towards the direction of the sun, or when tilting the gimbal up from a downward position to include the sky in the scene
To avoid unpleasant shifts of luminosity I carefully plan the shots in advance
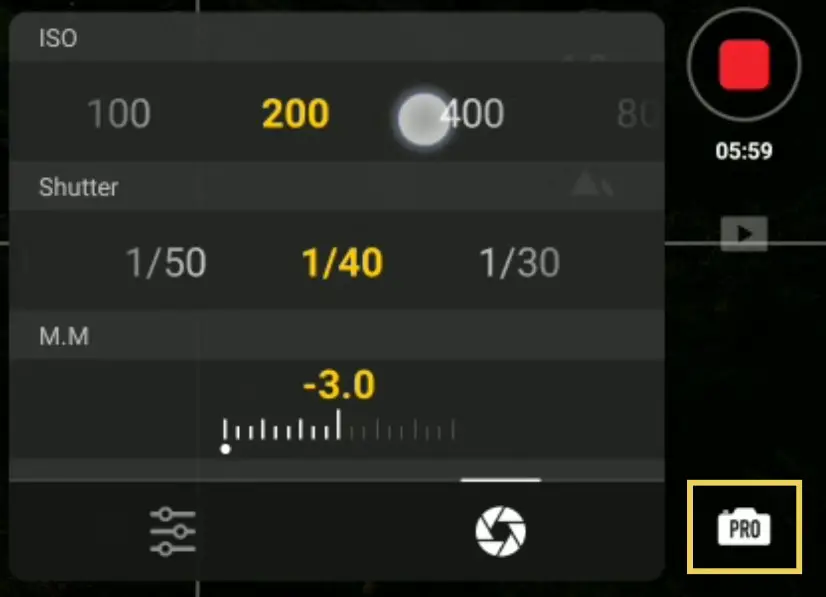
The first thing to do is to set the exposure to manual (Pro mode). When filming around sunset or sunrise or with the sun covered by clouds the changes in luminosity will be reduced to the point of not being noticeable
Avoid turning the camera towards the direction of the sun during the same clip
When planning a shot tilting the camera up from the ground to a position including the sky, it is suggested to optimize the exposure of the sky to avoid burning the highlights
It will be possible to raise the shadows while editing if needed
Auto White Balance is to be avoided when shooting footage, as it may lead to shifts in color when the luminosity changes. It also makes it very difficult to adjust the colors while editing
Check my article Camera settings for video with the Mini 3 Pro to go deeper into this topic
7 – Avoid Flying Indoor
When flying indoors, the GPS signal is unavailable, the drone drifts more than usual and the sensitivity to the sticks of the remote control is lower
Flying indoors should be done only by experienced users, with a lot of attention and possibly using propeller guards
8 – Plan the Moves in Advance
Another beginner mistake is constantly modifying the flying direction and the camera angle during a clip
For cinematic footage, better results are obtained by planning the shot and making a continuous smooth move while maintaining the same direction
The Pro model has the excellent intelligent flight modes Spotlight and Point of Interest, very useful tools to produce smooth cinematic moves
More info about the automated moves of the Mini 3 Pro are in the following articles
- Intelligent Flight Modes of the Mini 3 Pro (Focus Track)
- Mastershots with the Mini 3 Pro
- Quick Shots with the Mini 3 Pro
9 – Flyings Always at High Altitude
Beginners tend to shoot footage and photos only from a high altitude
It is often more interesting filming the same scene from different heights and at varied distances
Low-flying footage can often be very cinematic, although more planning is involved to make sure of staying clear of obstacles
Learn about My favorite 9 drone moves for cinematic footage in this article