There are different ways to transfer photos and footage made with the Mini 3 or 3 Pro and store them on various devices: computer, phone, or tablet. Using QuickTransfer the download is very fast, up to about 25MB per second, it can even be done while the drone is flying
Most of the basic operations and settings of the Mini and 3 Pro are found in my article Mini 3 Pro beginner’s guide
I have made other in-depth analyses of some specific tasks fro the Mini 3 and 3 Pro
- How to use the Map, Radar and Attitude indicator
- Calibrate compass, gimbal, IMU and controller
- Obstacle avoidance system
- Slow motion video using frame rates
- Return to Home
- How to Expose video and photos
- Beginner’s drone mistakes to avoid
- How to find a lost drone and how to avoid losing it
If you prefer to watch this as a video, you will find my YouTube version at the end of this article
Transfer Files to a Computer
From an SD Memory Card
the simplest way to transfer your files to a computer is to use a mini SD card
The Mini 3 accepts mini cards with a capacity of 256GB, vs 512GB for the Mini 3 Pro. In most cases, a 128GB mini card is more than enough
To transfer the files we need an adapter from mini SD to SD and a card reader that attaches to the computer via USB, they are both very affordable
Some computers have an SD card slot, in which case the card reader is not needed
When the card is connected to the computer a folder named USB Drive will be visible. Open it in a new window, then open the file DCIM and finally, the folder named 100Media containing the footage and photos
We can then drag the files to the desired storage location, in most cases a hard drive
From the Internal Storage
The Mini 3 and 3 Pro have a modest internal storage of 1.25 GB. It can store a decent amount of photos, but only a couple of minutes of footage

The only reason to use the internal storage is when we forget to bring an SD card, or when the internal memory card fills up while shooting photos or footage
The good news is that it is possible to transfer the files very quickly
Let’s start with a computer. Maybe we have brought a laptop on location, so we can quickly transfer the files to the hard drive, format the internal storage, and shoot more footage
The procedure is the same as when using a desktop computer at home

The Mini 3 and 3 Pro tend to overheat when not flying
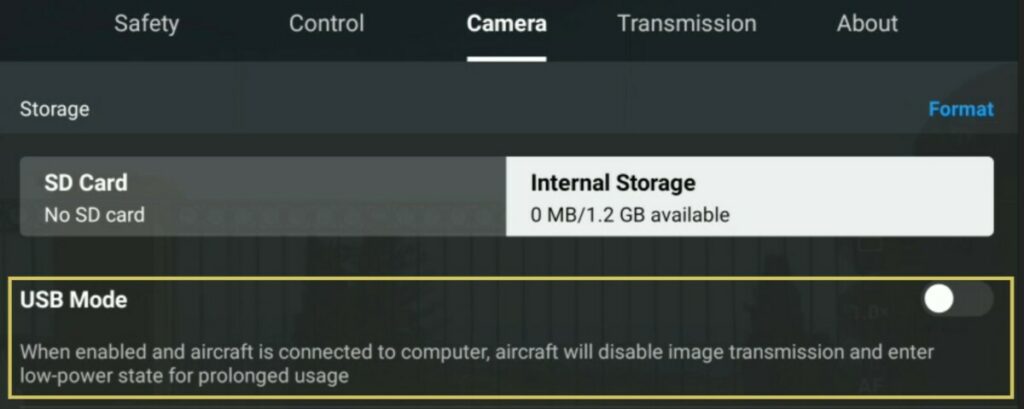
In the tab Camera of Settings, turn on the option for USB mode. The aircraft will enter a low-power state to prevent overheating
The remote controller can be switched off, as it is not needed for the transfer of the files
Connect the drone to a USB slot in the computer by using the USB C cable supplied with the drone
Switch on the drone and a folder with the content of the internal memory of the drone will be available, the structure of the folders is the same as we have seen previously
Transfer Files to a Phone or Tablet with Quick Transfer
From a Memory Card
To transfer the photos and video from the drone to a remote device, a smartphone, or a tablet, it is possible to use the Quick Transfer mode, faster than the simple download
The remote controller is not needed, but DJI Fly app must be installed on the remote device
I will be using a tablet, but the procedure is the same if using a smartphone
After opening the wings, switch on the drone and then launch DJI Fly app. On the lower left corner, a message will prompt you to Switch to QuickTranfer Mode
After hitting Switch, a prompt will appear to join the WiFi network of the aircraft
After hitting Join the tablet is connected to the drone, and the battery level of the aircraft is shown together with a button to access the album, by tapping on it the photos and videos contained in the SD card of the drone will be shown
If there is no memory card inserted in the Mini 3, the content of the internal memory will be shown
On the top left of each thumbnail, there is an icon with a downward arrow, by tapping on it we access a preview of the clip or photo containing the same icon at the bottom right
By tapping on it the clip is downloaded
We can return to the previous screen displaying the thumbnails through the arrow on the top left. At the top left of this screen, the progress of the download is shown
Using QuickTransfer the download is very fast, up to about 25MB per second. The 1.25 GB of internal storage of the Mini 3 can be downloaded in less than a minute in ideal conditions without strong interferences
By tapping on the icon at the top right of the screen it is possible to download several files at once by selecting them and then hitting the download icon
By tapping on Batch Select, all the files will be selected for download
From the Internal Memory
If we have forgotten to bring an SD card with us, we can use the small internal storage of the Mini 3 or 3 Pro containing a couple of minutes of video or about 40 photos
Once the memory is full we can bring the drone back home, use Quick Transfer to download the content to the remote device in about a minute, format the internal storage and have another go, and repeat until we have battery left

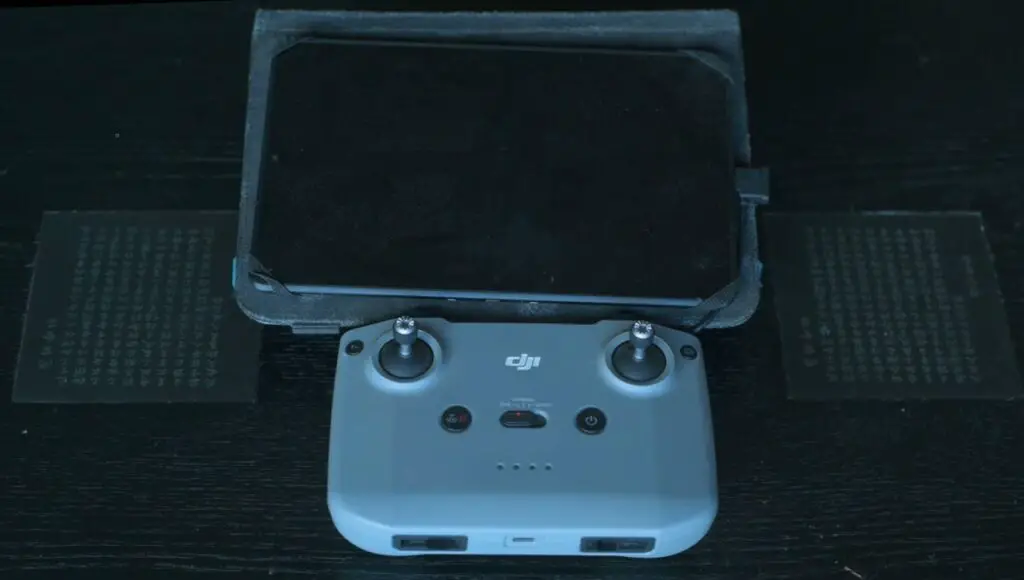
With the RC N1 controller, Quick Transfer can be used while flying
By tapping on the icon below the shutter we access the album and then the second icon from the right at the top brings us to quick transfer mode
After downloading the files we can leave QuickTransfer mode by tapping the same icon which will turn white from yellow
We can then format the internal storage and resume shooting videos and photos

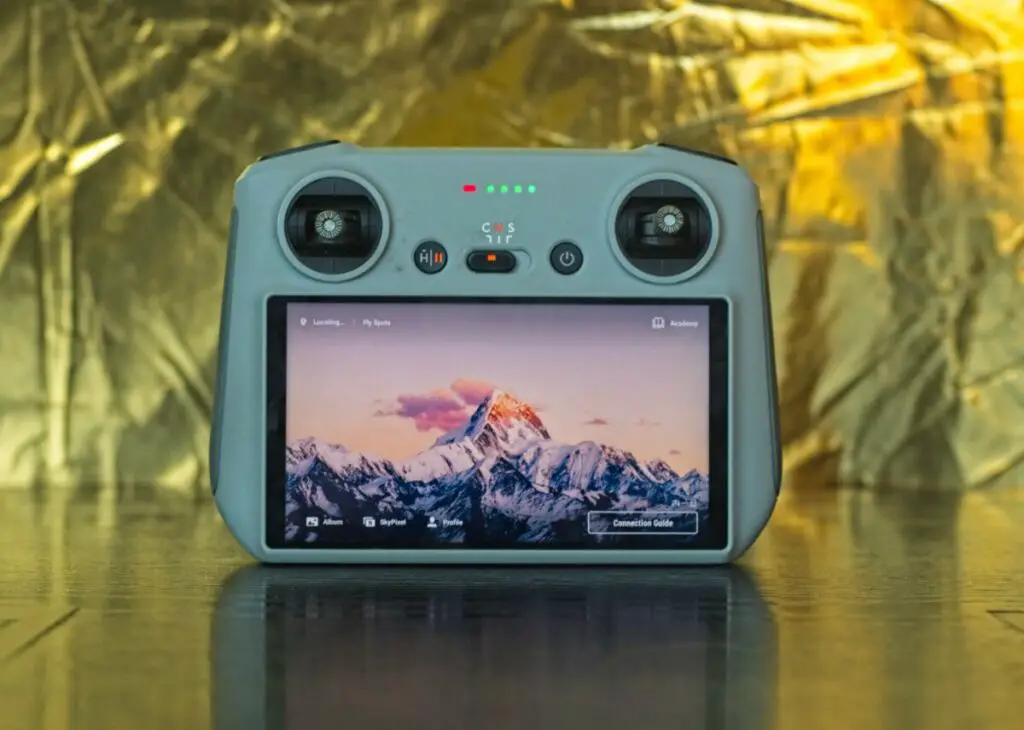
The RC controller with a built-in screen, cannot access QuickTransfer mode while flying
More details about the RC controller with a built-in screen are in my dedicated article
