
One of the most frequent causes of mediocre results with footage and photos with drones is wrong exposure. The DJI Mini 3 Pro has useful settings for exposure. The main tool I use to expose is the histogram. For best results, it is crucial to choose the most favorable light conditions
Other related articles about the Mini 3 Pro you might find interesting:
- Camera Settings for Photography
- Camera settings for video
- How to calibrate the IMU, gimbal, compass, and remote controller
- How to transfer files to a computer, phone, or tablet
If you prefer to watch this as a video, you will find my YouTube version of this article at the end
Best Light Conditions
Choosing the most favorable light conditions makes it much easier to find the correct exposure
The central hours of a sunny day are to be avoided, as the shadows are extremely harsh and the contrast too strong. There are good reasons why it is said that these are the hours when photographers and videographers sleep
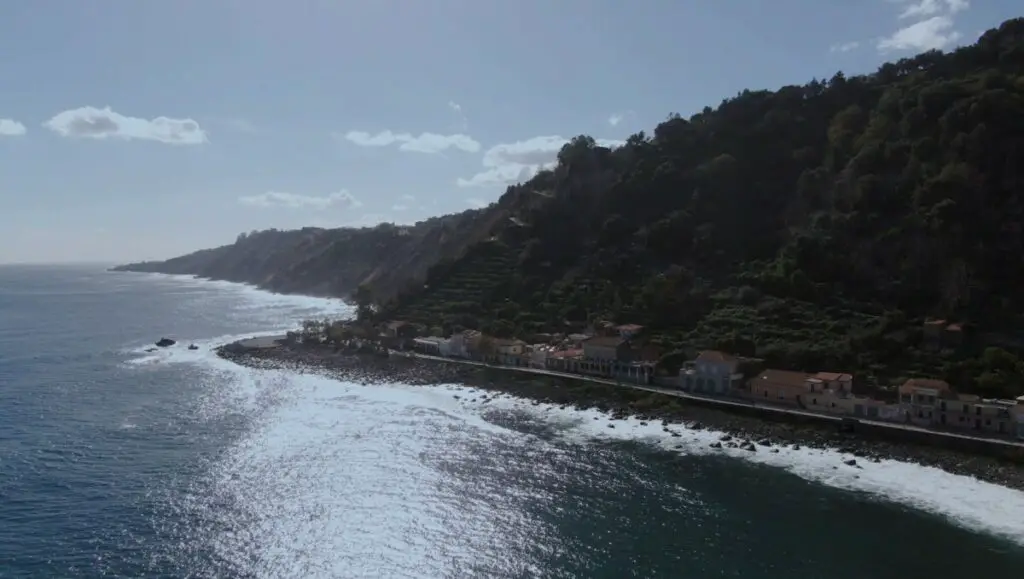
Excellent light conditions for video and photos are in the two hours around sunrise or sunset or when the sun is covered by clouds acting like a big softbox
The idea is to reduce the dynamic range with a smaller difference in luminosity between the highlights and the shadows
My favorite time is about half an hour after sunset when there is still the last twilight acting as the fade light and the artificial lights as the main source
How to Use the Histogram
The histogram is the only tool I use for exposing
When the bars touch the right edge the image will be overexposed. This is something to be avoided, as burnt highlights cannot be recovered while editing
When some bars touch the left edge, the shadows will be dark, but it will be possible to recover them during post-processing, up to a certain extent
However, if too many bars are bunched up on the left edge, the image is underexposed and the shadows might contain chromatic noise

For this reason, I always make sure to leave a gap between the last bar to the right and the right edge of the histogram, so that the highlights are preserved
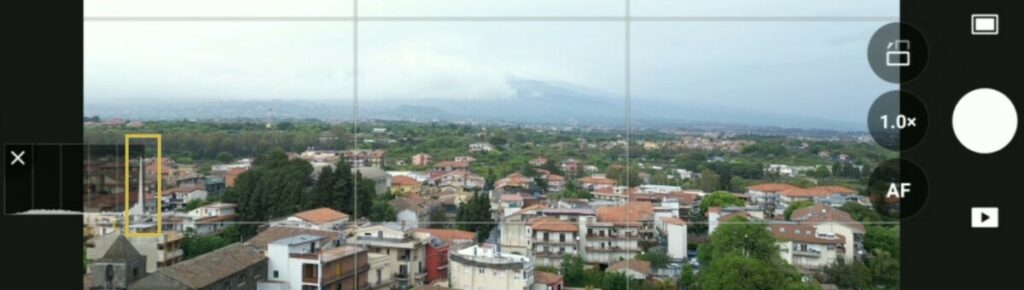
When the histogram has most of the bars in the middle with gaps both to the right and the left sides, the image has low contrast
These are the easiest conditions for correct exposure and correspond to the best hours of the day mentioned earlier
It will be easier to add a bit of contrast while editing for excellent results

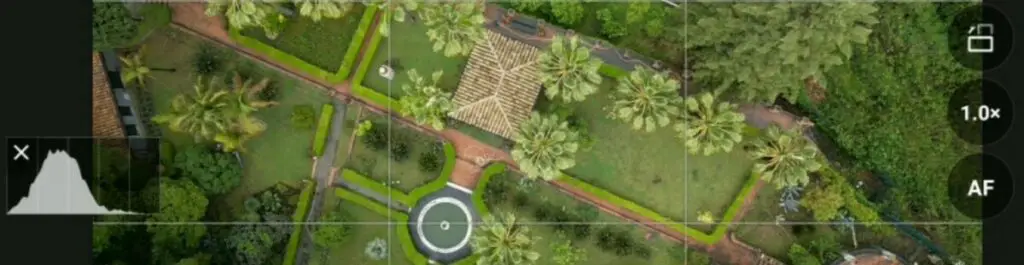
When the bars touch both the right and left edges of the histogram, it is a high dynamic range scene, in most cases containing the sky and with the camera pointing in the direction of the sun
These are the most difficult situations, it is again suggested to leave a small gap to the right of the histogram to preserve the highlight
The shadows will be very dark, but on many occasions, it will be possible to recover them, at least partially, although some advanced post-processing will be involved
I suggest to beginners to avoid shooting footage or photos against the sun
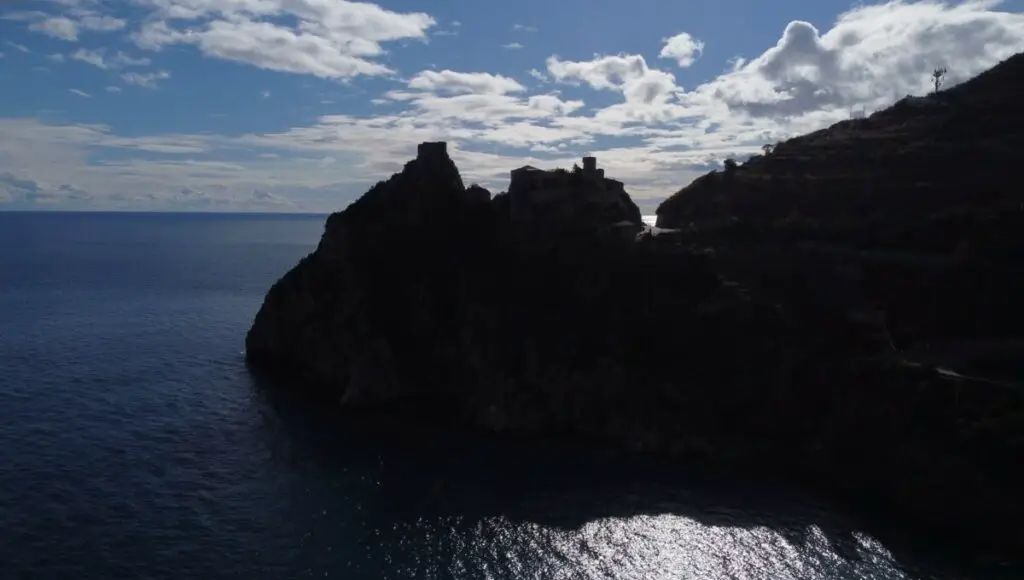
An alternative possibility is to avoid burning the highlight and leave the elements on the ground as a silhouette, which can create an interesting effect on certain occasions
In the Camera tab of Settings, there is another tool to aid exposing: Overexposure Warning
It overlays black and white diagonal stripes to the overexposed parts of a scene. I never use it, as I find it very distracting
More details and plenty of examples in my two articles
Exposure settings
An Issue with Exposure
The settings for exposure in the Mini 3 and 3 Pro are handy and well organized, but there is something that DJI should address
The exposure values are sticky for each photo or video mode
Let’s say that I have shot some footage and some photos at night, in all different modes
The next day I take some footage after sunrise and I find the same settings as the last time I used the drone, so I have to modify the exposure settings for the new light conditions
If I want to shoot a few photos, the settings are still the ones from the night before and I need to expose again. The same goes if I want to do AEB photos, 48MP, Mastershots, hyperlapse, and so on
If I turn the camera for some top-down photos and footage, the scene is much darker and I need to modify the exposure again every single time
Having to expose for each photo or video mode is a waste of time. Once the exposure values are set, it is obvious that these are the current light conditions, so, all other photo and video modes should be updated to the current exposure values
Check my article How to get the best photos with Mini 3 Pro for interesting examples, or this other about 9 tips for photography with the Mini 3 and 3 Pro
Auto Exposure
Beginners generally start by using auto exposure which can be accessed via this small icon at the bottom right of the screen toggling between auto and manual (labeled Pro)

In auto mode the exposure is set by the software, we can only access the EV value to adjust the overall luminosity. I find that the software tends to overexpose, therefore I prefer to set the value at -0.7 or -1
When the camera moves the exposure values are automatically modified to maintain a constant luminosity, but the individual values for ISO and shutter speed are not shown
Manual Exposure
There are two main reasons why it is better to get used to always shooting in manual exposure
- When using auto exposure for video, in case of a change in the overall luminosity of the scene, the software will detect it and modify the exposure value, this will lead to a noticeable progressive shift of luminosity in the clip, an evident sign of amateur footage
- On many occasions, we must control the individual exposure parameters
Professional videographers prefer to use a specific shutter speed based on the frame rate of the project
| Frame Rate | Shutter Speed |
| 24 or 25 fps | 1/50″ |
| 30 fps | 1/60″ |
| 60 fps | 1/120″ |
| 120 fps | 1/240 |
This is known as the 180-degree rule and it is more useful when filming close to the ground or when the scene contains elements in motion, to optimize motion blur. To learn more about motion blur, please refer to my specific article
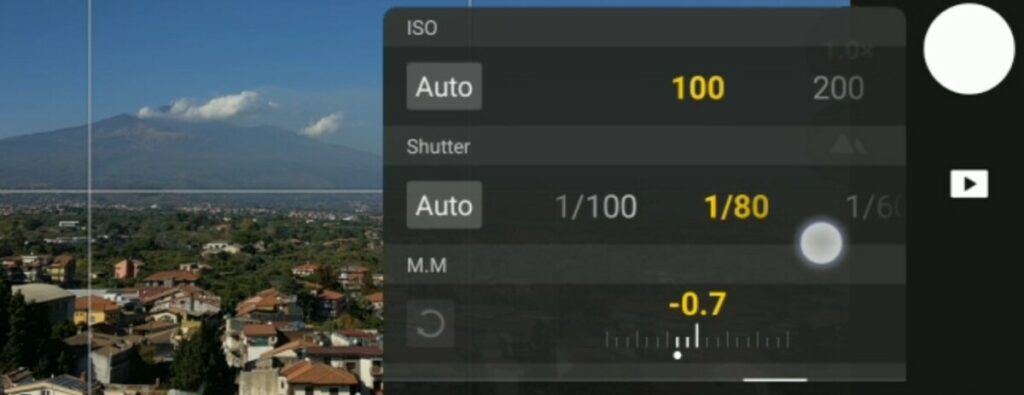
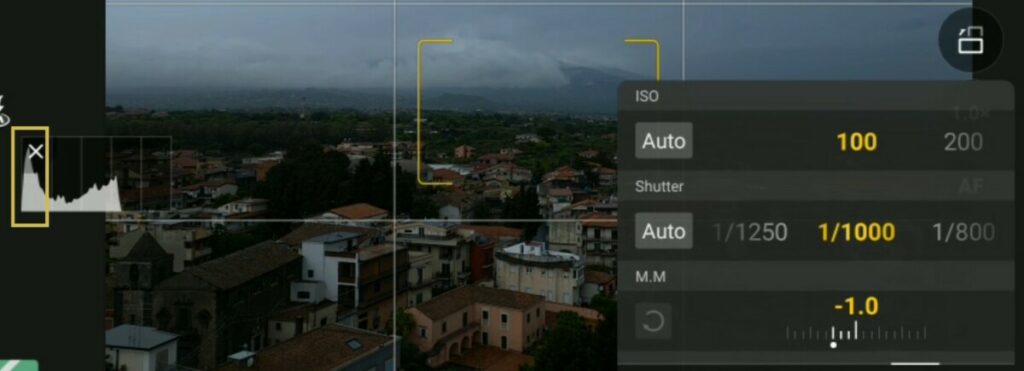
By tapping on the icon to the right, we access manual mode, labeled as Pro, then, tapping on the area of the values, slightly to the left, we access the window for exposure
The Mini 3 Pro has a fixed aperture, therefore the only values we can select are ISO and Shutter Speed. We can set these values independently
The MM value at the bottom cannot be modified. It displays the luminosity resulting from the values chosen above compared to the optimal exposure computed by the software
I prefer to see a value of about -1 stop
Whenever possible it is preferable to set the ISO at its base value, 100, for the best quality
But tolerance to ISO with the Mini 3 Pro is excellent, so higher values up to 400 or even 800 can be used without a noticeable loss of quality
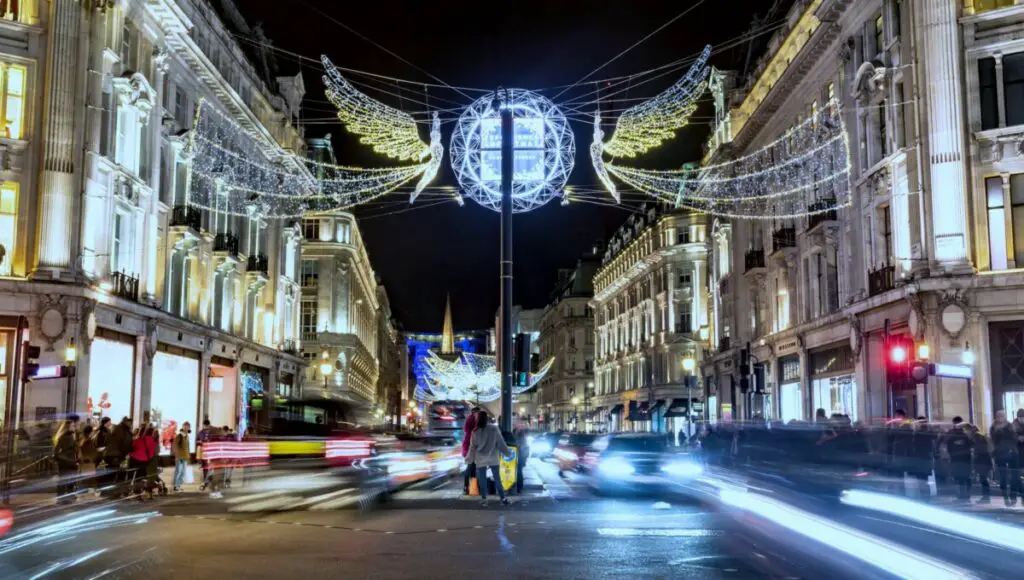
For photography, at times it is interesting to use a long shutter speed value of around 1” for unsual effects, please refer to my specific video long exposure photography with the Mini 3 and 3 Pro
To maintain a specific shutter speed value with different light conditions ND filters are needed, you will find details on why and when to use ND filters in my specific article
Semi-Auto Exposure
In the exposure window, we notice a new feature, added by the latest firmware update. There are two new Auto buttons for ISO and shutter speed, we can now set one of the two values as Auto
If we want a fixed value for ISO, 100, to get the best possible quality, we set ISO to 100 and Shutter Speed to Auto. As the luminosity varies, only the value for SS changes to maintain the correct luminosity, leaving the ISO value at 100
The value MM has now turned into EV for Exposure Value and can be modified to set the overall luminosity
If we want control over the Shutter Speed, we select the desired value and set the ISO to Auto and this time, as the luminosity increases or decreases, only the ISO value varies
In this mode, the ISO value is modified by small increments while in manual exposure the only values available are 100, 200, 400, 800, and so on
We can also choose to put both values to Auto. It is very similar to using auto exposure, but there are some advantages compared to the traditional Auto mode
In Auto we have no indications for the values of ISO and Shutter Speed while using this method we can visualize them both
Two Tricks for Exposing Photos
When taking photos, there are two extra options to simplify the exposure
- It is possible to use Automatic Exposure Bracketing to take five shots in rapid succession with different exposure values. It is a sort of insurance, as one of the five images will always be perfectly exposed
- In the case of images shot in the direction of the sun, it is possible to merge the five images to HDR using an editing program. With this technique the highlights will be taken from the darkest image and the shadows from the brightest one, thus reducing the dynamic range of the resulting merged photo
More details in my specific article Automatic Exposure Bracketing with the Mini 3 and 3 Pro