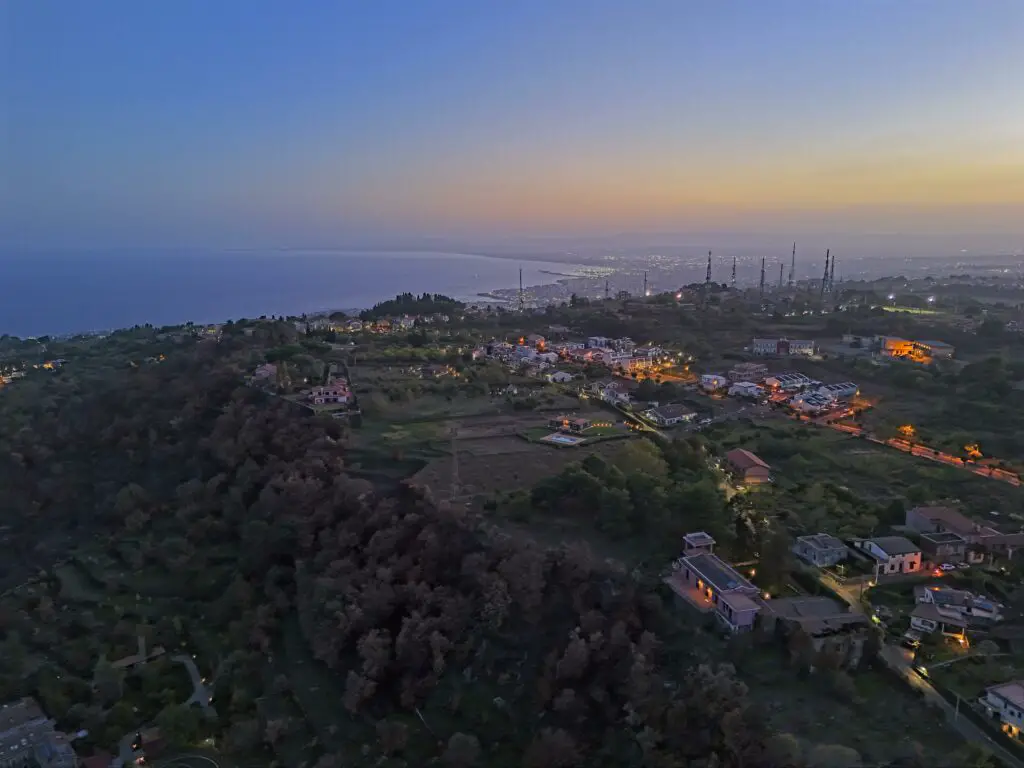
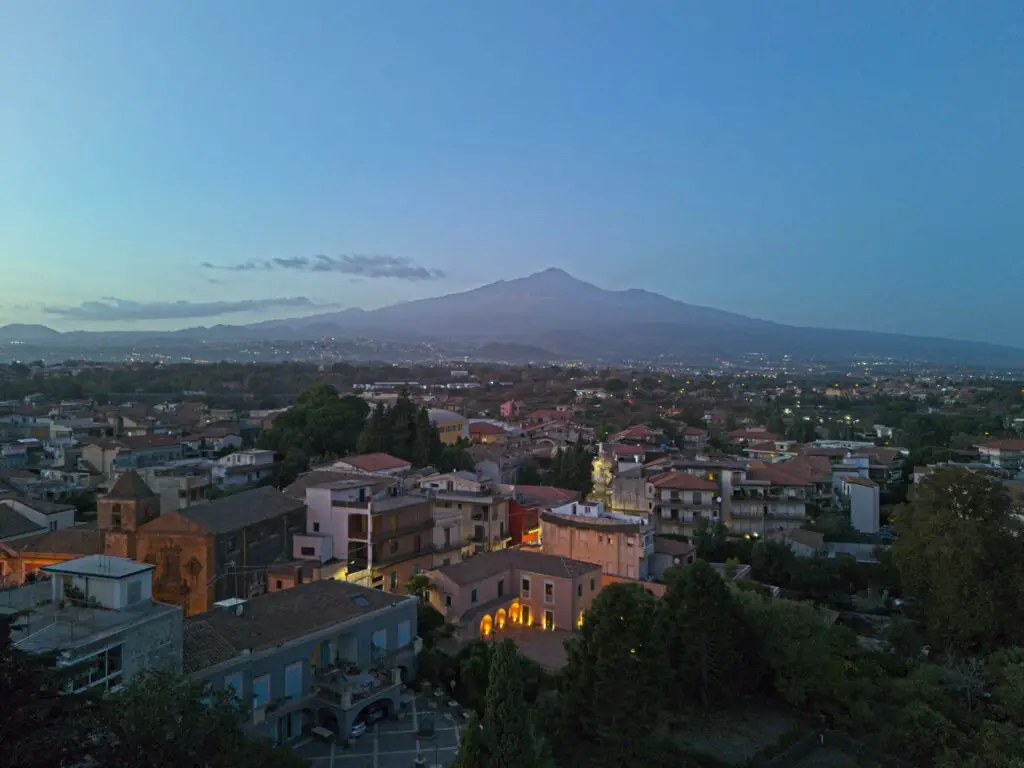
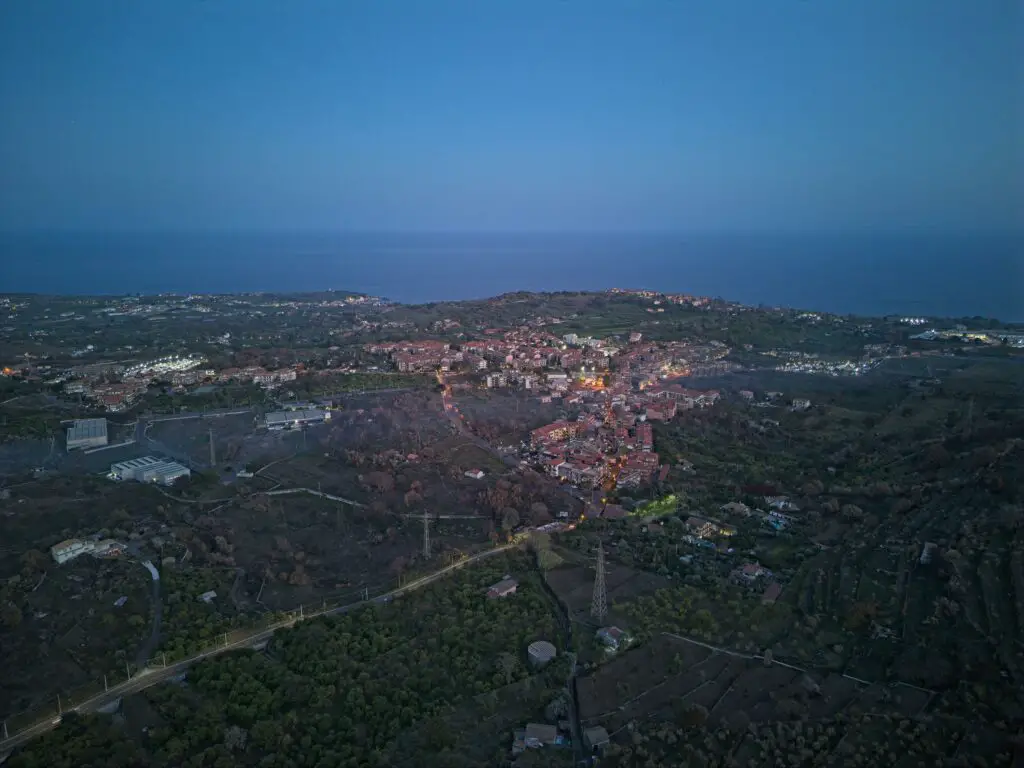
The 48 MP photo mode has dramatically improved in the Mini 4 Pro, especially in the rendition of the shadows. It can be used in friendly light conditions for extra detail and sharpness, and even in more challenging light conditions when large prints or deep crops are needed
The 48 MP photo mode was introduced in the DJI line with the Mavic Air 2. There has often been controversy about this mode, due to severe issues in the rendition of the shadows
You can check the prices for the different configurations of the Mini 4 Pro through the button below (commission earned)
At the end of this article, you will find plenty of examples in JPEG files that can be downloaded to better asses the quality
Useful info about photography with the Mini 4 Pro can be found in the following articles:
- Mini 4 Pro photography review
- Mini 4 Pro camera settings for photography
- Mini 4 Pro Panorama mode
- Automatic Exposure Bracketing for HDR photography
- Mini 4 Pro night photography
- Mini 4 Pro vs Air 3 photo comparison
- Mini 4 Pro vs Mini 3 Pro photo comparison
If you prefer to watch this as a video, you will find my YouTube version at the end
What is the 48MP Mode?
The genuine photo resolution of the Mini 4 Pro is 12 MP, but the 1/1.3” BayerQuad sensor can split each pixel into four smaller ones to obtain the 48 MP mode
This type of sensor is widely used in lightweight drones and smartphones where larger sensors cannot be fitted due to weight or space constraints
The idea is to improve the weak points of small sensors, detail and sharpness
However, the much smaller pixels can only collect a limited amount of light, so some issues are to be expected in difficult light conditions and low light
The 48MP is meant to be used only in specific situations, when detail and sharpness are essential, for example for large prints or deep crops
Another thing to consider is that the files produced in 48 MP mode are much bigger and require plenty of computer resources, especially when they are inserted into a video timeline
It is misleading to announce a photo resolution of 48MP for this model, as inexperienced users might expect a better quality compared to the true 20MP of the Air 2s or the Mavic 3. This is very far from the truth
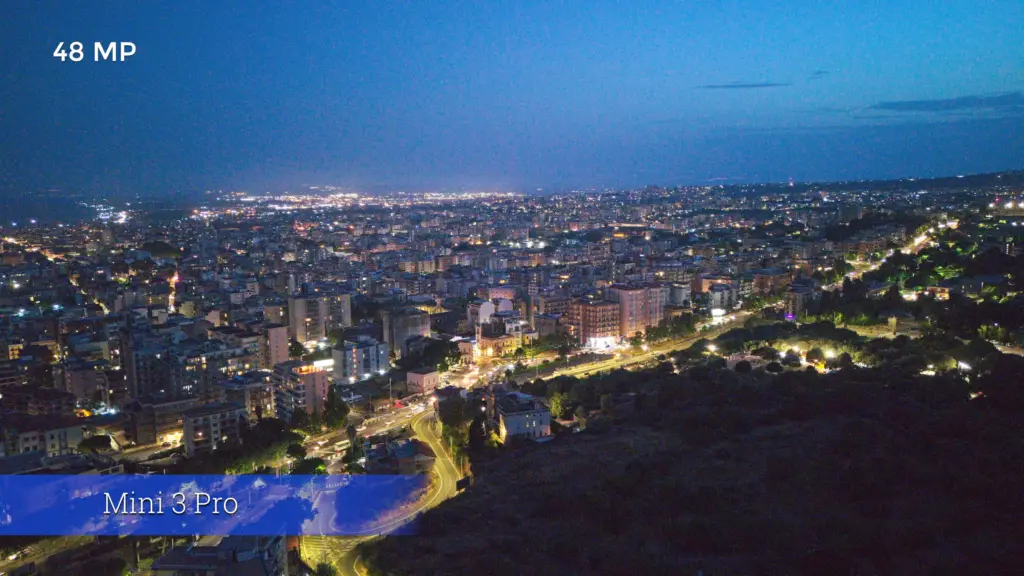
The first version of the 48MP mode in the Mini 3 Pro mode was disappointing, with artifacts and chromatic noise in the shadows
Over the years this mode has slowly improved, although with previous models some issues remain, especially in the shadows. In many ways, it is still a work in progress
Settings for the 48 MP Mode
In the Mini 4 Pro, the 48MP mode can be selected in the Camera tab of Settings or the White Balance window, while in the Mini 3 Pro, it is an option in the Photo/Video menu
The new location means that the 48MP mode can now be used with the Automatic Exposure Bracketing which is very handy in high dynamic range situations
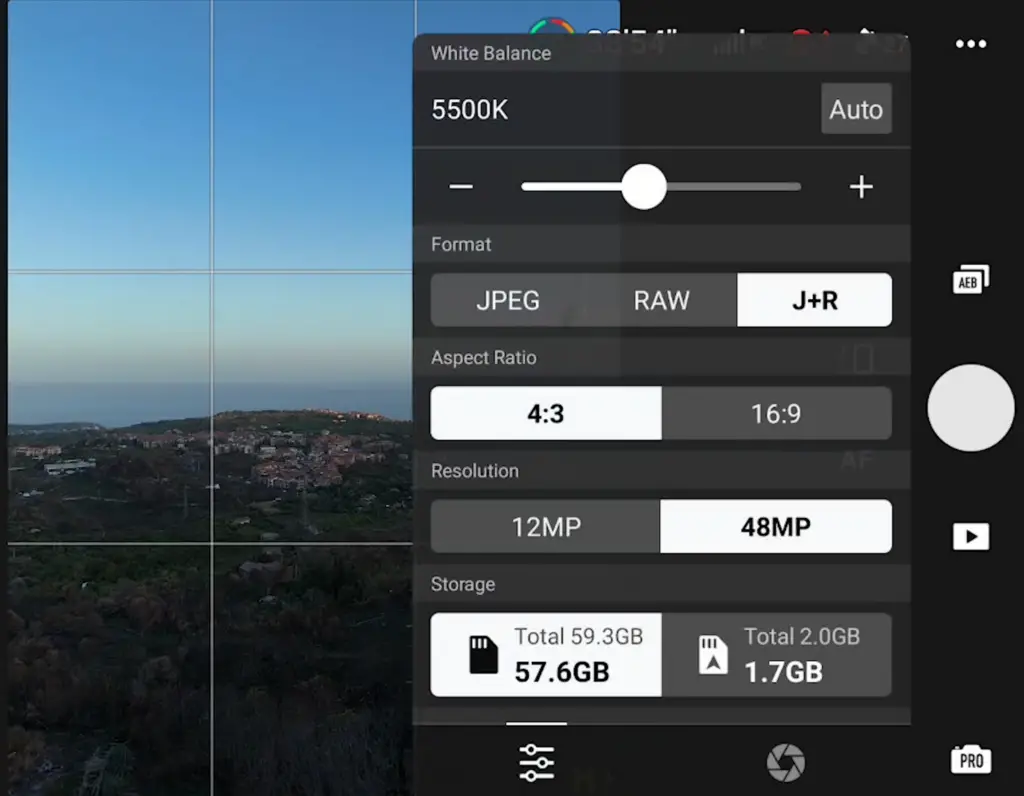
It can also be applied to vertical photos
I was expecting the 48 mode to be available with the panorama mode, but it is not the case, although it is possible to shoot 48 MP panorama manually, as I will show later on
48MP Image Quality
The only weak point of photography with the Mini 3 Pro when using regular 12MP images is a relatively low amount of detail, especially in the elements in the background
With the Mini 4 Pro detail and sharpness have been improved, even though the sensor is the same, due to different software processing
Let’s see if the 48 MP mode can bring some extra quality
Friendly light conditions
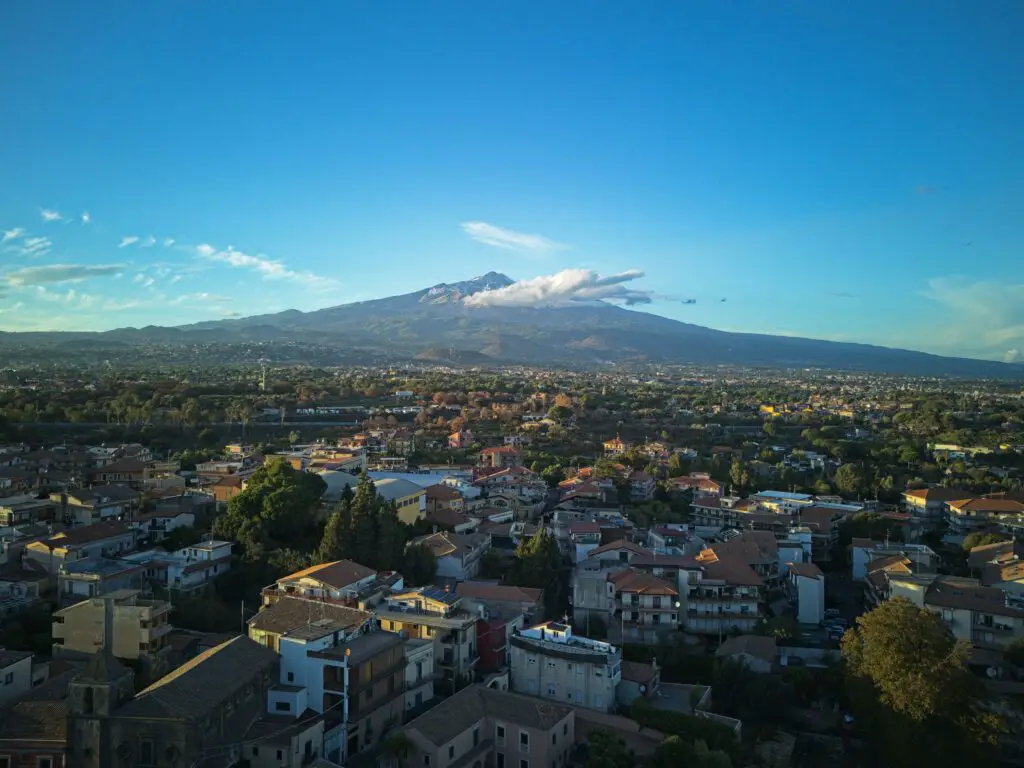
I cannot detect chromatic noise in the shadows, pixelation, or other artifacts for the 48MP photos. The colors are slightly richer
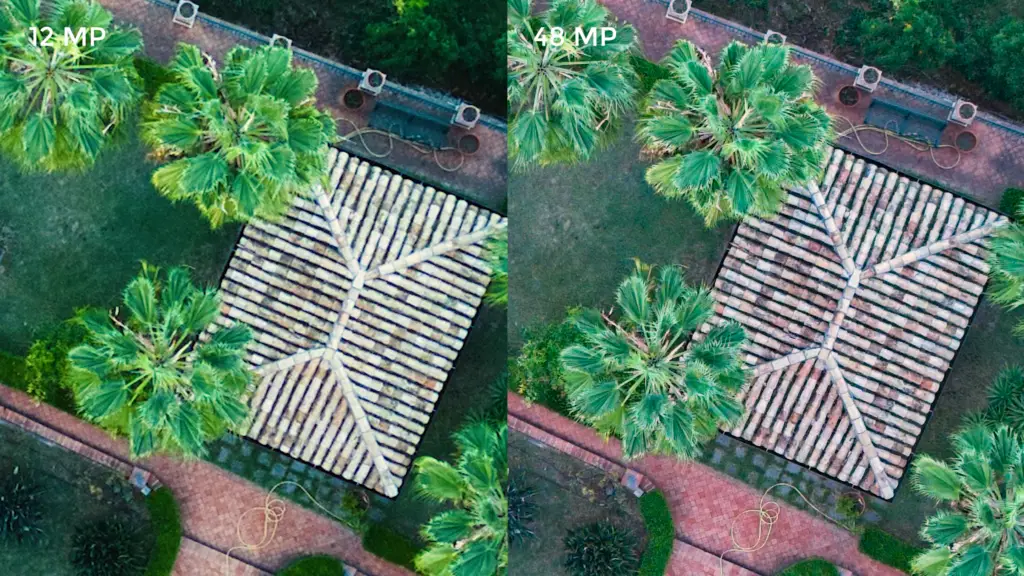
When zooming deeply, we notice a sensational amount of detail with the 48MP, the difference compared to the standard 12MP images is very evident
High Dynamic Range
As mentioned earlier, the weak point of the 48MP mode has always been in the shadows, so let’s go with the serious test: high dynamic range, and low-light situations
For editing all the images in this article and merging them to HDR I have used Luminar Neo
You will find info about Luminar Neo together with a coupon for a 10% discount by entering the code “vicvideopic” using the button below
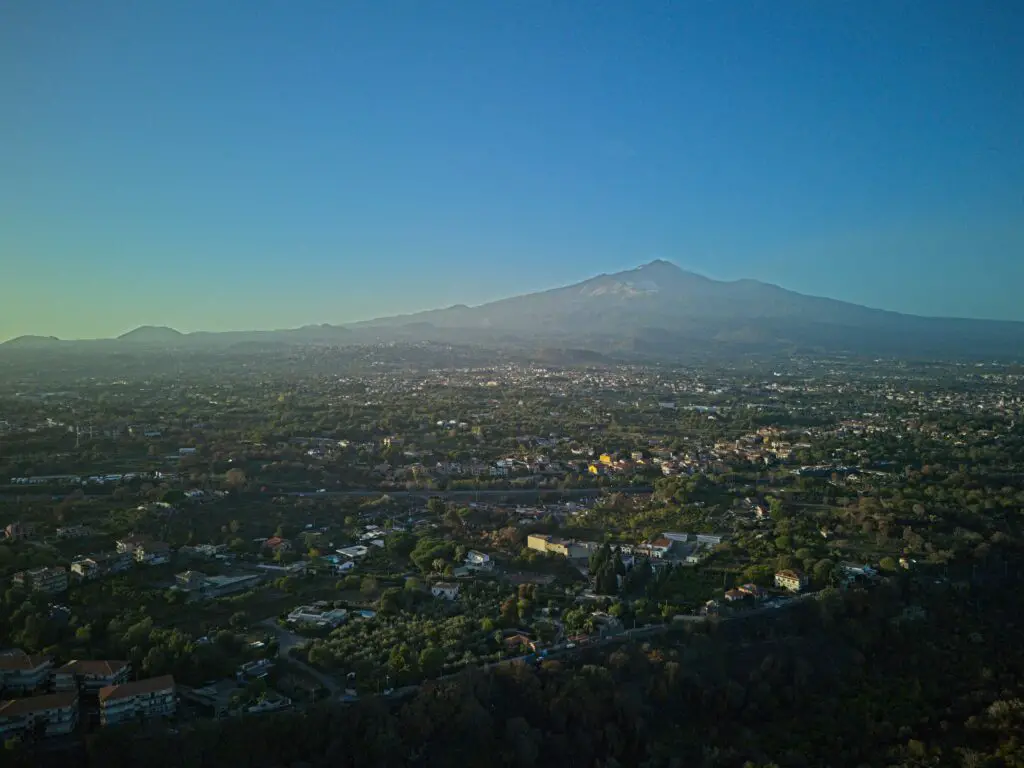
In images taken in the direction of the sun, the rendition of the shadows seems to have improved a lot compared to previous versions of the 48 MP mode, there are no artifacts or chromatic noise and the amount of information is quite good, although I find that the regular 12MP photos have slightly more information in the shadows
Merge To HDR
By merging to HDR three images taken in 48 MP things improve even further with better shadows and more detail
You will find more details about Automatic Exposure Bracketing and Merge to HDR with the Mini 4 Pro in this article
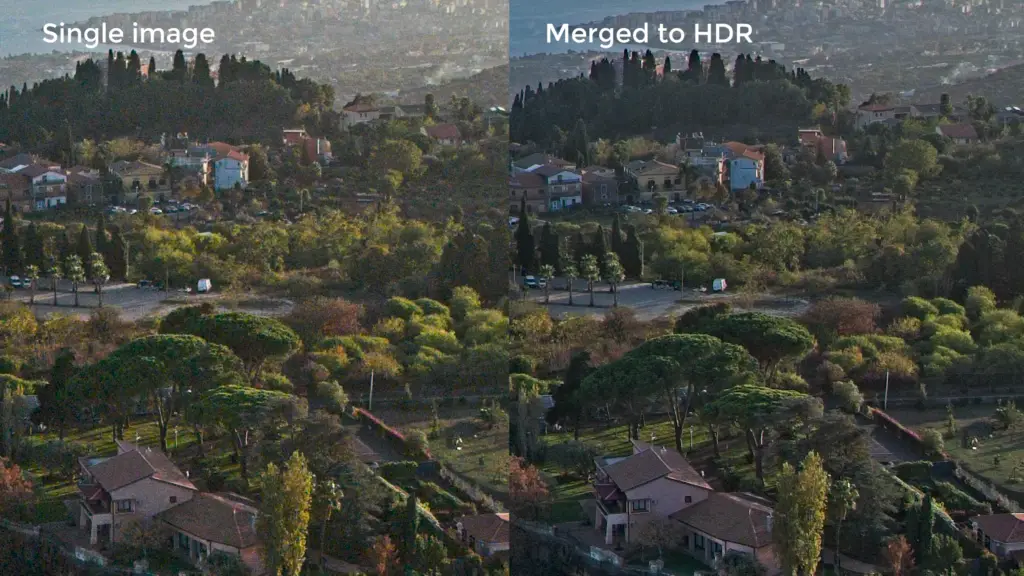
The highlights are well under control and the colors are more pleasant
In most cases, in high dynamic range situations, I would use the regular 12MP photos, but in the case of large prints or deep crops the 48MP ones merged to HDR can be used with good results
Low-light Images
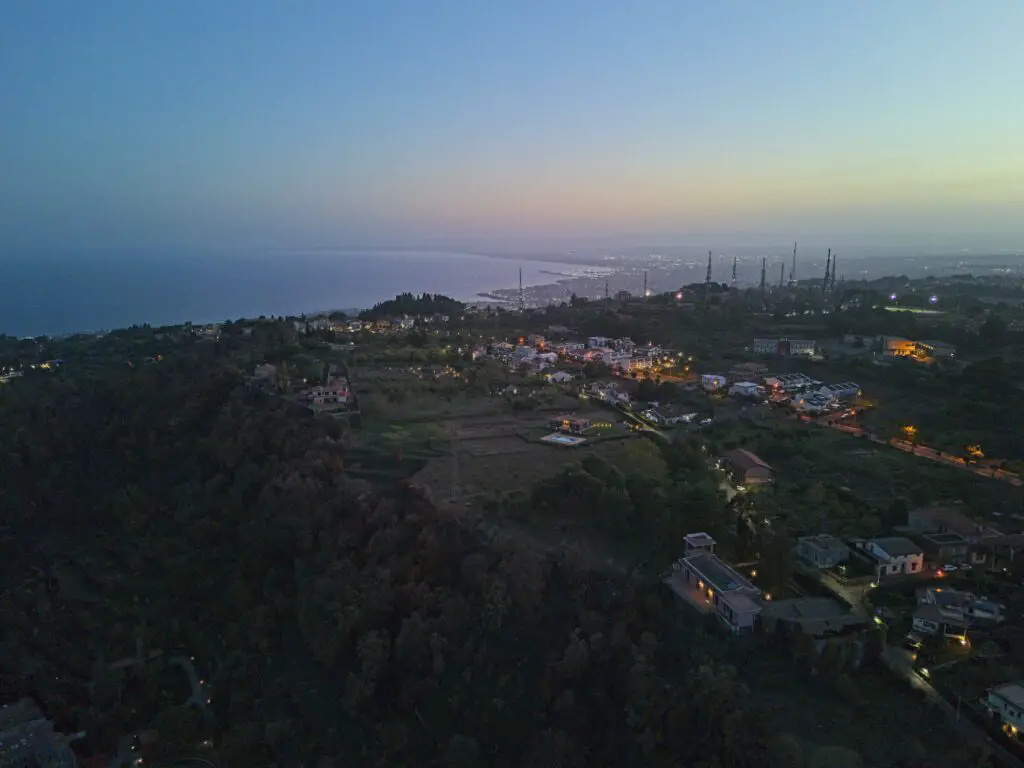
The same applies to night photos: The 48MP has improved a lot and it can certainly be used when large prints or deep crops are needed, but in all other cases, for low-light images, I would choose the simple 12MP ones
JPEG Files
So far I have only used RAW files and indeed in previous DJI models I never took JPEG files very seriously, but in the Mini 4 Pro the JPEG files have improved a lot and can produce very usable 48 MP images in favorable light conditions
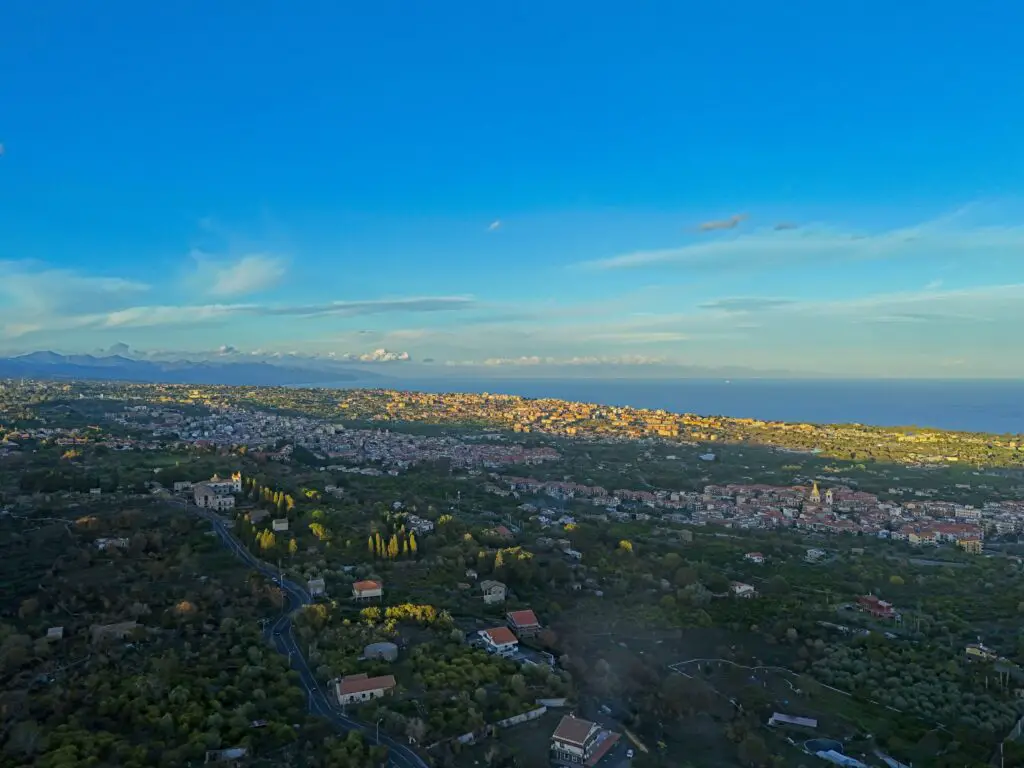
This is good news for users who do not rely on image post-processing
But in high dynamic range or low light, I would use RAW files, for more information in the shadows and highlights
48 MP Panorama
There is also the possibility to manually assemble several 48 MP images into a panorama for extreme resolution. I explain how to do it in this article
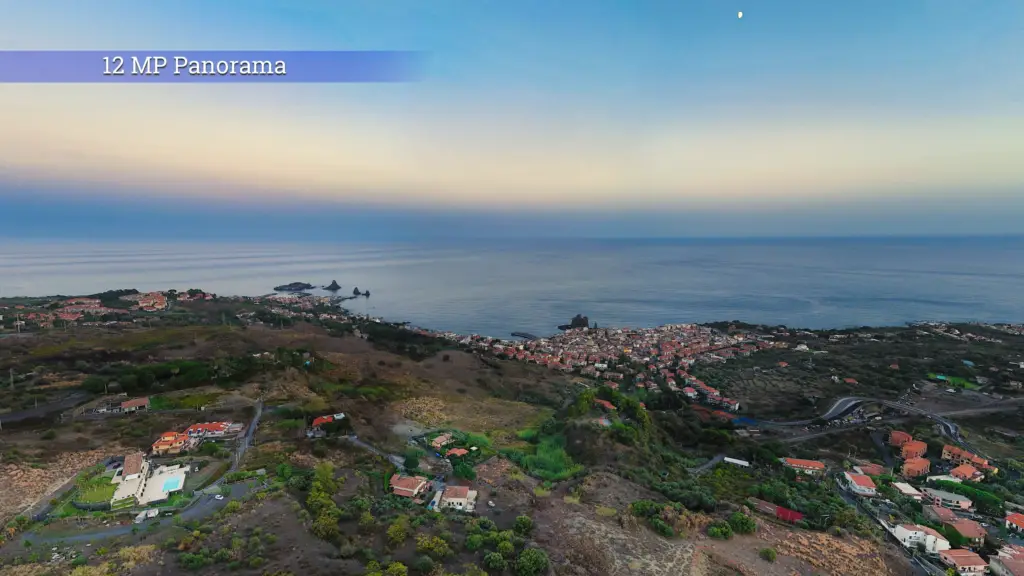
But it is a time-consuming technique and the regular 12 MP panorama has already plenty of resolution and detail even for large prints or deep crops
If You Prefer To Watch This As a Video
More Images To Download
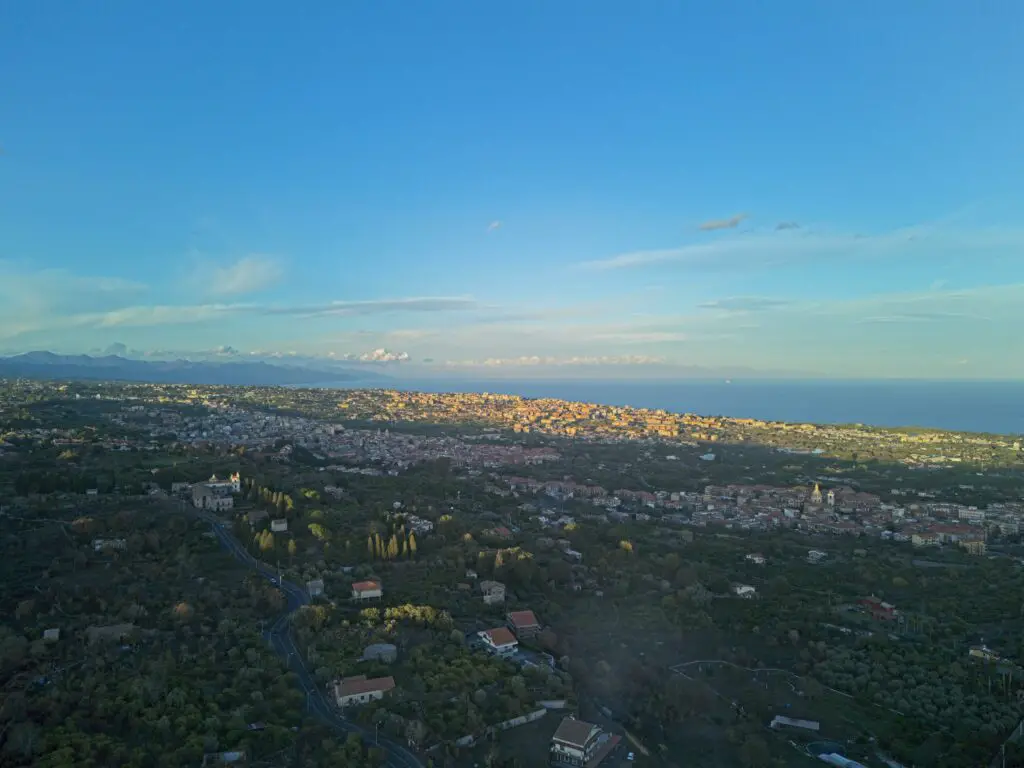
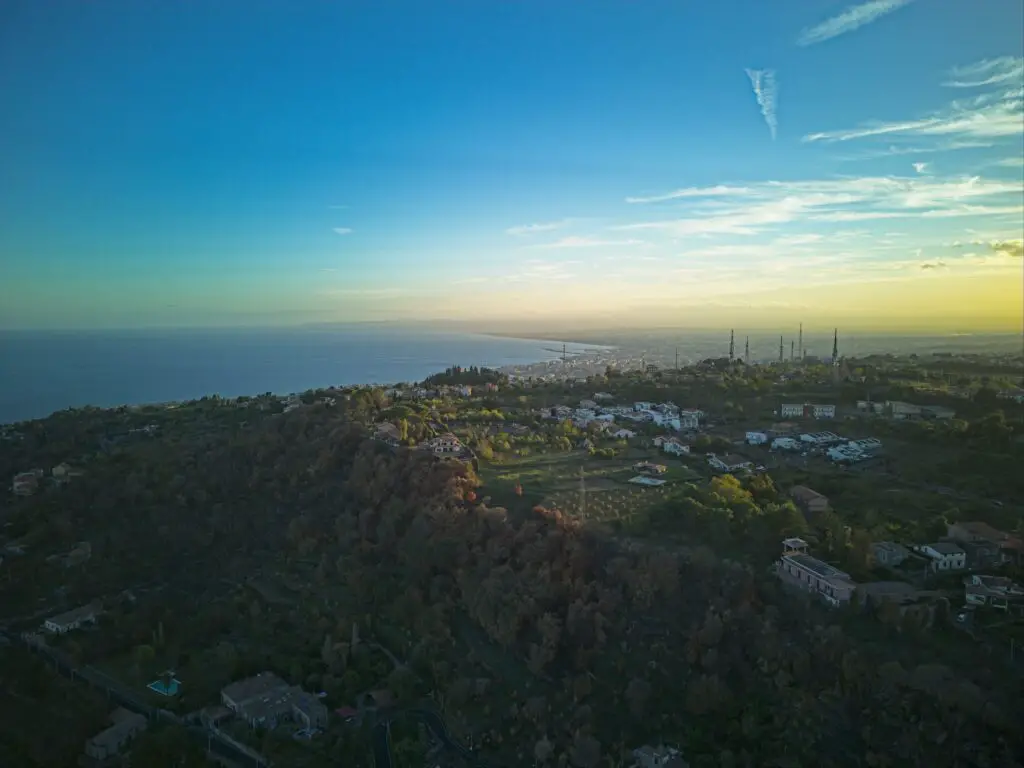
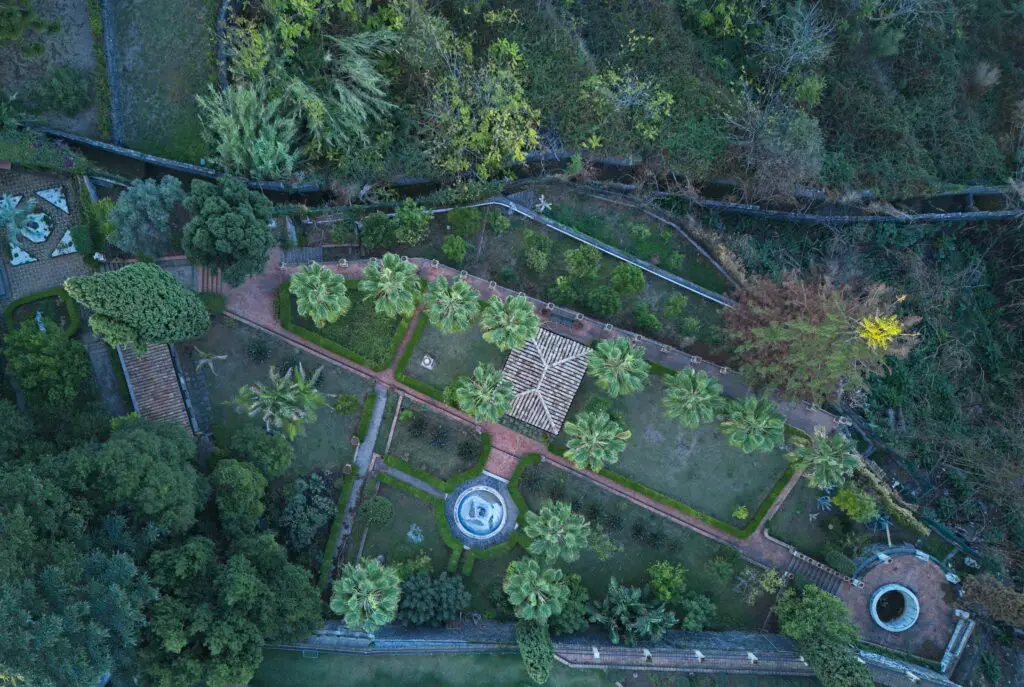
Single 48MP Images from RAW Files
48 MP Images Merged To HDR

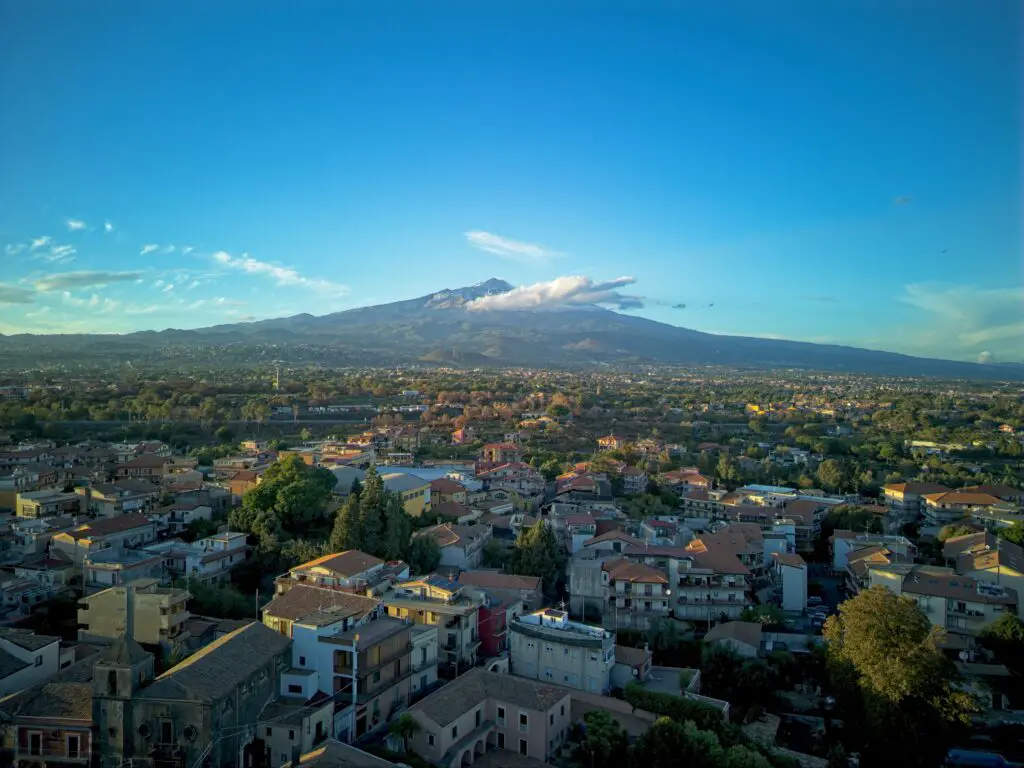
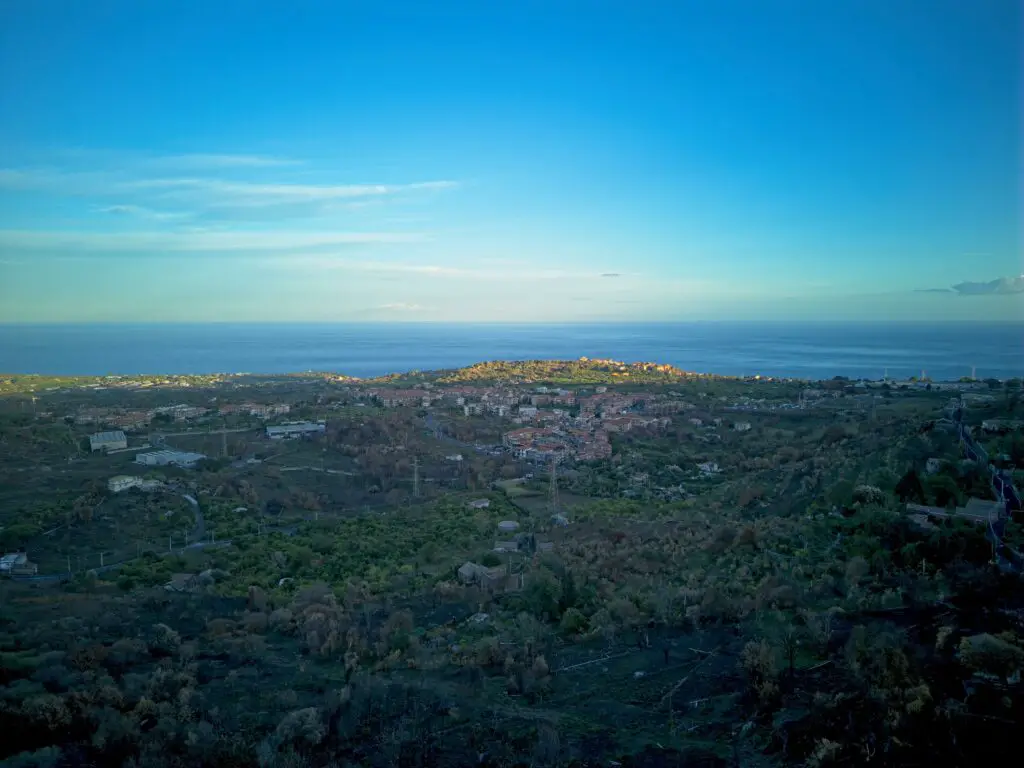
48MP Night Photos
