
Panorama photography is an excellent photo technique that serves several purposes:
- To get a higher resolution than regular photos, which is handy for large prints
- To post interactive photos on social media where the viewers can move inside the image
- To get a surreal distorted creative view of a scene using Sphere mode
With the DJI Mini 4 Pro, the quality of the auto-generated JPEG panorama has improved so much compared to previous models that they can be used on most occasions with excellent results. The process is much simpler compared to stitching the individual photos using a third-party program
Using a drone is the perfect way to shoot panorama, as with the point of view up in the sky there will be no obstacles, even in the case of full sphere panorama
At the end of this article, I will post a series of examples of panoramas made with the Mini 4 Pro in the four different modes. The JPEG files can be downloaded to better appreciate the quality
I have done other articles about photography with the Mini 4 Pro:
- Photography review of the Mini 4 Pro
- Camera settings for photography with the Mini 4 Pro
- Automatic Exposure Bracketing with the Mini 4 Pro
- 48 MP Photo Mode with the Mini 4 Pro
- Mini 4 Pro night photography
- Mini 4 Pro vs Air 3 for photography
- Mini 4 Pro vs Mini 3 Pro for photography
- Mini 4 Pro Hyperlapse tutorial
You can check the prices for the different configurations of the Mini 4 Pro through the button below (commission earned)
If you prefer to watch this as a video, you will find my YouTube version at the end of this article
Mistakes to avoid
The stitching software needs many reference points to align the images properly, therefore is better to avoid scenes with a big portion taken by uniform elements, like water or the sky
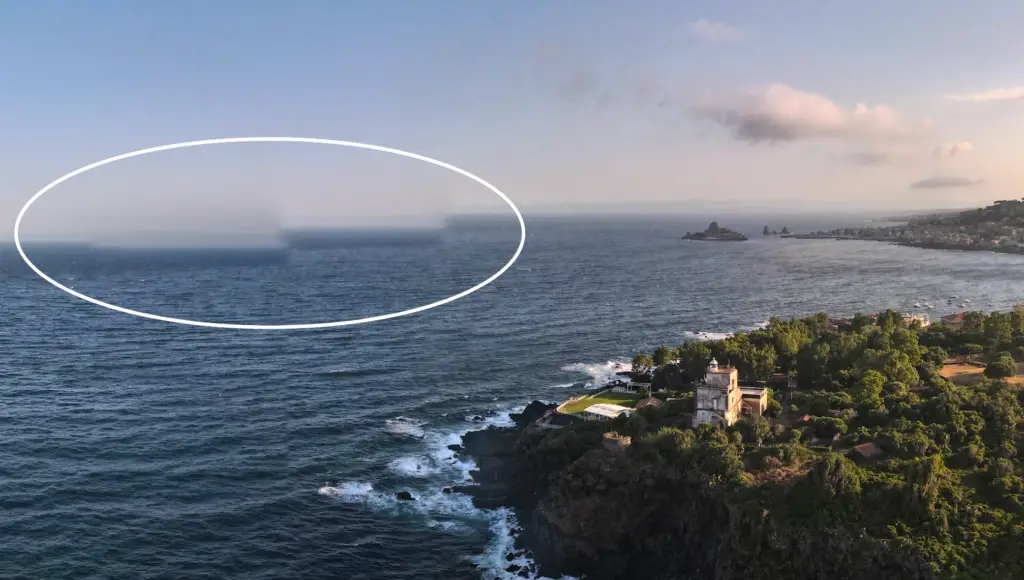
In this case, the stitching failed
With Sphere Panorama the sun will always be in the shot causing an extreme dynamic range. It is very hard to expose correctly under these conditions

It is preferable to choose a day when the sun is covered by clouds or to shoot around sunset or sunrise, to reduce the dynamic range, preserve the highlights and recover the shadows
The use of polarising filters is to be avoided, as they react differently according to the angle of light creating severe banding in the sky
How To Shoot a Panorama With the Mini 4 Pro
The Four Panorama Modes
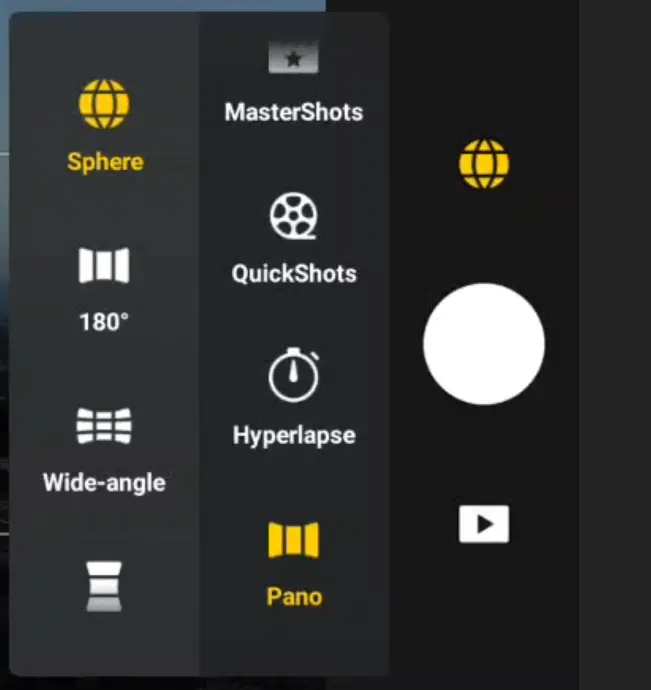
We access panorama mode via the photo video button above the shutter, on the right part of the menu, through the icon at the bottom
The menu to the left will display four icons for the different pano modes: Sphere, 180 degrees, Wide-angle, and Vertical
In Sphere mode, the Mini 4 Pro shoots 35 photos in rapid succession, while in the same mode, the Mini 3 Pro only takes 26 and the Air 3 33 images
Horizontally it is a 360-degree representation while vertically the Mini 4 seems to push further up to take a larger portion of the sky
After taking the shots the software is still busy processing the auto-generated JPEG pano
The whole process of a Sphere pano takes about one minute and 15 seconds
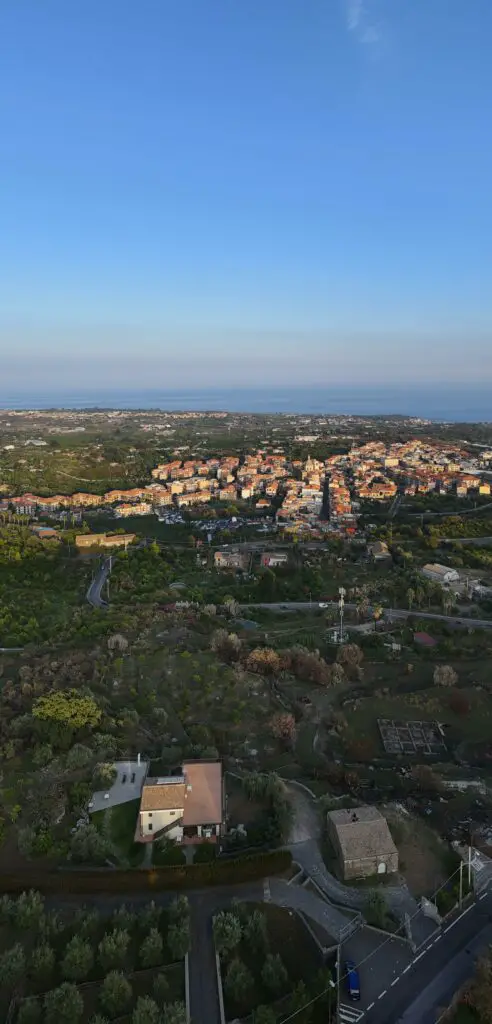
180-degree mode shoots 21 photos. This mode has less distortion and it is the one to use for traditional two-dimensional views that can be cropped or reframed thanks to the high resolution, or for large prints
In the Wide-Angle mode, nine photos are taken, three raws and three columns
Vertical mode consists of a column of three photos
Note that we can only access the panorama function when the drone is flying
DJI Fly app will automatically stitch a JPEG panorama, I will check the quality obtained with this method later in this video
File Format
We can then choose whether we want to keep each file either in RAW or in JPEG format to process and stitch the images using a third-party program. It is not possible to save them in both formats
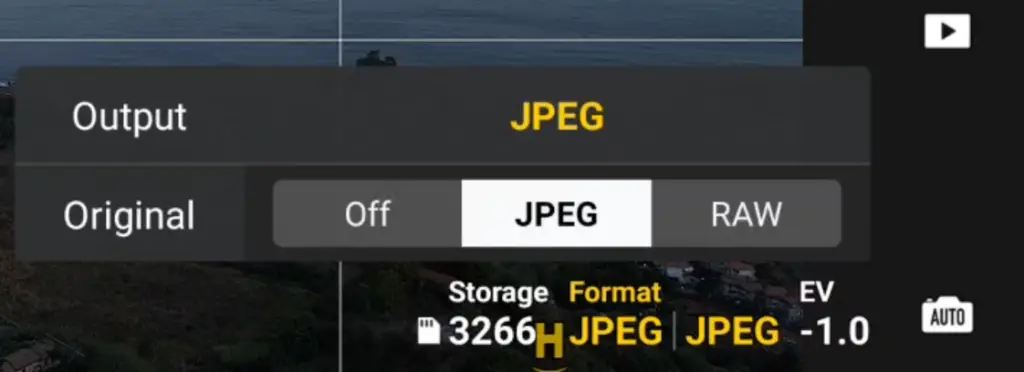
In the past, I would use only RAW files, but the stitching program must have the lens profile of the specific model, otherwise, there will be severe banding around the stitching points due to a strong vignette, which a very hard to fix manually
Luckily, the quality of the JPEG files of the Mini 4 Pro is excellent and they can be used with good results
Exposure
I always shoot videos and photos in manual exposure, but in the case of panorama, auto exposure is handy, as it reduces the dynamic range by raising the shadows
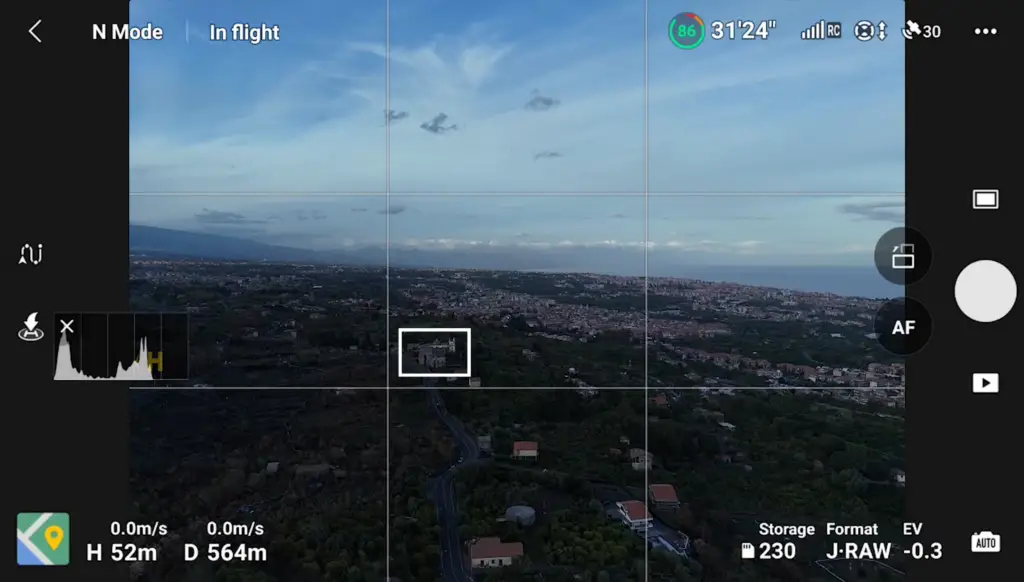
We can then choose the exposure mode. If we click the icon on the lower right of the screen, we toggle between auto exposure and manual. In my opinion, auto tends to overexpose a bit, so I adjust the EV value by -0.3 or -0.7
The issue with Auto exposure is that the lower part of the panorama tends to be too bright, as when taking photos of the lower row, the sky is not in the frame, and the camera tends to overcompensate the difference in luminosity
I strongly recommend using Manual White Balance to avoid shifts of colors
Auto-generated JPEG Panorama
The files are saved on the memory disk
There will be two different folders:
- One named panorama containing the individual files of each shot if this option was chosen
- Another folder named 100 Media contains the auto-generated JPEG panorama
In the past, I did not take auto-generated JPEG files seriously, but the quality of the ones made by the Mini 4 Pro is excellent and they also respond very well to post-processing

I have compared the auto-generated JPEG to the same panorama using a free program called Hugin to stitch the individual JPEG photos. Is is very hard to tell the difference, they both have excellent resolution and very similar colors
With previous models, in Sphere panorama, the top of the sky is missing and the software extrapolates a fake one

With the Mini 4 Pro, the artificial portion of the sky is much smaller, as more photos are taken to better represent the top of the sky. the distortion is not as pronounced as in previous models
To process and color grade the images I have used Luminar Neo, my program of choice for photo post-processing. It can now stitch photos into a panorama
You will find info about the price of Luminar Neo together with a coupon for a 10% discount by entering the code “vicvideopic” using the button below
48 MP Panorama
When in Panorama mode, the option for 48MP mode is not available in the camera tab of the setting. To take advantage of the higher resolution, the only option is to do it manually. It is quite simple
Before starting the shooting, make sure to have the rule of thirds overlay by going to the Camera tab of the settings
To stitch the images properly, two adjacent photos must overlap by more than one-third and no more than two-thirds
Let’s say we want a pano made of three rows of three photos each
We start with the left edge of the middle row
We make sure to have a reference point matching the left line of the grid and the lower of the two horizontal lines of the rule of thirds
After hitting the shutter, we pan to the left until the reference point is just past the left vertical line
After taking the photo we pan again to the left until the same point is to the right of the right vertical line
After shooting the last photo of the middle row, we tilt the camera up until the reference point is just below the lower edge of the frame
We can now take three photos as we did before but in the opposite direction, panning to the right
At the end of the bottom row, we tilt the camera down until the reference point is above the top horizontal line and take three more shots panning to the left

This is the result of the 48MP mode panorama which can be useful when higher resolution is needed, for example in the case of large prints or deep crops
Sphere Panorama for Social Media
A Sphere panorama can be transferred to a computer or a mobile device and used as an interactive image to scroll around it in 360 degrees. It can also be easily shared on social media with the same functionalities
I was going to show you how to do it, but I stumbled upon this video by the channel Tim Rundle-Spiers which describes very well all the steps needed
It is so well-explained that I suggest watching it instead of duplicating similar content. This way I will also give the deserved credit to the author
If You Prefer To Watch This As a Video
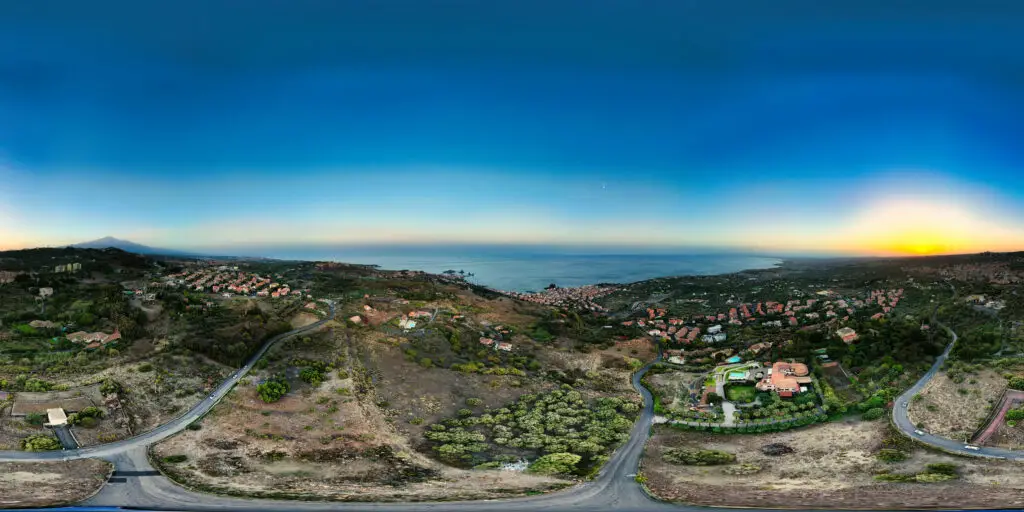
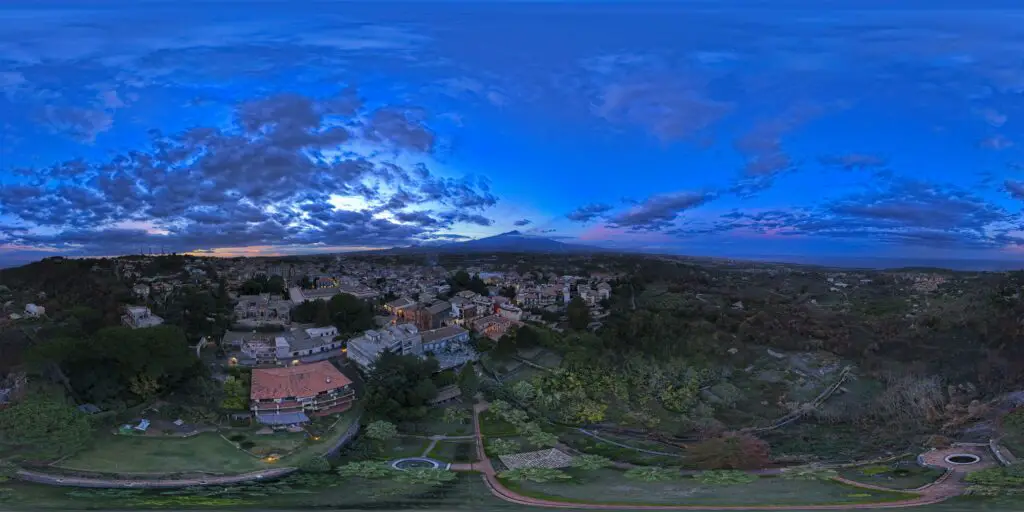
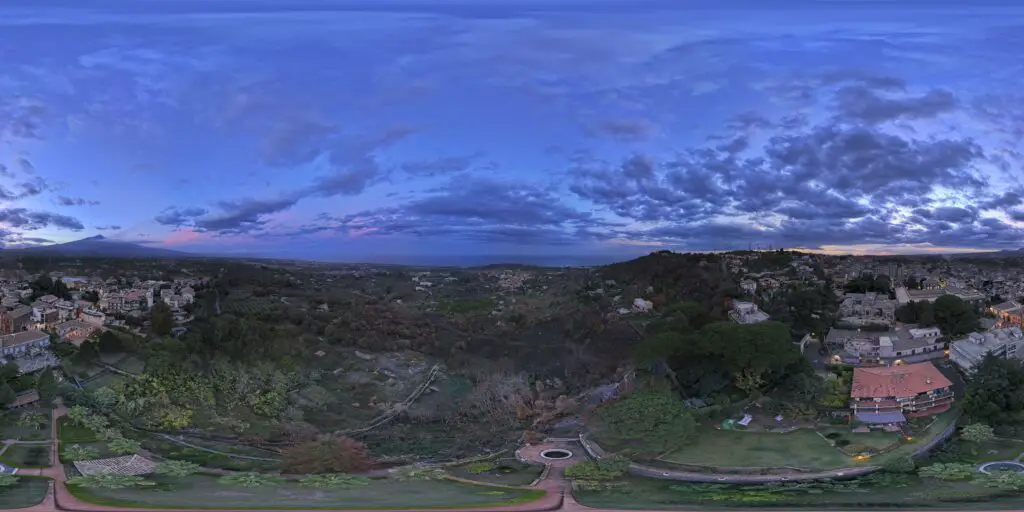
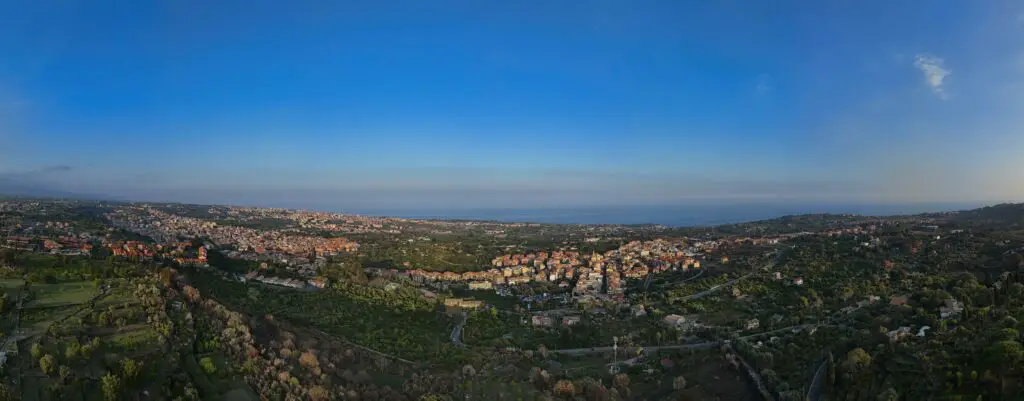
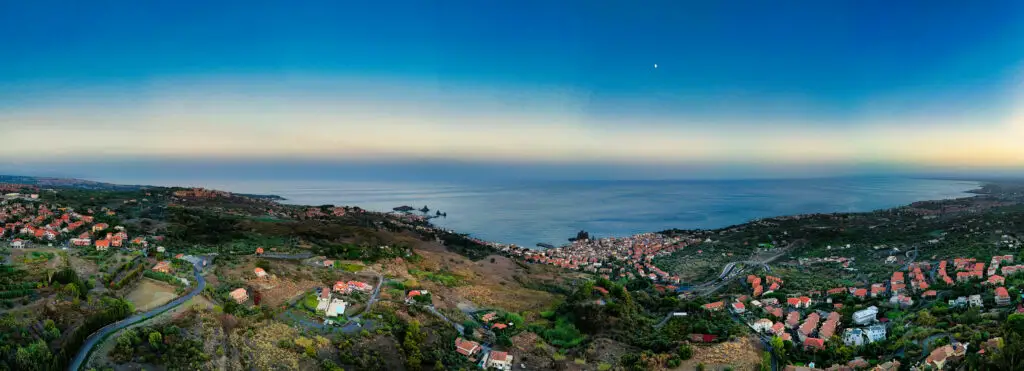
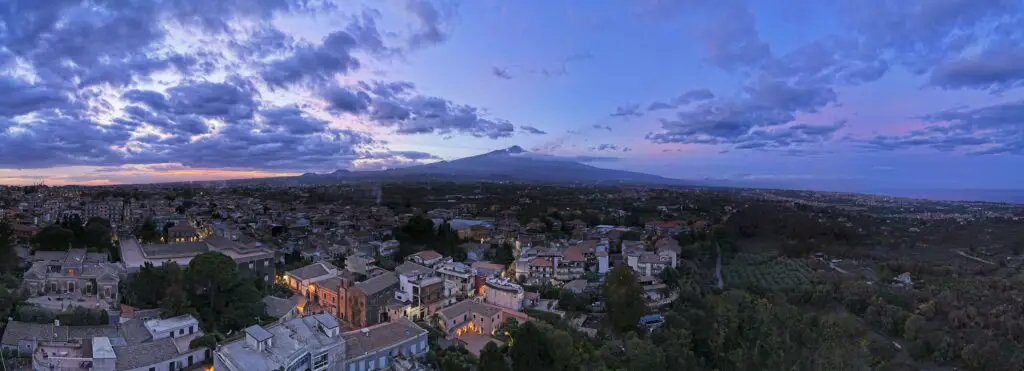
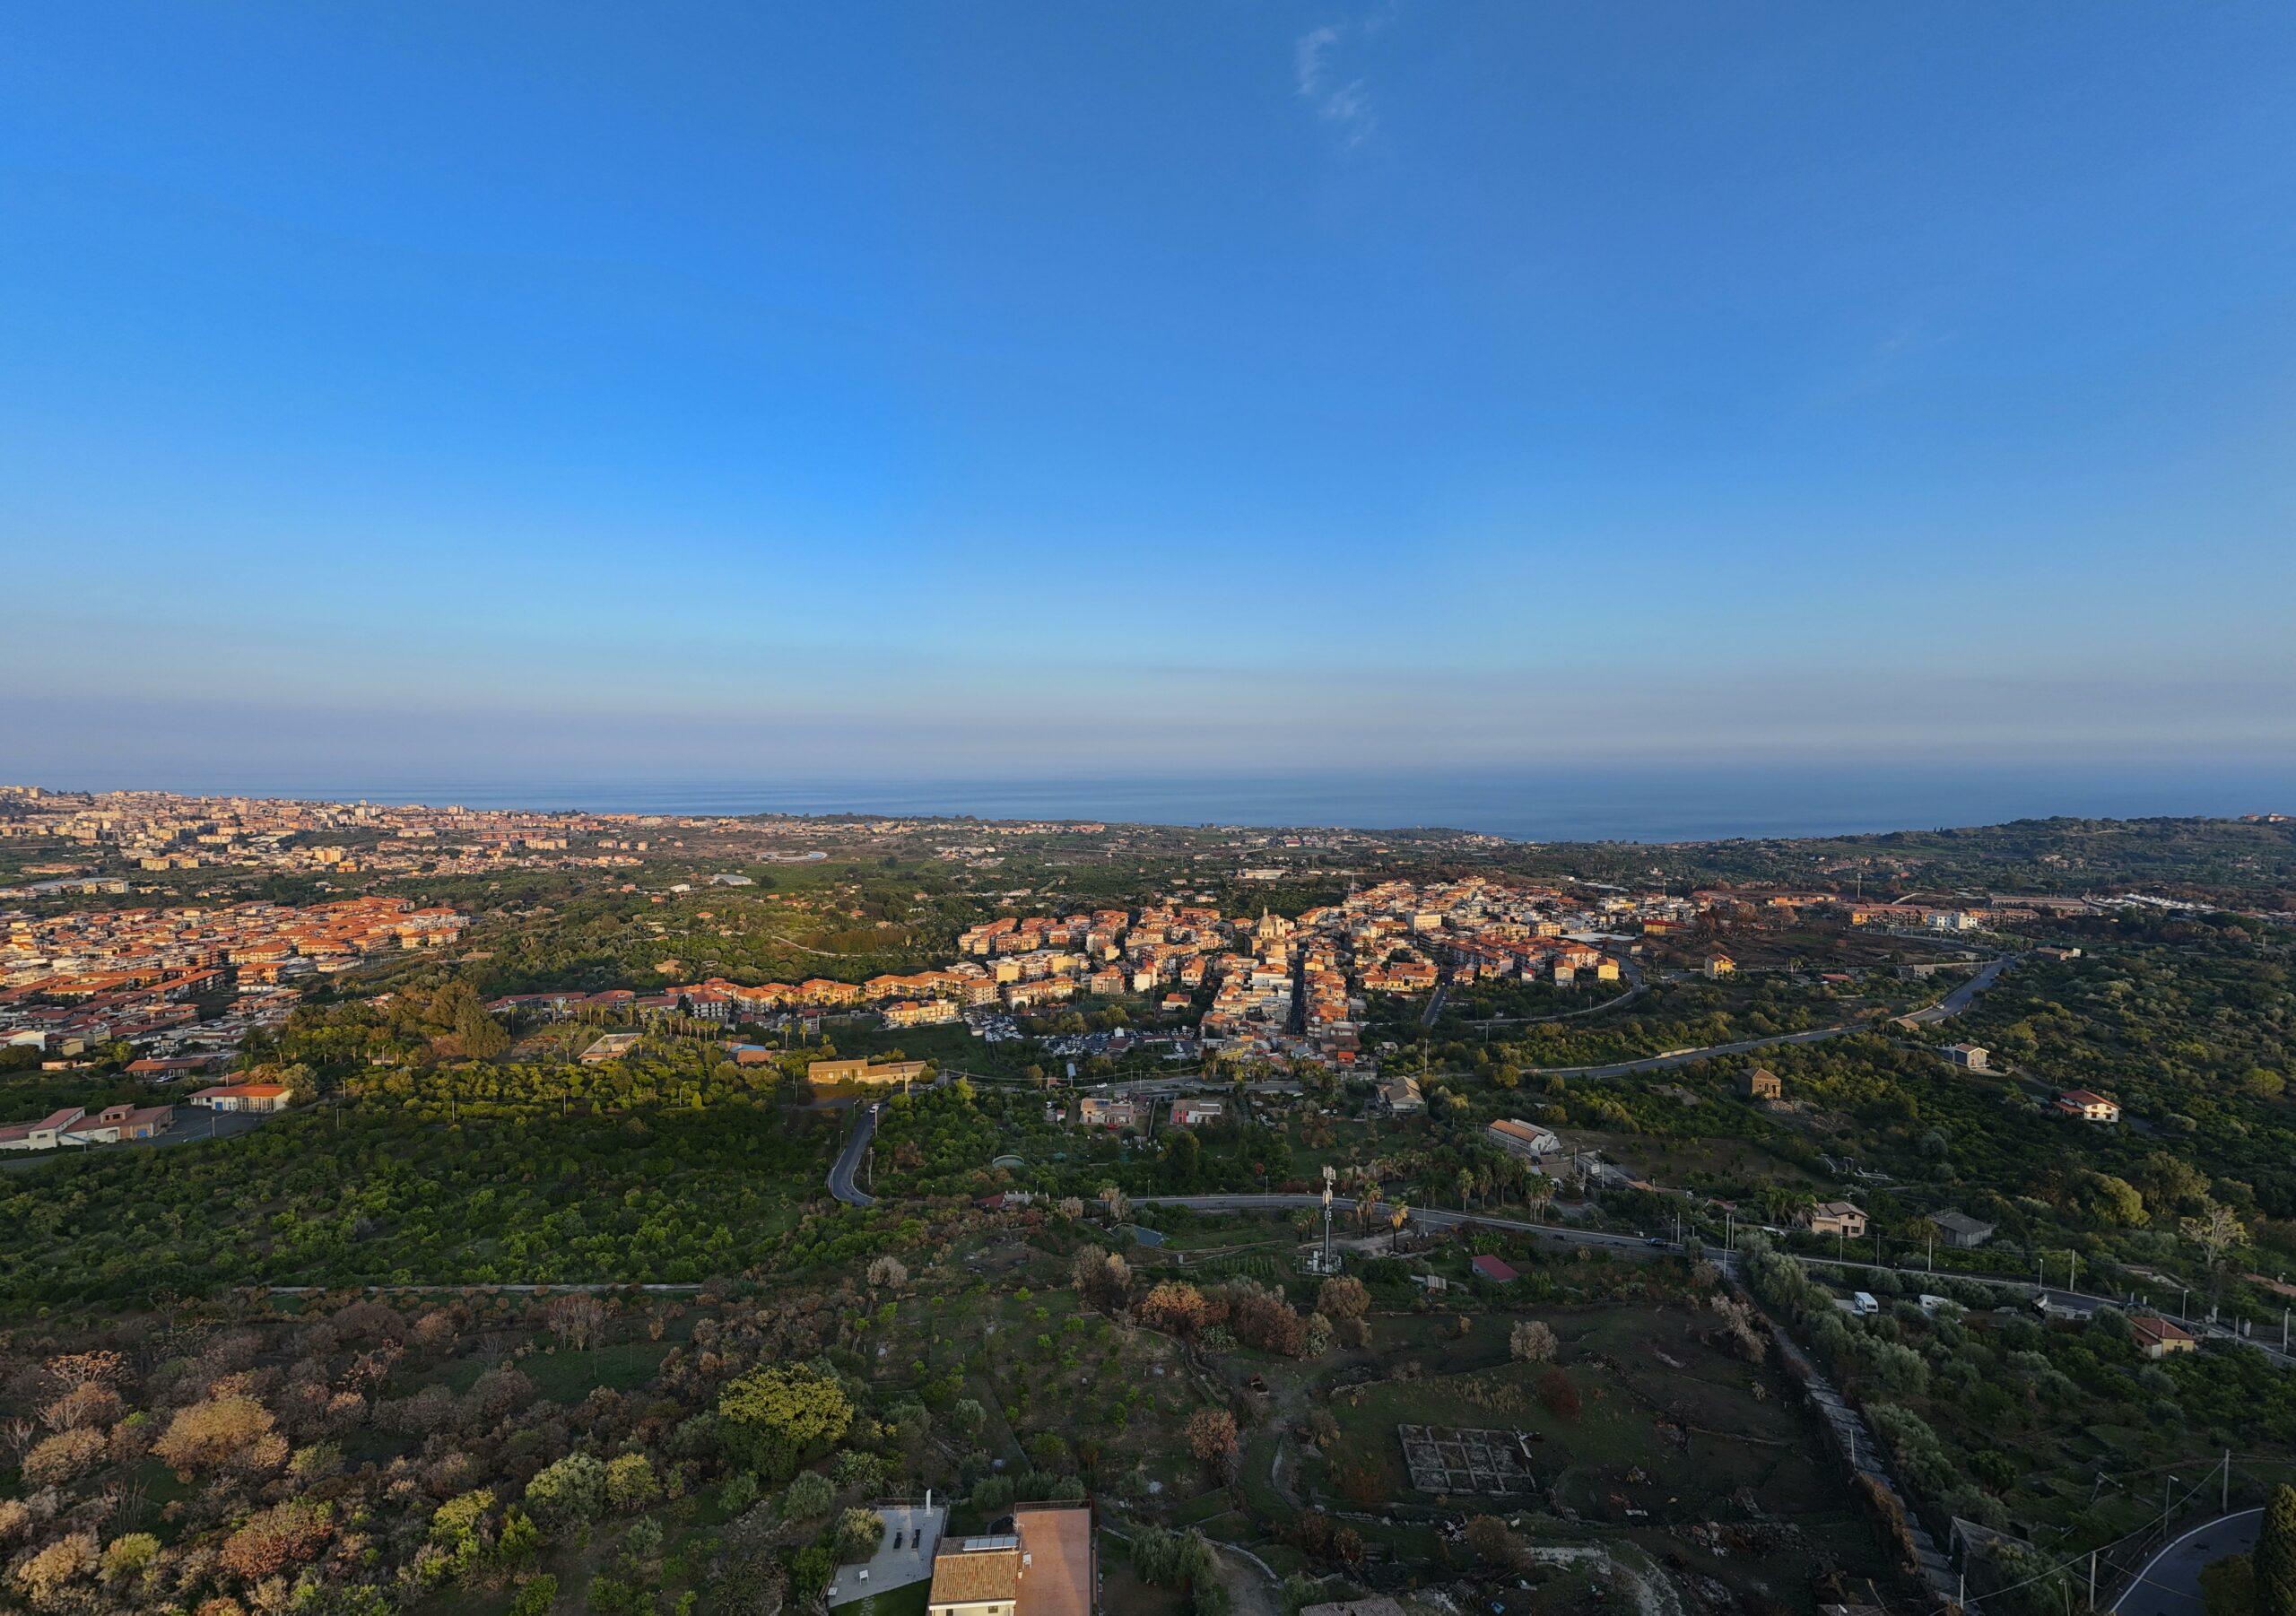
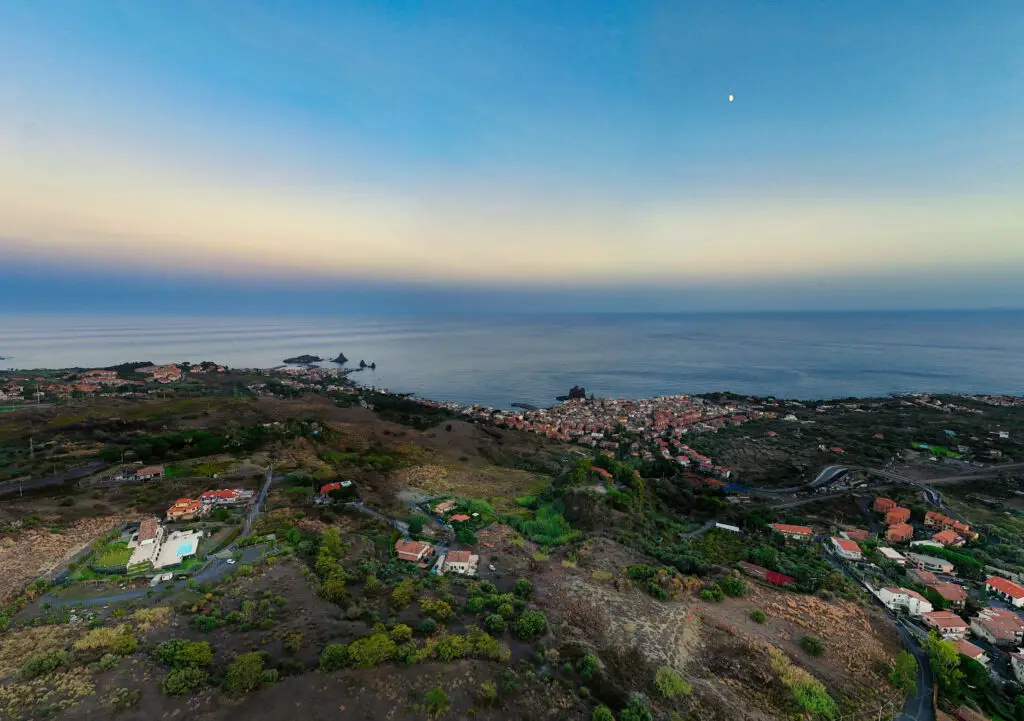
Examples of Panorama With the Mini 4 Pro
Sphere
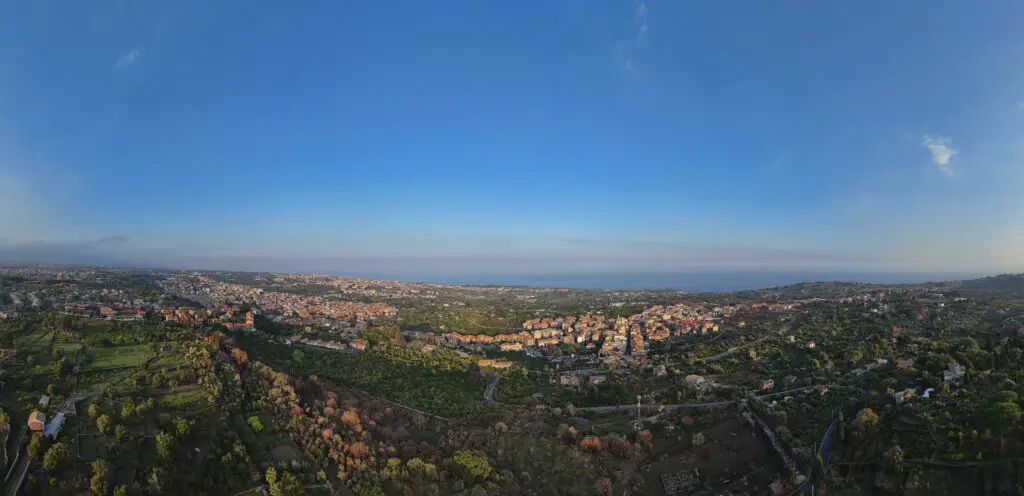
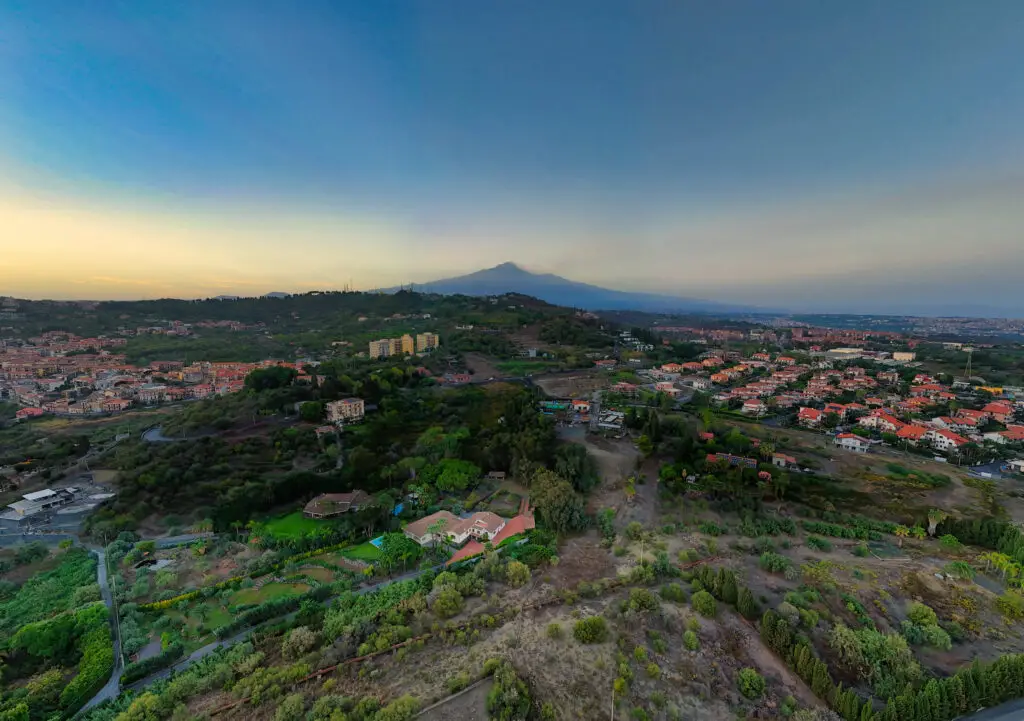
180°
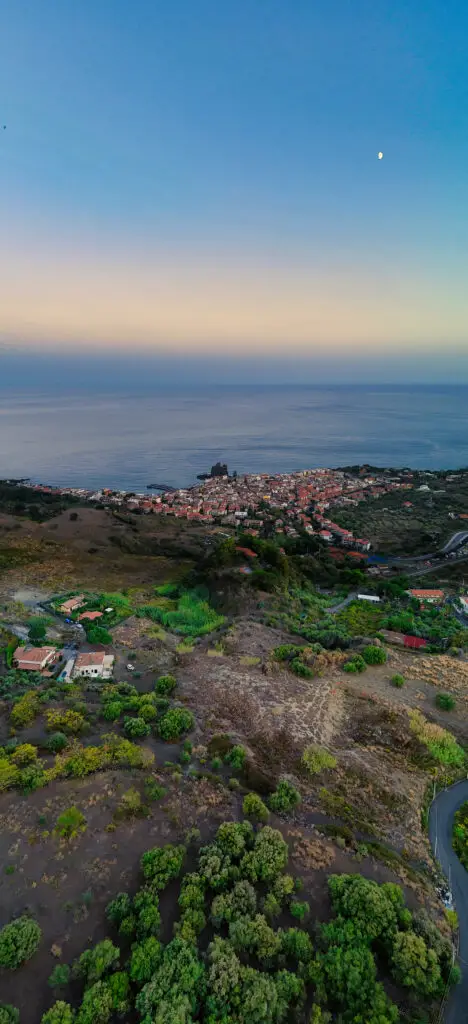
Wide-Angle


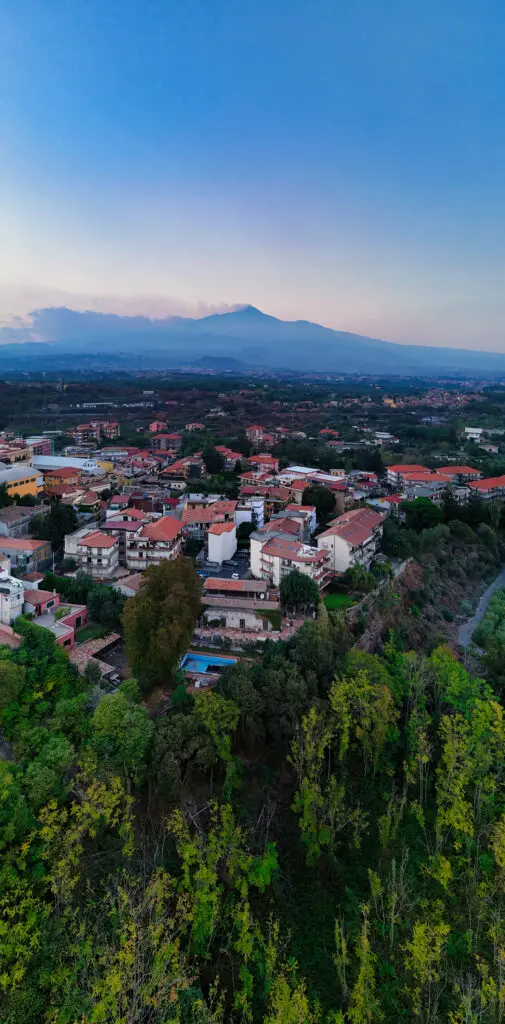
Vertical