
The FPV mode was introduced in the DJI prosumer line with the Air 2s. It has been improved since and it works very well in Mini 4 Pro and Air 3, with a smooth and consistent rolling movement. It can be used to add some creativity to footage and photos
You can check the prices for the different configurations of the Mini 4 Pro and the Air 3 (commission earned)
Other related articles you may find interesting:
- Mini 4 Pro Settings for video
- Mini 4 Pro Spotlight mode
- Mini 4 Pro Point of Interest
- Mini 4 Pro Active Track
- Air 3 Telephoto lens
- Mini 3 Pro FPV mode
- Luminar Neo, my favorite editing program
If you prefer to watch this as a video, you will find my YouTube version at the end of this article
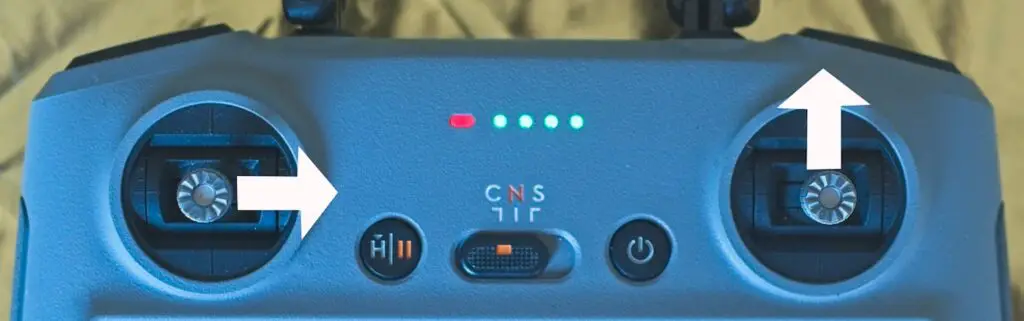
Settings
This mode works in the same way in the Mini 4 Pro and in the Air 3. The settings are identical
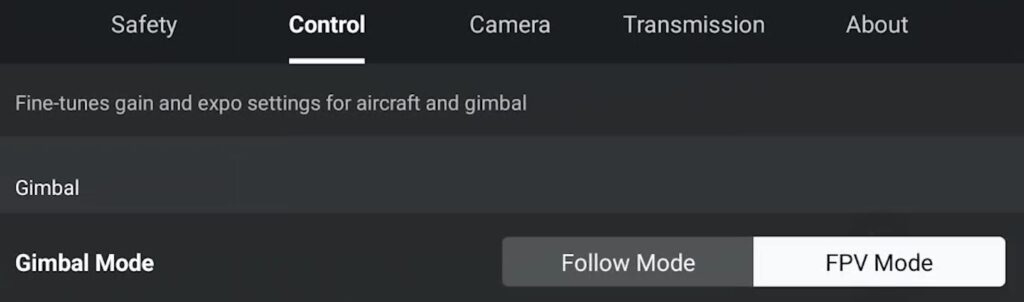
In the Control tab of the Settings, it is possible to choose between two different gimbal modes:
- Follow mode is the one normally used: the gimbal remains always fixed horizontally, regardless of the moves made by the aircraft, in other words, the rolling movement is taken out of the equation
- When selecting FPV mode the roll is enabled. When advancing and turning laterally, the aircraft leans laterally giving the impression of being in the cockpit of a small airplane
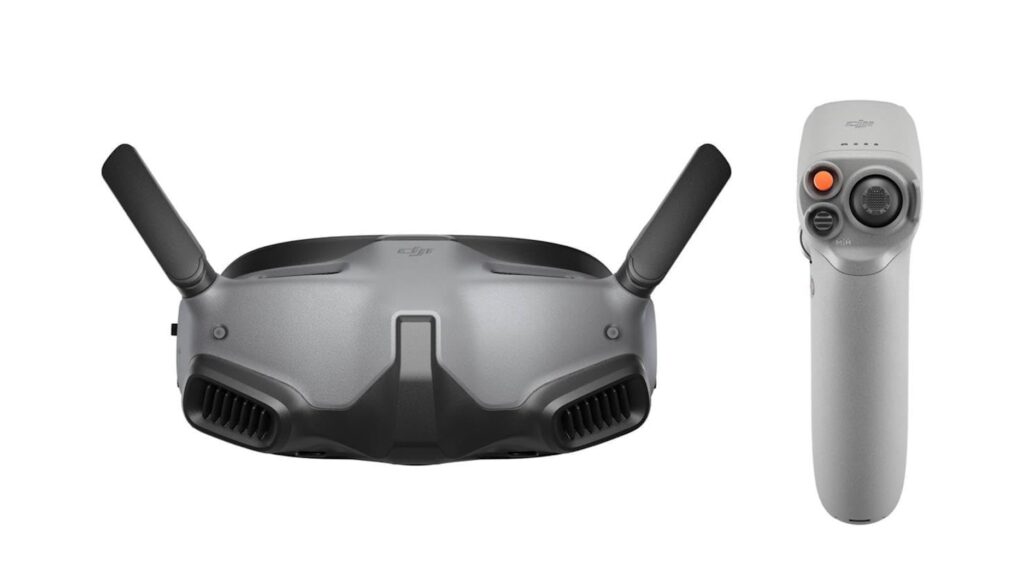
Do You Need Goggles?
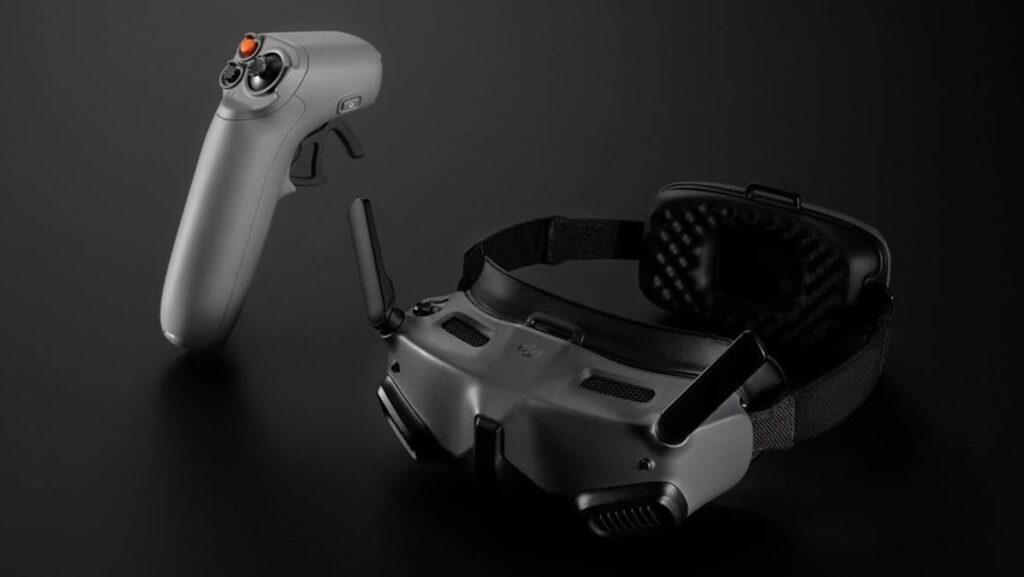
It is possible to purchase different models of goggles and a motion controller to get closer to the full FPV experience with the Mini 4 Pro and the Air 3
In a video like this, testing and suggesting some extra products is tempting to get some affiliate commissions. But I only suggest products that I find particularly useful and fully trust
Even though using goggles and a motion controller can be exciting for some experienced users, I find them to be expensive, bulky to carry, and also a bit dangerous, as the view is restricted to what the camera sees and the operator cannot keep track of the position of the drone compared to the home point and the environment
From the point of view of regulations, they are borderline, as we are supposed to maintain the aircraft within line of sight and have someone acting as a spotter to check the drone position while using the goggles
Specialized FPV drones like the Avata 2 are designed to withstand all sorts of crashes. They are very solidly built and have protections for the propellers
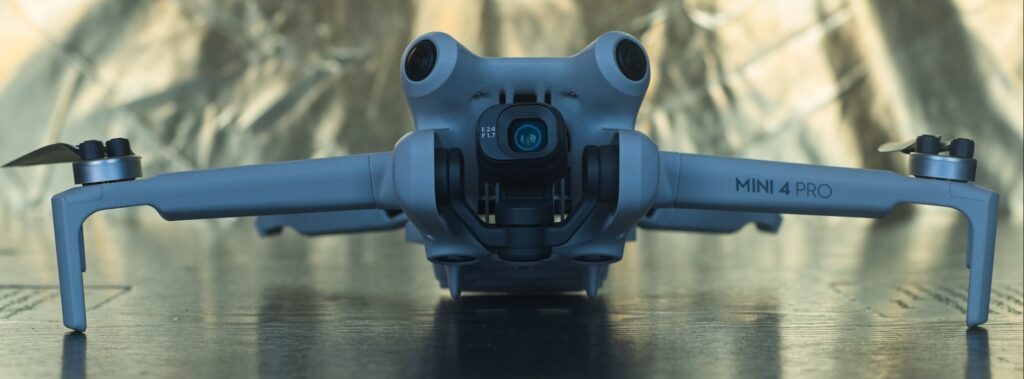
Regular prosumer drones are more fragile and can easily be destroyed by a collision, especially a model below 250 grams like the Mini 4 Pro, as the design focuses on shaving every gram to remain below the weight threshold
The Air 3 is much more sturdy, but it is still preferable to avoid crashes, I do not suggest going through small passages or other dangerous moves
The FPV mode in the Mini 4 Pro and Air 3 should be used to simply add a bit of creativity to footage and photos, not as a replacement for an FPV drone
FPV Video
How to Control the Moves
The FPV mode only works when the drone rotates while advancing. Both sticks of the remote controller must be involved in the moves, the left one to one side to rotate the aircraft and the right one pushed forward for the advancing movement
The intensity of the roll is controlled by the left stick of the remote, the further away from the center the stick is pushed the more aggressive will be the leaning to the side
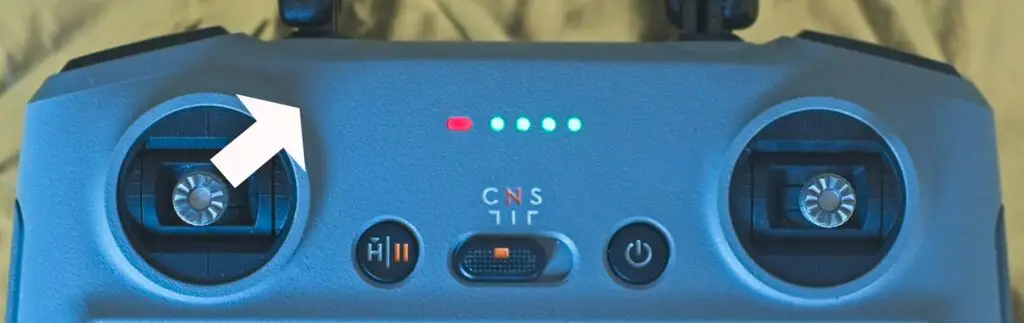
It is possible to add an ascending movement to the roll by pushing the left stick diagonally toward the top, the opposite for a descending move
When hovering and simply panning the horizon remains straight. The same happens when moving backward and rotating. To have the drone leaning while turning there must be forward movement
In the Mini 3 Pro, the FPV mode works much better than the original iteration in the Air 2s. It has been further improved in the Mini 4 Pro and Air 3
The rolling movement is now very smooth and consistent. With some practice, it is easy to control how much the aircraft leans to the side while turning: the faster the forward move and the further we push the left stick to the side, the more pronounced the effect will be
With Other Modes
The FPV mode works in the three speed modes:
- Cine
- Normal
- Sport
I suggest practicing in each mode to see how the roll is affected by the speed of the forward motion but the obstacle avoidance system is not active in Sport mode, so extra attention is needed, especially when flying close to the ground
Some interesting results can be achieved by combining several moves: advancing, sliding laterally, changing altitude, or modifying the gimbal tilt using the controller wheel
In FPV mode, the intelligent flight modes Active Track, Spotlight, and Point of Interest can be engaged, but while using them the camera behaves like in Follow mode and will not roll laterally. Here we are in Spotlight mode with the FPV mode turned on, but the horizon remains straight while rotating
I suggest practicing at a high altitude before flying closer to the ground, where the most spectacular results can be achieved
The obstacle avoidance system of the Mini 4 Pro and Air 3 is active when flying in FPV mode, but it is better to use some caution and be aware of surrounding obstacles
When flying closer to the ground it is beneficial to use ND filters to get the correct motion blur
In portrait mode the aircraft behaves like in horizontal mode, leaning laterally while turning. This is excellent news for users involved in social media platforms.
FPV With the Air 3
The main feature of the Air 3 is the presence of a second moderate telephoto lens with a field of view equivalent to 70mm
It is very useful to get closer to a target that could not be reached and to create a fascinating parallax effect
Adding a touch of FPV feel with this lens works very well, especially when the scene contains elements on several layers
FPV Photos
This mode is also useful for photography, to get unusual images with a slanted horizon
Some may argue that a similar result can be obtained by simply rotating the image in post-processing, but in this case, there will be a noticeable loss of resolution, while with the FPV mode, the full resolution of the sensor is maintained

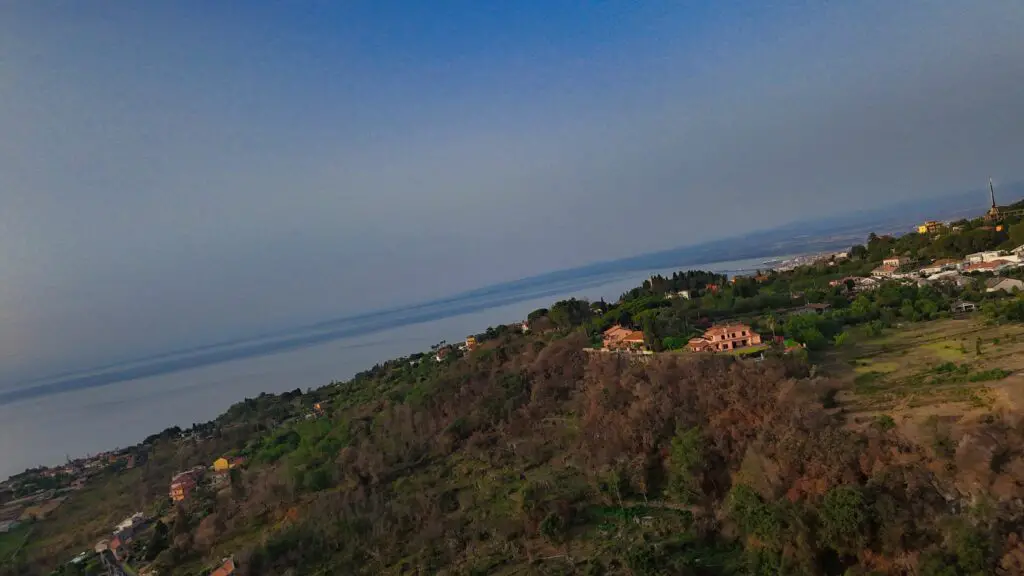
I took these images on a summer day in Sicily. It was extremely hot with a foggy sky full of dust from the desert. The worst light conditions for photos and videos
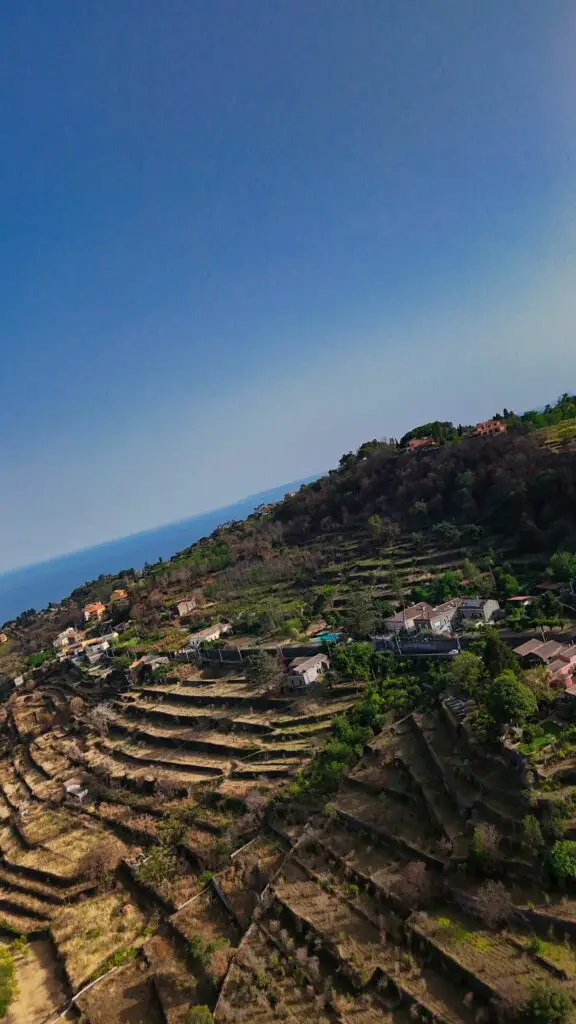
I processed the images with Luminar Neo, my favorite program for photo editing and the results are good despite the horrible conditions. You will find info about Luminar Neo here together with a discount coupon.