
The Air 3 and Mini 4 Pro are offered with a new pair of remote controllers, the RC2 and the RC N2
The RC 2 Controller with a built-in screen is worth the price difference compared to the RC N2, as there are no devices and cables to carry and connect and the screen visibility is massively improved. Compared to the previous RC model, the new one has a much-improved signal transmission and 32Gb of internal storage
In this article, I will show how to make the most of the RC 2 controller and why it is an improvement over the previous model, the RC
Other related articles you might find interesting:
- Mini 4 Pro calibration of IMU, Compass, Gimbal, and Remote Controller
- Mini 4 Pro camera settings for video
- Mini 4 Pro camera settings for photography
- DJI Air 3 camera settings for photography
- Mini 4 Pro Signal Transmission vs Mini 3 Pro
- Mini 4 Pro Obstacle Avoidance System
- Mini 4 Pro and Air 3 Return To Home
If you prefer to watch this as a video, you will find my YouTube version at the end of this article
Transmission System
The weak point of the Mini 3 Pro is the transmission system, inferior to any other DJI model I have tried, and I have tried more than a dozen
Antennas
This is due in part to the antennas, both in the drone itself and the remote controller
The Mini 3 Pro doesn’t have feet at the end of the wings, where the antennas are located in previous lightweight models. They are placed horizontally inside the wings
When the more affordable Mini 3 was released a few months later, the classic design was restored, with a pair of feet containing the antenna, but the signal transmission improved only marginally
The previous RC controller has a pair of built-in antennas and this could be another reason for the poor transmission
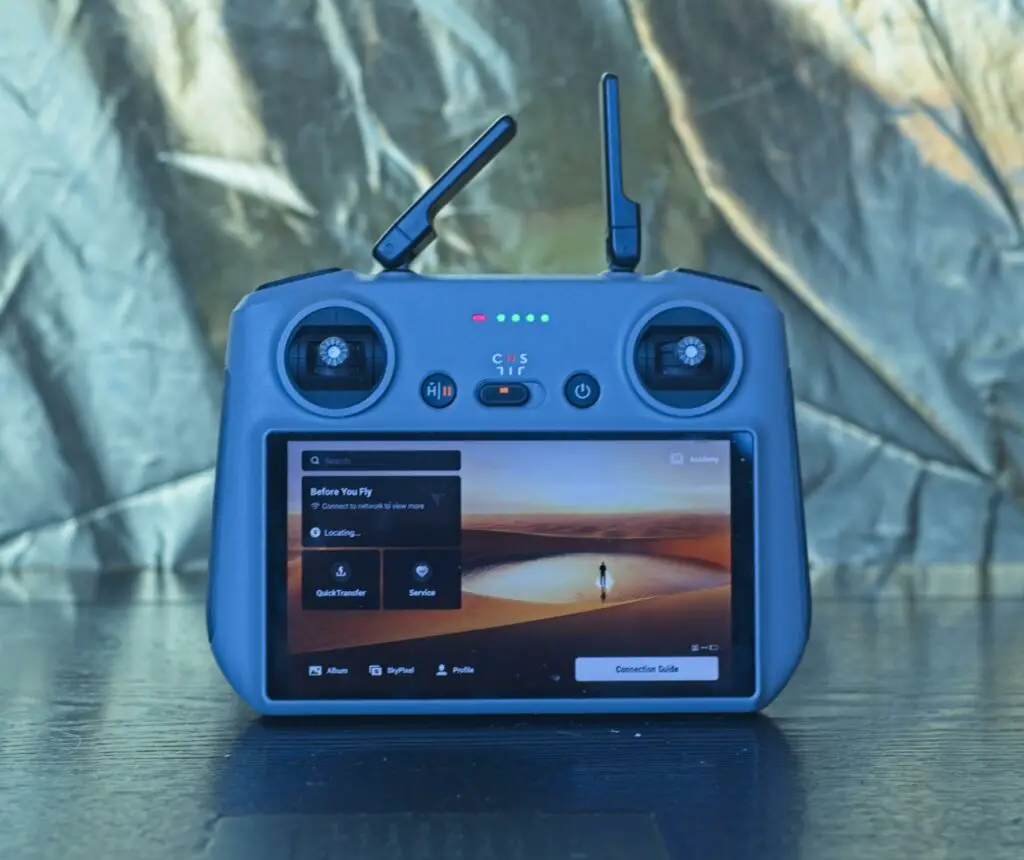
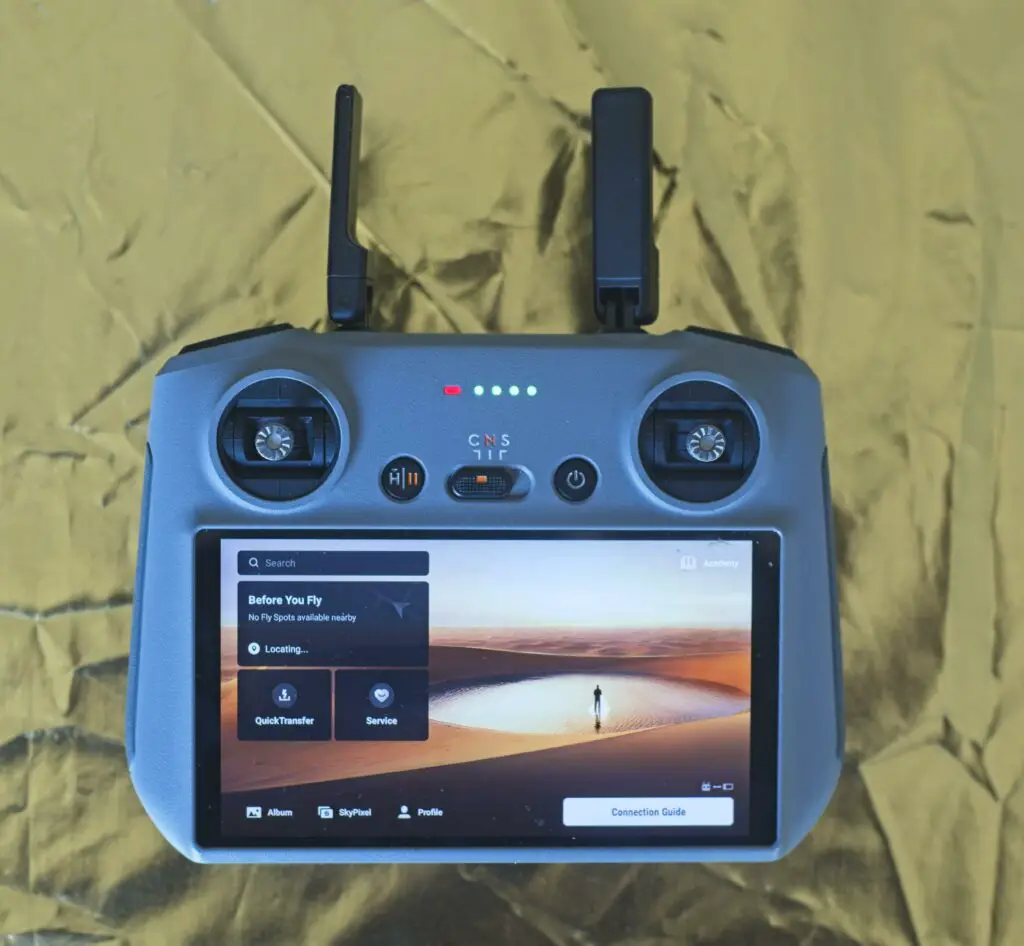
Besides the two internal ones, DJI has supplied the new RC2 controller with two extra external antennas, which are the main visible difference compared to the RC
The new model has a dual-transmitter, quad-receiver system for enhanced signal strength and improved transmission performance
Ocusync 4
Transmission quality was high on the list of priorities
The new RC 2 is compatible with the new generation DJI Ocusync 4 transmission technology with three different frequency bands, including the new 5.1 GHz, particularly effective for users based in Europe
The improvement of the signal transmission of the Mini 4 Pro with the RC 2 compared to the Mini 3 Pro with the RC is massive.
According to the geographic location, for some users, it is worth the price difference
Built-In Screen
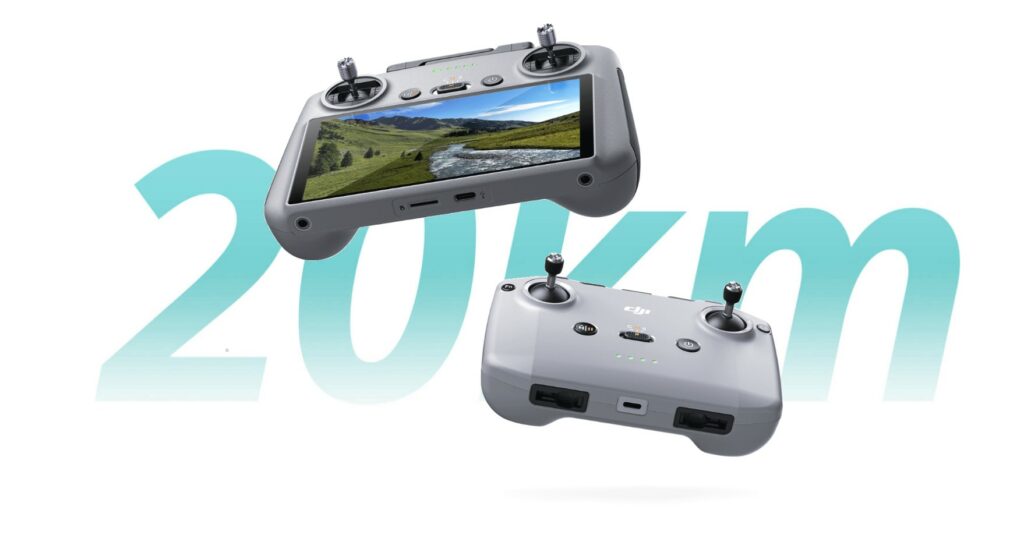
When buying a Mini 4 Pro or Air 3 there is a choice between two remote controllers: the RC N2 to be used with a smartphone or tablet, or the RC 2 with a built-in screen
The latter doesn’t need a device like a smartphone or a tablet and this is a huge advantage: just one device to charge and carry, no cables to connect, simply turn on the controller, which boots up in less than 30 seconds, turn on the aircraft and ready to go
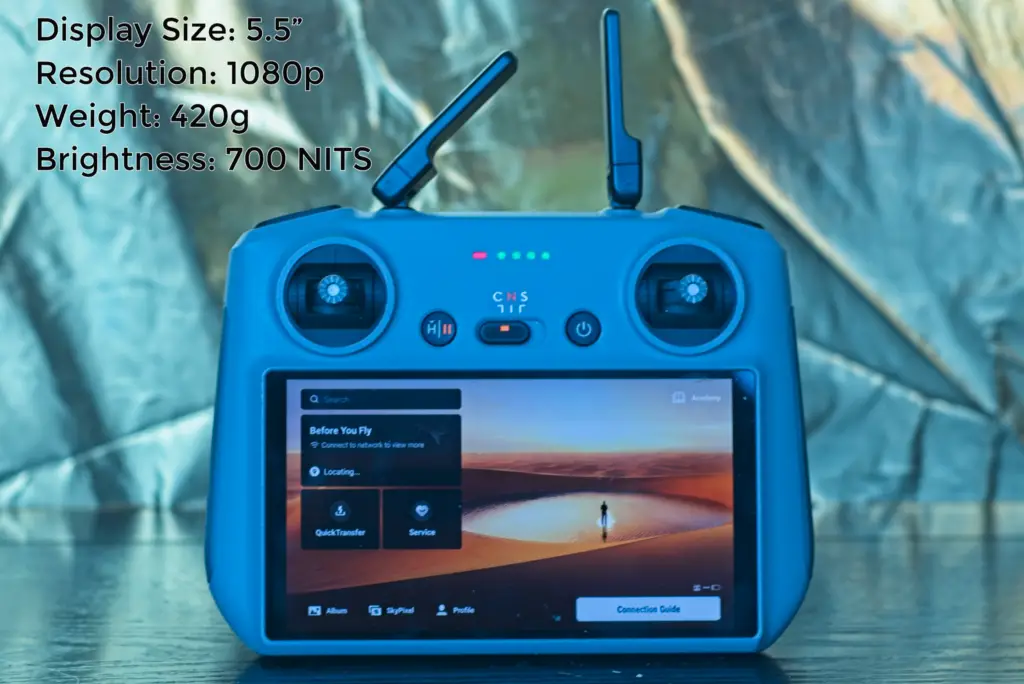
The display size is 5.5” with a resolution of 1080p. The weight is 420 grams, about 10% more than the previous RC, due to external antennas and other improvements
After removing the sticks, it fits perfectly in the bag and it is still an excellent solution for hiking and traveling
The brightness value is 700 Nits. With the RC N1, I was using a tablet and I find the RC controller brighter with better visibility in sunny conditions
Some premium smartphones have a slightly higher Nits value, but they tend to dim in sunny conditions to avoid overheating
Internal Storage

The new model has 32GB of internal storage, which is plenty for screen recording and caching
I find it very useful compared to using an SD card, as I can connect the controller to my PC with the supplied cable to transfer the files to a hard drive on my computer and at the same time charge the controller
Guided Tour of the RC 2
Front
On the front, there are two removable sticks
On the top, some LEDs, the 4 to the right indicate the battery level, the one to the left is initially red, but it turns green when the connection with the drone is established
The button to the left starts a return to home if we press and hold, with a quick press the drone pauses immediately in flight or exits automated moves like Mastershots, Quickshots, or Hyperlapses to prevent accidents
In the middle, there is a selector for the three different speed modes: Cine, Normal, and Sport
To the right the main switch: by pressing it once the 4 LEDs show the battery level; a short press followed by a long one to power the controller, and the same to switch it off
Top
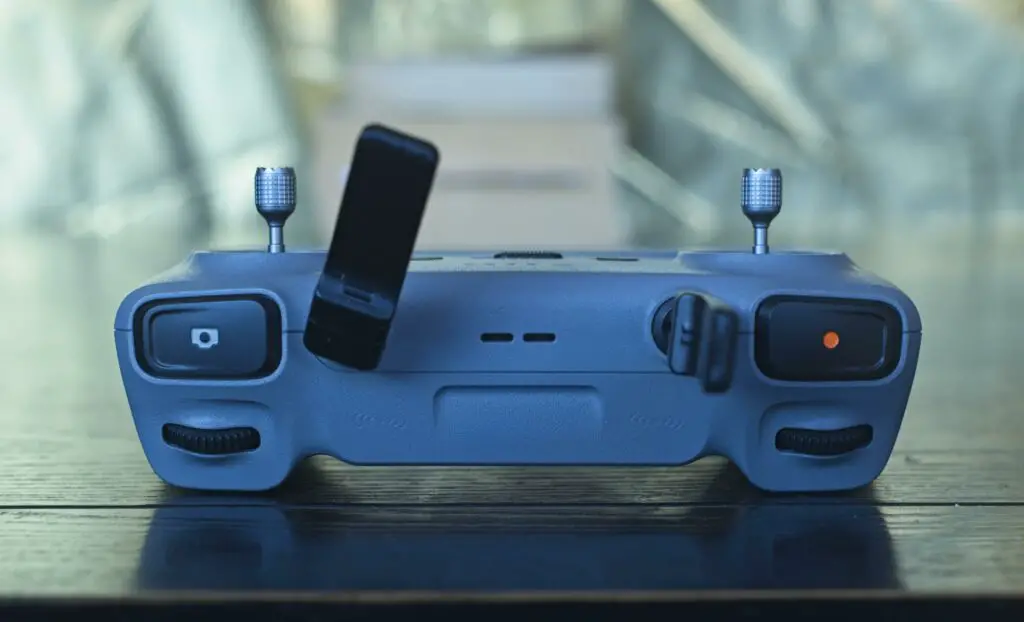
On the upper side, there are two buttons, the one to the left to start recording video
The one to the right is the photo shutter, by pressing it halfway it will focus on the middle of the screen if we are in autofocus mode
Behind the two shutters, there are two wheels; the one on the left tilts the gimbal up or down, and the one to the right by default controls the zoom, but it can be customized, as we will see later
This second dial produces a smoother zoom compared to simply dragging a finger on the screen
Back

On the back, there are two cavities to store the control sticks and two buttons that can be customized in the Control tab of the settings, by opening Button Customisation
By default the one to the left is set to toggle the gimbal’s tilt from top down to facing forward, the other button is set to Cruise Control, but there are plenty of other choices
It is also possible to modify the action of the right dial, the one normally assigned to the zoom
Finally, it is possible to customize the action of the right dial combined with each of the two buttons. Plenty of choices!
Bottom
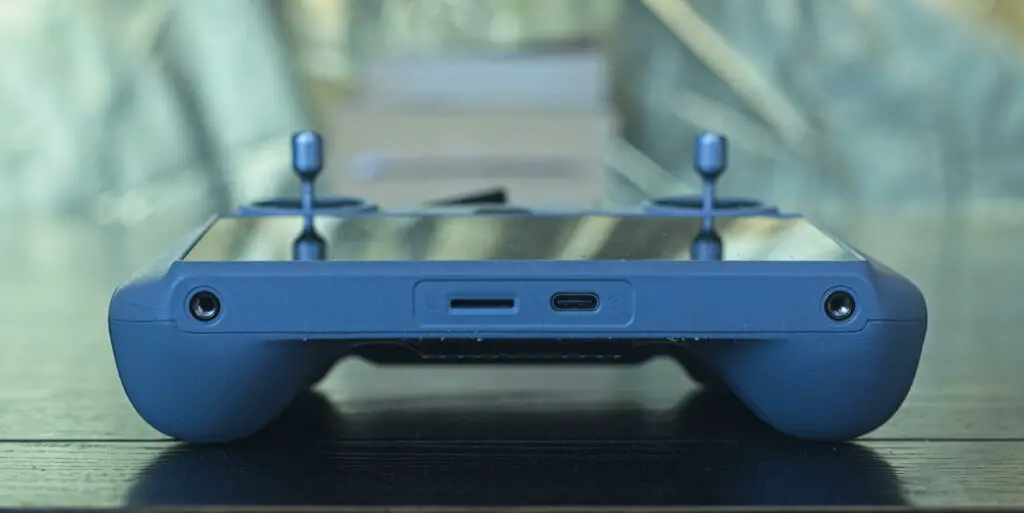
On the bottom there is a USB-C port that can be used for connection to a computer, to transfer files, and to charge the controller. It is also possible to attach a microphone for voice-over
The other slot is for an SD card, although I prefer to store the screen recordings in the internal memory of the controller
On the two sides, there are two small holes to fit a lanyard neck strap to have the controller hanging and free your hands
Settings of the Controller
After turning the controller on, by swiping down once at the top of the screen we can see the local time, the status of the SD card, battery level, and icons for other devices connected, like a microphone or a headphone
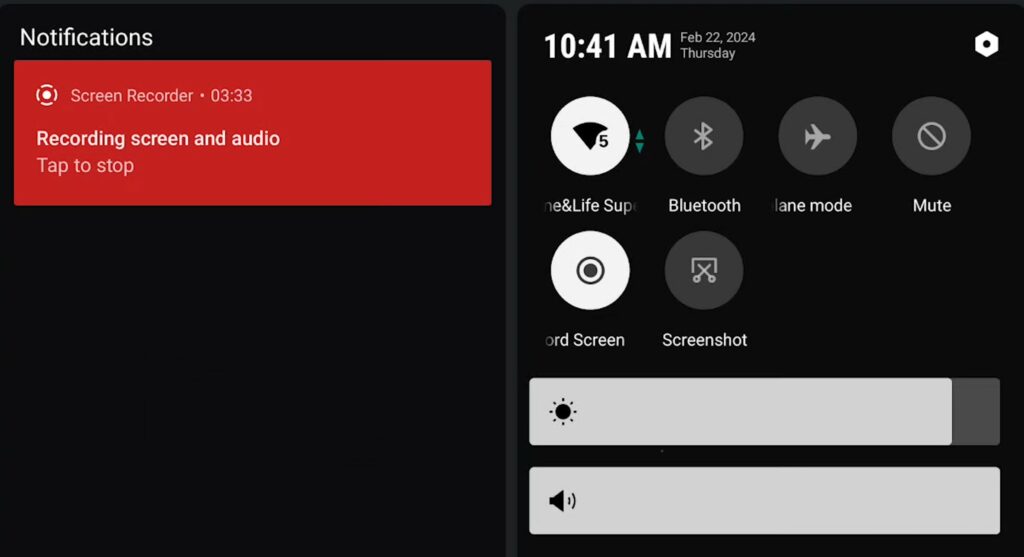
By swiping down twice we access the main screen for functionalities and settings of the controller
To the left, we can explore the content of the mini SD card, if we have one connected. By swiping with a finger to the right we return to the previous screen, if we swipe up from the button we exit the settings and return to DJI Fly app
Through the gear icon on the top right, we access a menu of settings where we can choose an internet connection, needed for firmware updates or for accessing the maps
When the aircraft takes off the internet connection is switched off; to access the maps in location there are two possibilities:
- Get an internet connection with a smartphone or tablet if you have set up a hotspot
- While a connection is available, browse the maps of the location at different zoom levels to cache them in memory
In the right part of the screen, there are 7 icons:
- 1 – Connects to the internet if a network is available
- 2 – Press and hold to pair a Bluetooth device such as a headphone
- 3 – Airplane mode
- 4 – Mutes the messages we receive during the flight
- 5 – Starts a screen recording. An icon shows the recording time with a button to stop recording, we can move it by dragging it around
- 6 – Takes a screenshot
At the bottom, there are two sliders for brightness and volume
Battery Time
The battery lasts for about 4 hours, which is a lot, considering the need to power the screen
It is the equivalent of eight times the aircraft batteries, certainly enough for all occasions
The charging time is about 90 minutes
Do I recommend purchasing the RC controller? Absolutely! I use it all the time. When using an older model, going back to a controller with a remote device feels cumbersome