The Mini 4 Pro is the first DJI lightweight model with an omnidirectional obstacle avoidance system, a feature previously reserved for the flagship model. The performance is excellent, above my expectations, up to the level of the Mavic 3. It can be used for close-range tracking
I will show how the system works, all the relative settings, and a few tips to reduce the risk of accidents
Other related articles about the Mini 4 Pro you might find interesting:
- Return To Home
- Transmission range
- Active Track 360
- Camera settings for video
- How to use Spotlight mode
- How to use Waypoint mode
If you prefer to watch this as a video, you will find my YouTube version at the end of this one
Sensors

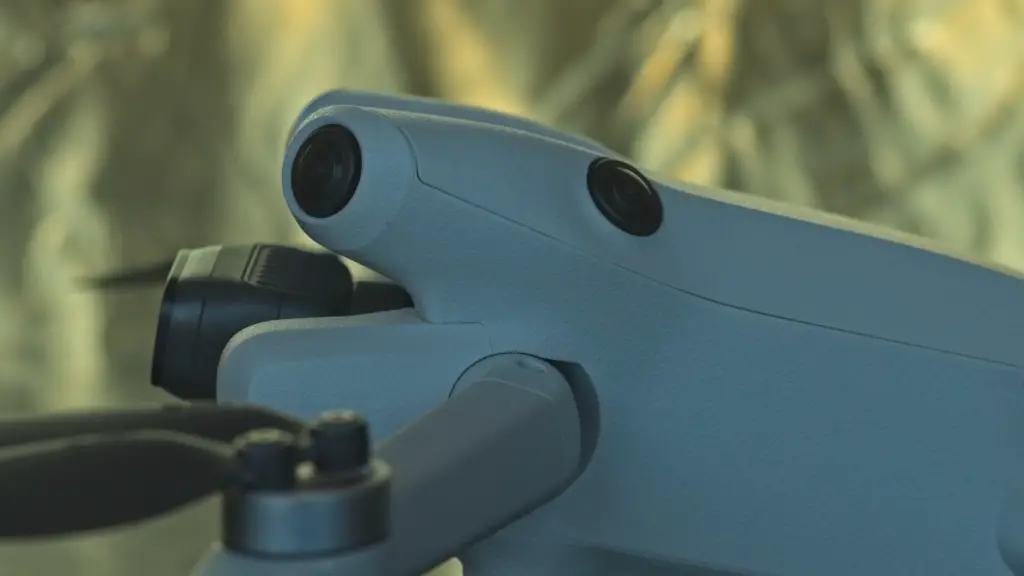
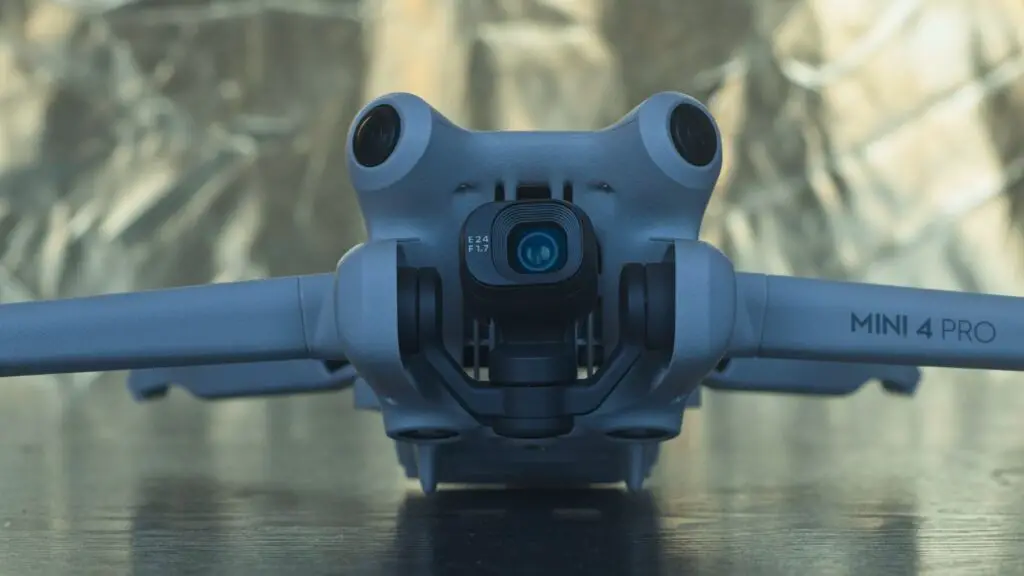
Like the Mini 3 Pro, the Mini 4 Pro has pairs of sensors at the front, toward the back, and at the bottom, in the same position as the previous model
But the front and back ones have wide-angle vision and are oriented upwards and to the side to detect obstacles to the sides and above for a 360-degree omnidirectional obstacle avoidance system

The Mini 3 Pro cannot detect obstacles laterally and above it. So tracking in a parallel position to the target or orbiting around a target can be dangerous
We will see how the Mini 4 Pro handles these situations later on in this article
When flying in Sport mode, the obstacle sensors are not active. In this mode, keep the drone well above all surrounding obstacles
Settings
The Automated Pilot Assistance System APAS 4.0 controls the drone’s behavior when it encounters obstacles on its path
Obstacle Avoidance Action

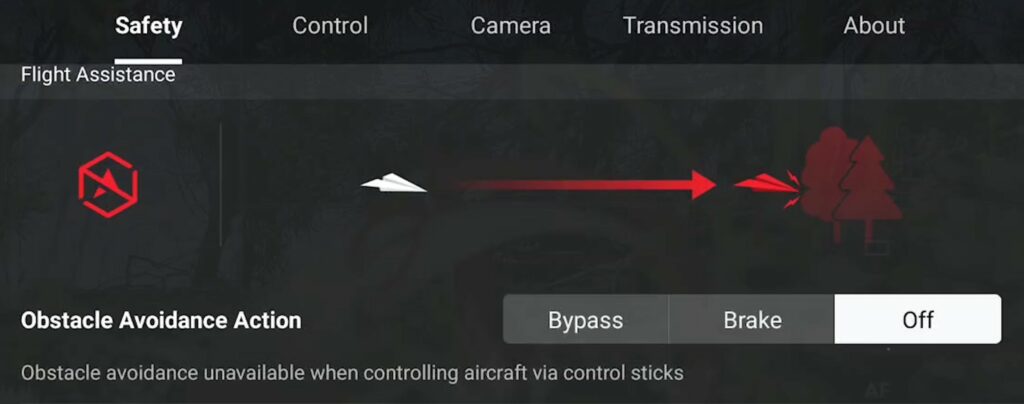
In the menu safety of the settings, there are three choices for the Obstacle Avoidance Action:
- Bypass, the aircraft tries to find the shortest path around the obstacles to avoid them
- Brake, the aircraft stops and hovers at about one meter, or three feet, from any detected obstacle
- Off, the APAS system is disabled
When filming the most frequently used obstacle avoidance action is bypass, as the aircraft will keep moving while avoiding obstacles for uninterrupted cinematic footage

On the top of the screen, an icon indicates the status of the obstacle detection system: it is white when the detection is on and red when it is inactive
Bypassing Option

The next item is Bypassing Option with a Choice between Normal and Nifty
In Nifty mode, the aircraft performs subtle moves and a smoother flight. It should be used in confined spaces for more precision, but we are warned of higher collision risks
Radar Map

Further down we can opt to display an on-screen Radar Map
In the Mini 3 Pro, this map shows a line in the lower part of the screen for obstacles below the drone. Another line in the upper part of the screen indicates obstacles in front
The Radar map works differently in the Mini 4 Pro because of the omnidirectional obstacle sensors

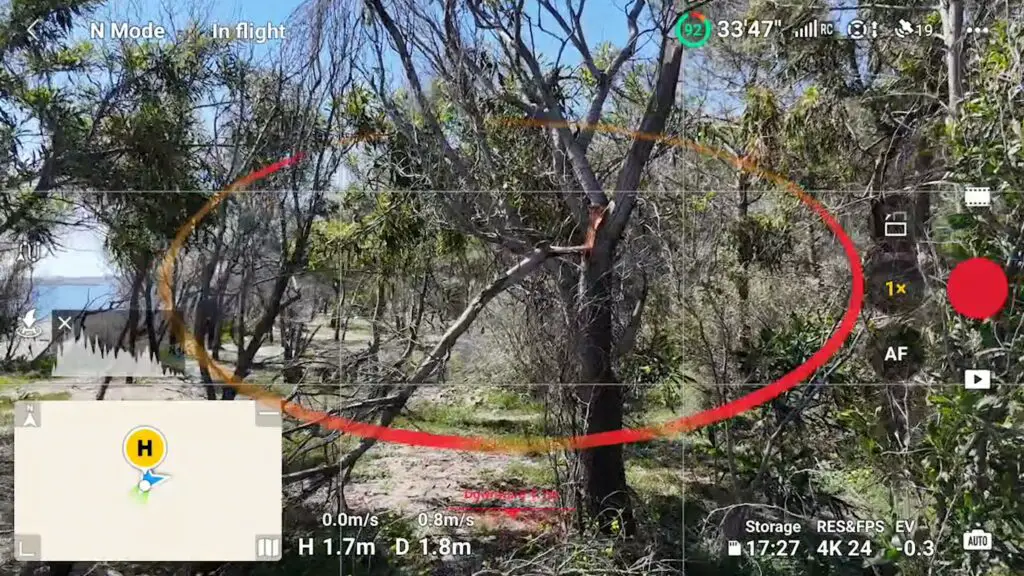
An ellipse indicates obstacles above, below, and to the sides
The distance from obstacles is indicated for obstacles above and below when they are at less than three meters (about ten feet)
Each portion of the ellipse appears when an obstacle is at less than three meters, it is yellow at first and turns red when the obstacle is closer
The obstacle avoidance system saved my drone on many occasions when it accidentally ended up close to unexpected obstacles. I recommend using it constantly when filming to avoid accidents
Test
Open Wood
Let’s start our test in a pine wood
The tree trunks are quite large, there is plenty of room between them with only a few bare branches
This scenario is a piece of cake for the Mini 4 Pro: it can easily find its way through the trees without hesitation. It is also able to track me from the front and from behind effortlessly This is just too easy!
Dense Vegetation
Previous DJI models tend to struggle to identify wiry obstacles like tiny bare branches and I experienced minor crashes under these conditions
So I move to a different environment. A more dense wooded area by the sea with plenty of tiny bare branches
The Mini 4 Pro handles the situation extremely well, it can identify wiry obstacles as well as the mighty Mavic 3. I kept flying around this area for about twenty minutes without touching a single branch or leaf
Lateral Obstacles
With the Mini 3 Pro, I had a couple of crashes with lateral obstacles, which is understandable, as this model doesn’t have lateral obstacle avoidance
I tested the Mini 4 Pro by going straight into lateral obstacles, as you can see from the red part of the ellipse
The aircraft always managed to avoid them or to stop before them if a clear path could not be found
Obstacles Above
Once I destroyed a Mini 3 Pro by hitting tree branches above it, due to the lack of obstacle sensors at the top
So I did a few tests with the Mini 4 Pro by going below some tree branches and pushing the left stick forward to raise the altitude
It managed to detect and avoid the obstacles above every time
Nifty Mode
I decided to try the Nifty mode
When selecting this option in the Safety tab of the settings, a warning message appears on the screen: “Increased collision risks, use with caution”. Scary staff!
The difference compared to Normal mode is subtle. I find that the drone flies slightly closer to the obstacles and the changes of direction are more subtle
I would not suggest playing around with this mode around wiry obstacles, as some crashes may happen, but I can see its use when flying in very confined spaces like abandoned buildings, possibly with protection for the propellers
Over Water
When flying over water, the downward obstacle sensors struggle to analyze a reflective surface
They cannot always avoid entering the water and the altitude shown on the screen should be taken with a pinch of salt
Sprays of salty water from waves can destroy a drone, so I suggest avoiding flying very close to the water
