ND filters are the best-selling accessories for a drone, but there is often confusion about how to use them and why. In this article, we will see if you need them with the DJI Mini 4 Pro for video, for hyperlapses, and for photography. I will also suggest which ones to use for the different occasions
I suggest this set of three filters by DJI covering all light conditions for video. For users interested in hyperlapses and photography, I suggest adding to the previous set a stronger ND 1000 filter. These are associate links, so I receive a small commission for purchases made.
Other related articles you may find interesting:
- Mini 3 Pro Camera settings for video
- Mini 3 Pro Photography review
- Hyperlapses with the Mini 3 Pro
- Mini 3 Pro Video quality
If you prefer to watch this as a video, you will find my YouTube version at the end of this article
What Are ND Filters?
The name ND stands for Neutral Density. The purpose is to reduce the intensity of light without affecting the hue or the color rendition. In other words, they act like sunglasses to reduce the light entering the sensor

But why do we want to do that? Let’s say we want to apply a specific shutter speed value while shooting footage, for example, 1/50”. With this value, we can expose correctly only in certain light conditions; in other situations, the luminosity will be too strong and the resulting footage overexposed
To apply the desired shutter speed value in all light conditions we must use an ND filter of the correct strength
For Video
There are three parameters to set for exposure:
- Aperture
- ISO
- Shutter Speed
With the Mini 4 Pro, the Aperture is fixed at f1.7, so there are only only two values to take care of
For ISO in most cases we want to keep the minimum value of 100. However, this model performs very well with values up to 400 without any noticeable quality degradation, so there is some room for maneuver if needed
The most important value is Shutter Speed. According to the famous 180-degree rule, when shooting video it is suggested to use a Shutter speed of 1/50” with a frame rate of 25 or 24 fps, 1/60” for a frame rate of 30fps, 1/100” with 1/50” and so on
| Frame rate | Shutter speed |
| 24 or 25 fps | 1/50″ |
| 30fps | 1/60″ |
| 50 fps | 1/100″ |
| 60 fps | 1/120″ |
This is because these values apply motion blur to moving elements, mimicking how we would see them in real life
With a faster shutter speed the elements in motion look jumpy, too sharp, and unnatural
Using the correct shutter speed value is especially important when the scene contains moving elements at a relatively close distance, or when flying fast close to the ground
Motion blur can be disregarded when filming landscape footage with a drone at a high elevation far away from moving elements
Professional users always use manual exposure to control the shutter speed value and apply the correct ND filters for specific light conditions before taking off
Casual users who prefer auto-exposure can apply a filter that maintains the shutter speed more or less around the correct value
Like the Mini 3 Pro, the Mini 4 Pro has a wide fixed aperture of f1.7. With the Mini 3 Pro, in the brightest conditions, ND filters are needed to expose correctly even when selecting the fastest shutter speed and the lowest ISO value

To solve the issue DJI has extended the slowest Shutter Speed value of the Mini 4 Pro by one stop to 1/16000, vs 1/8000 for the Mini 3 Pro
For users only interested in footage, I suggest a set of ND filters made by DJI with values of ND 16, 64, and 256 (affiliate link). The quality is excellent at a very affordable price
It is very easy to put them on and off. For video, they cover all sorts of light conditions. Even though there is a bit of a gap between each filter, we can easily compensate with a small variation of the ISO value
For Hyperlapses
For this technique motion blur is crucial. I would not even consider attempting a time lapse or hyper lapse without ND filters
A common mistake beginners make with hyperlapses is disregarding the importance of the correct shutter speed; the result is in most cases unwatchable, especially when the scene contains elements in motion, which is often the point of a hyperlapse
If we compare them to others using the correct shutter speed value, we immediately understand why ND filters are needed for hyperlapses and time lapses
According to the 180 rule mentioned above, for hyperlapses we should use a shutter speed of one second with an interval between photos of 2″, 1.5” with an interval of 3” and 2” with an interval of 4”
| Interval between photos | Shutter speed |
| 2 seconds | 1″ |
| 3 seconds | 1.5″ |
| 4 seconds | 2″ |
But with drones, we don’t have the same flexibility as with ground-based cameras. Shutter speeds slower than 1” are not always available in the hyperlapse settings, also the aircraft is not as stable as a camera on a sturdy tripod, so a very long shutter speed can cause unwanted image blur
For hyperlapses with drones, we must compromise and always select a shutter speed of 1”. The results are good: the moving elements flow smoothly and the motion blur is similar to what we would see in real life
The shutter speed value of 1” gathers more light compared to the values used for video, so stronger ND filters are needed
The ND filter with the highest value in the DJI set I use for video is ND 256. With this value we can get a correct shutter speed for hyperlapse only around sunset or sunrise, or in very cloudy conditions

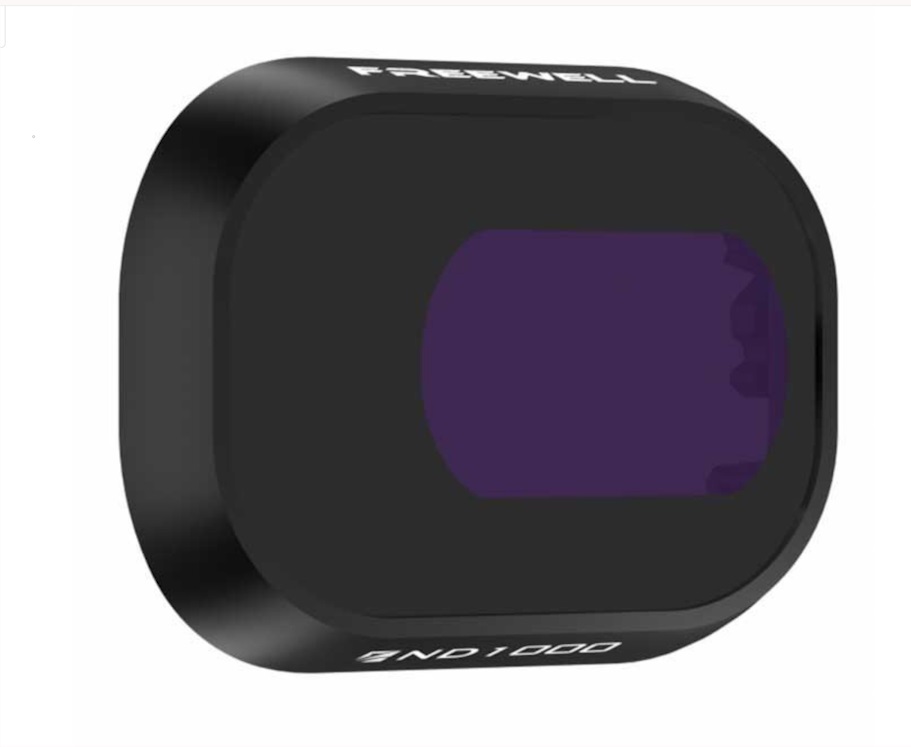
This is a serious limitation, so I suggest adding a single, very strong ND 1000 filter, also known as the big stopper, to the set of DJI filters for video (affiliate link)
Such a strong filter can cover most daylight conditions, apart from the central hours of a sunny day, which are to be avoided anyway, as the shadows are very harsh and the contrast between bright and dark areas is too strong
For Photography

In photography, the only reason to use ND filters is for creative long-exposure shots. It is great fun and the results are often stunning
One way to do it is with the drone flying. The shutter speed value suggested is again 1”, so we need the same sets of ND filters as for hyperlapses

The best results are often obtained when flying close to the ground in a straight line toward a target, the idea is to have the target in focus, while the other elements will be blurred

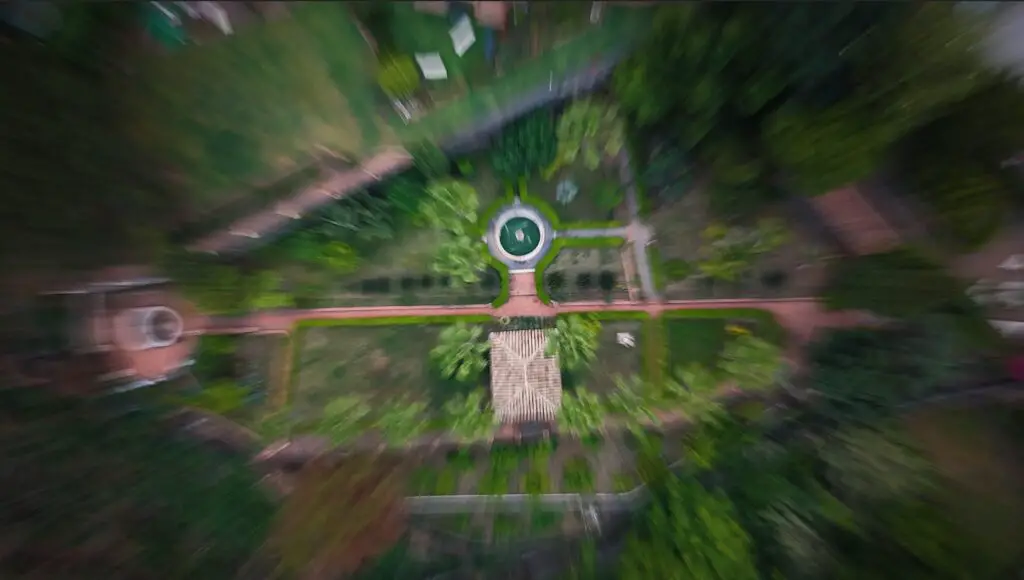
Another possibility is with top-down views while ascending or descending. It is better to avoid lateral moves, as in this case everything will be blurred. I suggest experimenting with this technique, as the results are often surprising
But a drone doesn’t need to be always flying. It can also be placed on a solid flat surface and used as a ground-based camera on a tripod, even in urban situations
The Mini 4 Pro can take photos with very long shutter speed values of up to 8”, a new feature compared to previous models
If You Prefer Watching This As a Video
