
The DJI Air 3 can take automated panorama photos with the wide-angle lens in four different modes:
- Sphere
- 180 degrees
- Wide Angle
- Vertical
To shoot manual panoramas with the telephoto lens and in 48 MP mode the single photos must be stitched using third-party software
A drone is an ideal tool for panorama photography, as with the point of view up in the sky there will be no obstacles even in the case of 360° images
Panorama photography is a useful technique to get a higher resolution than regular photos, which is handy for large prints; to post interactive images on social media where the viewers can move inside the image; or to get a surreal distorted creative 2D view of a scene
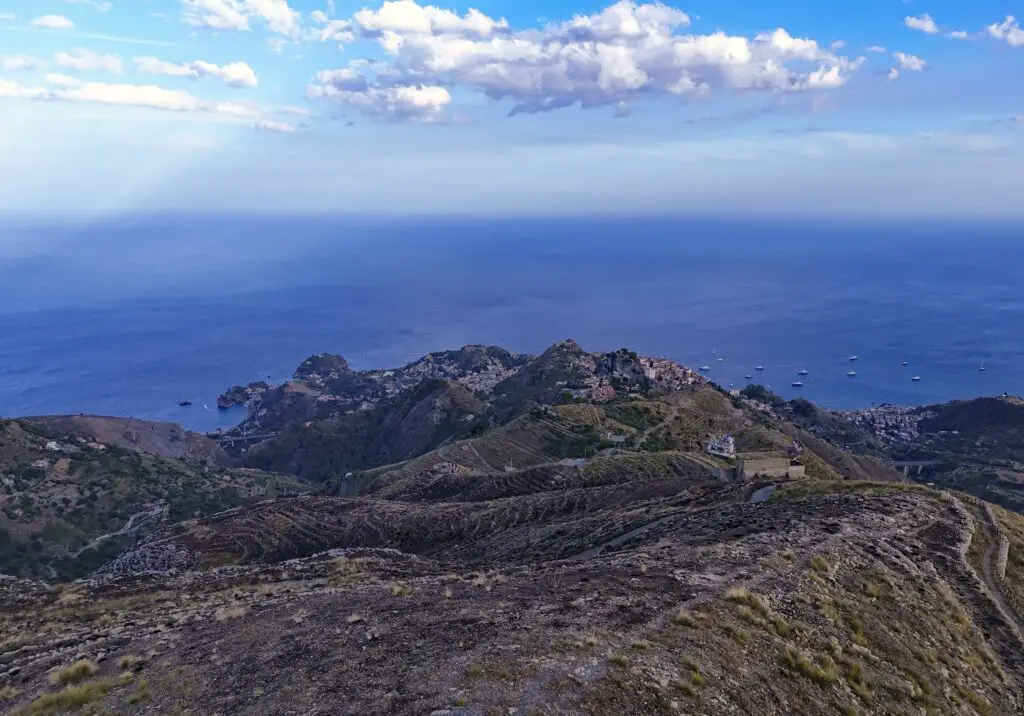
Further down you will find JPEG files that you can download to check the quality
Other related articles you may find interesting:
- Photography with the Air 3
- Air 3 video review
- Camera settings for photography with the Air 3
- Air 3 vs Mini 3 Pro photography comparison
- Air 3 vs Mini 3 Pro video quality
- Air 3 Mastershots tutorial
- Telephoto lens of the Air 3
If you prefer to watch this as a video, you will find my YouTube version at the end of this article
Mistakes to Avoid
1 – Lack of Reference Points
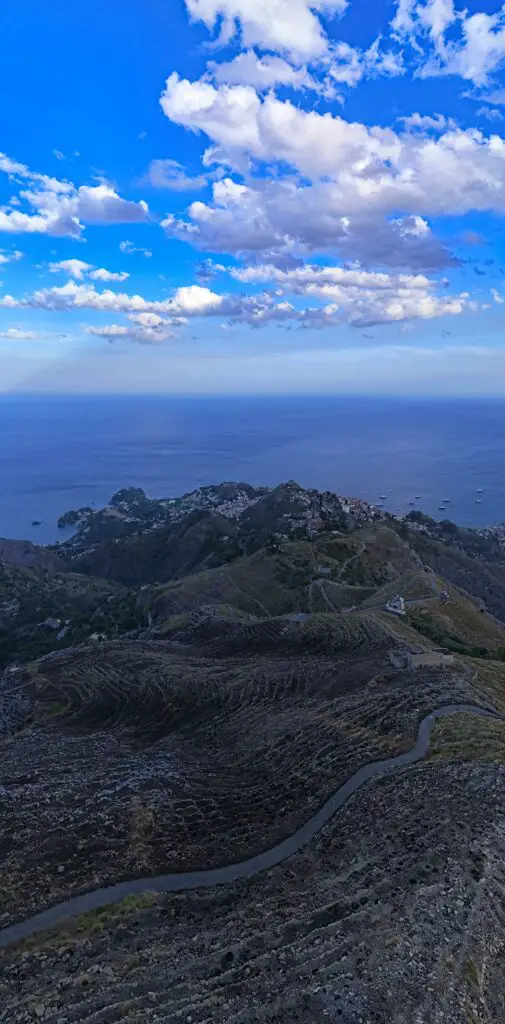
The stitching software needs many reference points to align the images properly, so it is better to avoid scenes with a significant portion taken by uniform elements, like water or the sky
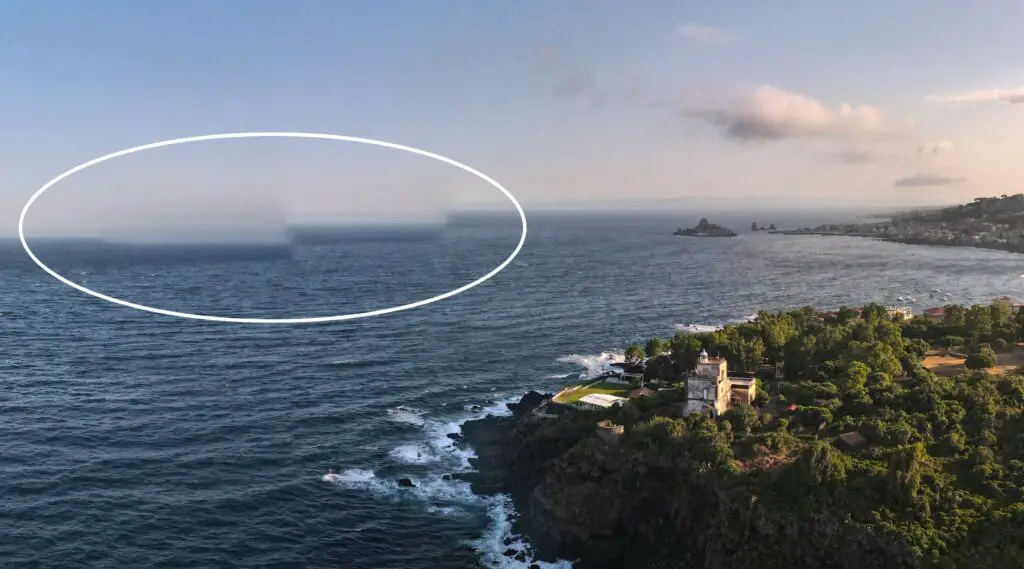
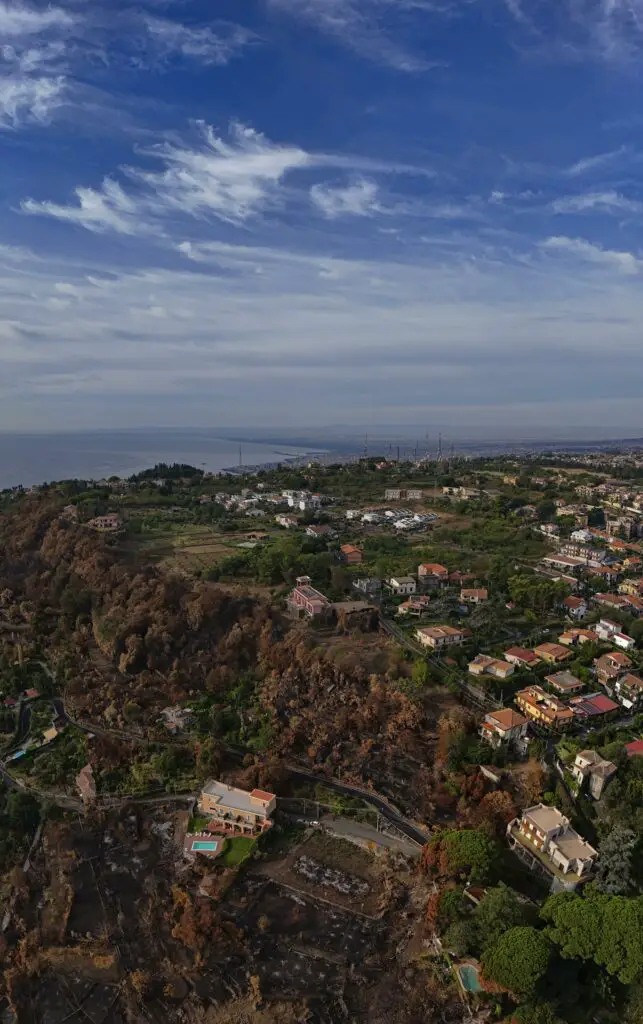
In this case, the stitching failed because most of the image was taken by the sea
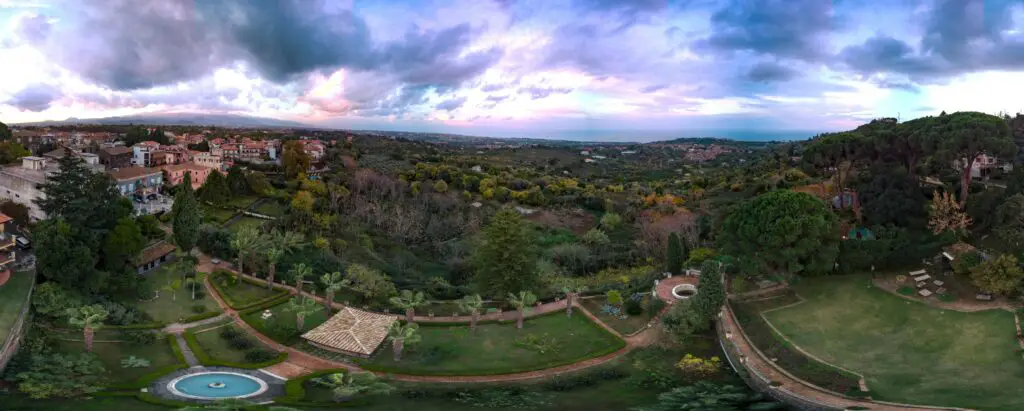
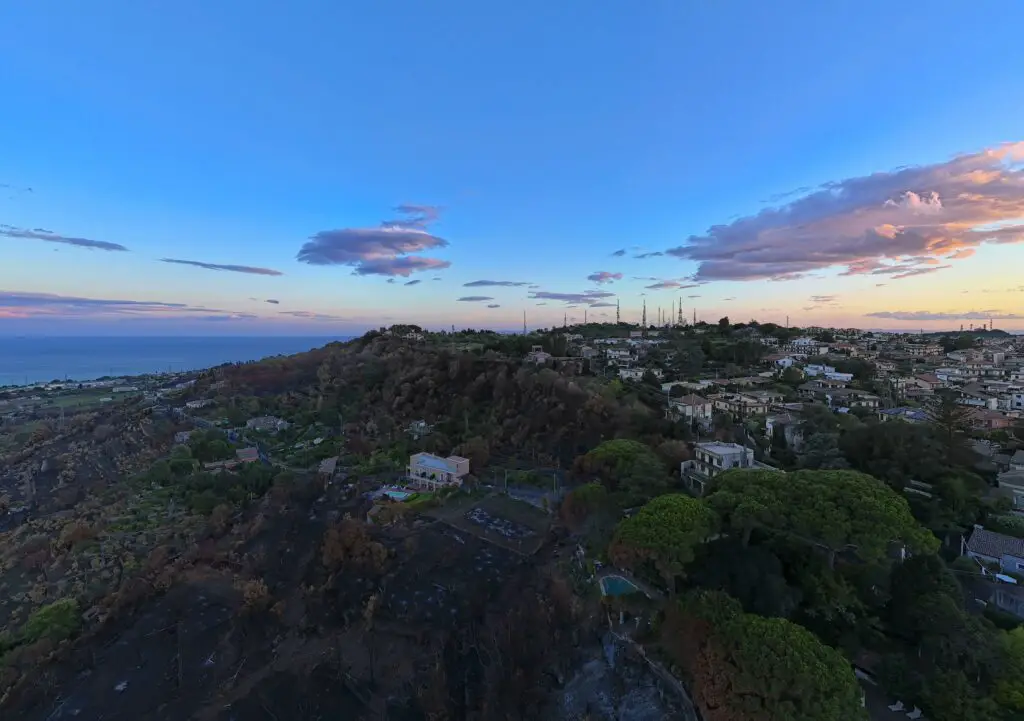
2 – Uncovered Sun in the Frame
With Sphere panos, the sun will always be in the shot causing an extreme dynamic range
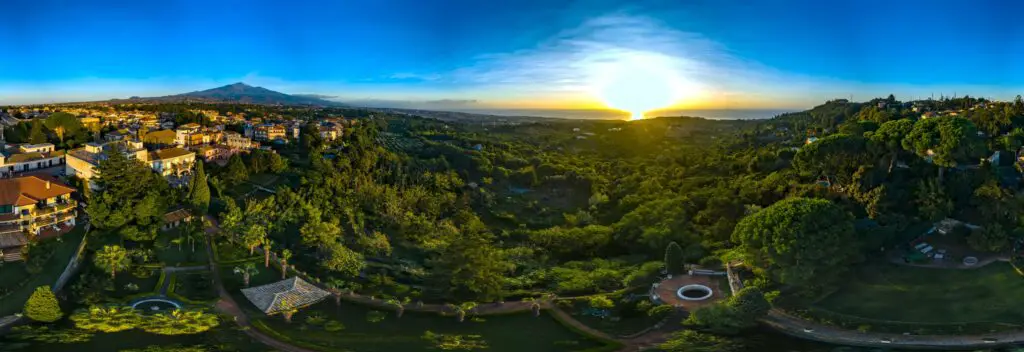
It is hard to expose correctly under these conditions
I suggest choosing a day when clouds cover the sun or shooting around sunset or sunrise, to reduce the dynamic range, so that we can avoid burning the highlights and at the same time recover the shadows
3 – Use of Filters
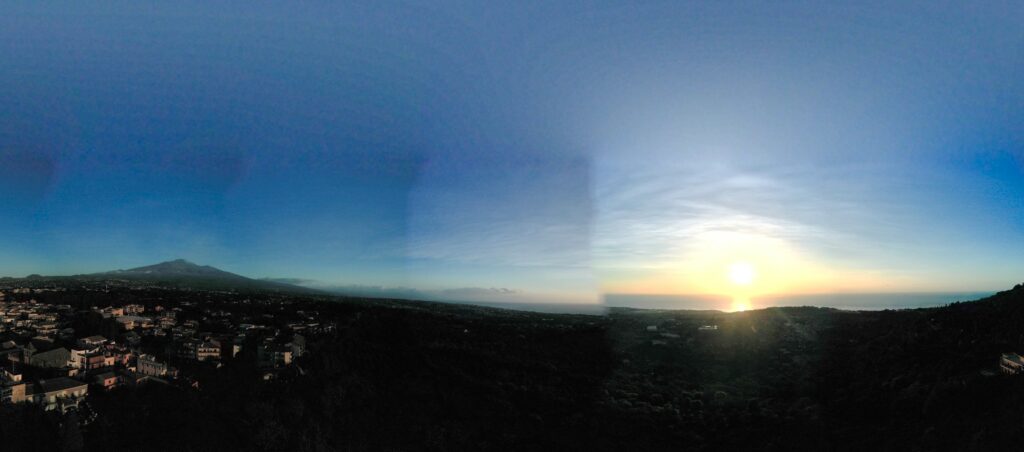
The use of polarising filters is to be avoided, as they react differently according to the angle of light creating severe banding in the sky. I also avoid using ND filters, just in case
How to Shoot a Panorama
Settings for Panorama
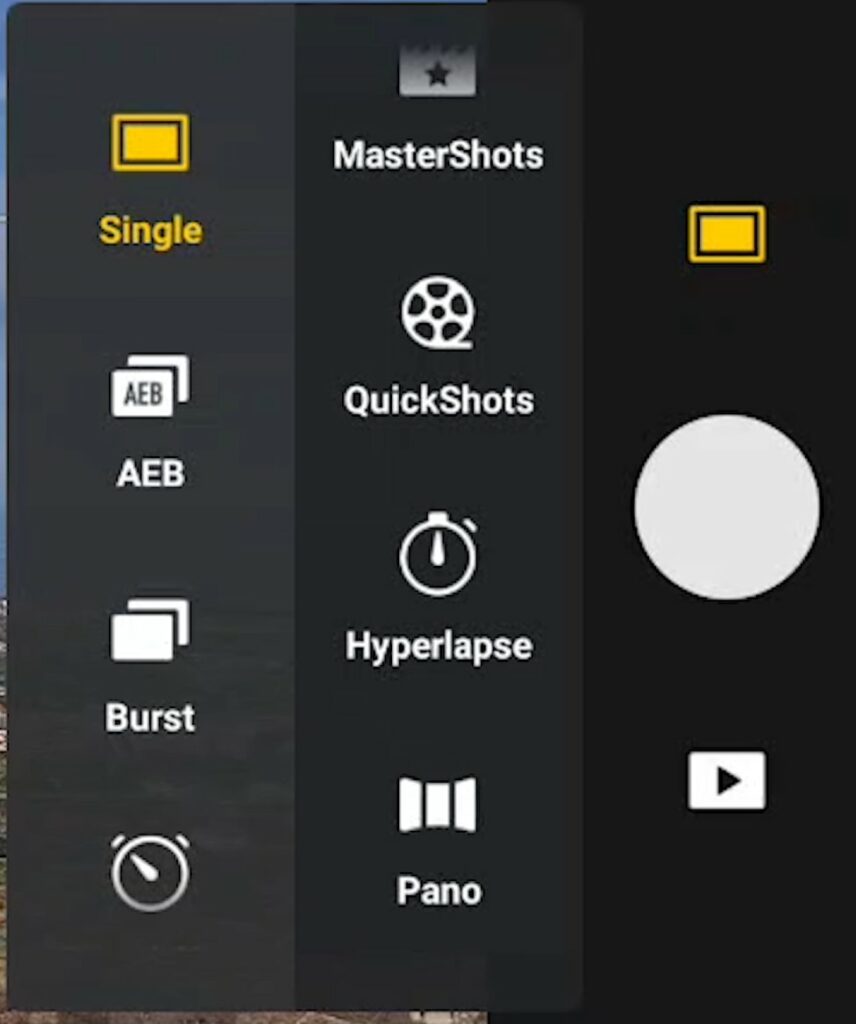
We access panorama mode via the photo video button above the shutter, on the right part of the menu, through the icon at the button
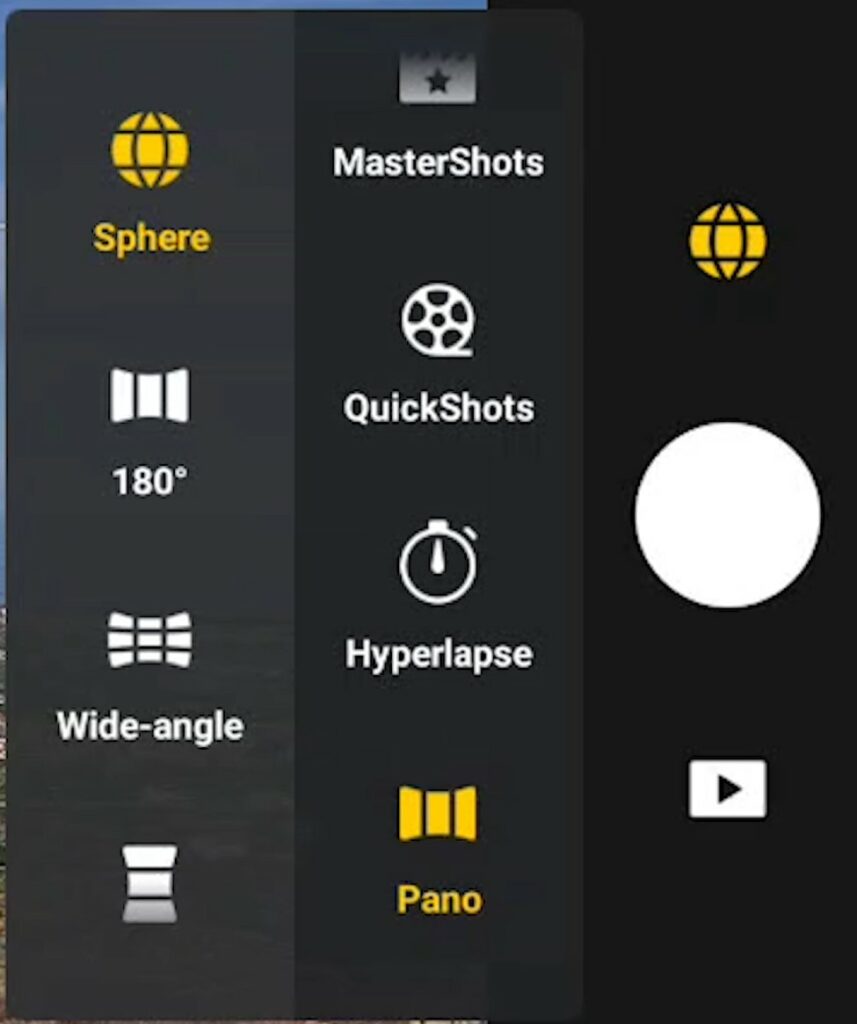
The menu to the left will display four icons for the different pano modes:
- Sphere
- 180 degrees
- Wide angle
- Vertical
Note that we can only access the panorama function when the drone is flying
File Format for Panorama: RAW or JPEG?
We can then choose whether we want to keep each photo in either RAW or JPEG format, or both
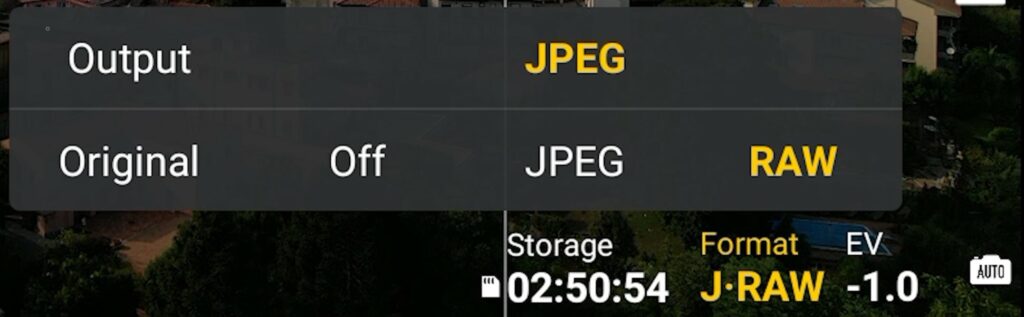
In previous models, I would always choose the RAW files and then use other programs to stitch the individual images into a panorama
The RAW photos have a strong vignette that can be easily fixed for individual photos, but when putting them together for a pano, some color banding will appear in the sky
The JPEG images have constantly improved in recent DJI models and in the Air 3 they are excellent, so I have decided to use JPEG files for this article
DJI Fly app will automatically stitch a JPEG panorama
Exposure for Panorama
We can then choose the exposure mode. If we click on the button on the bottom right, we toggle between auto exposure and manual
I always shoot videos and photos in manual exposure, but in the case of panorama images, auto exposure is handy, as it reduces the difference in luminosity between the shadows and the highlights
The Air 3 in Auto Exposure works so well that I have used it for all the images in this video
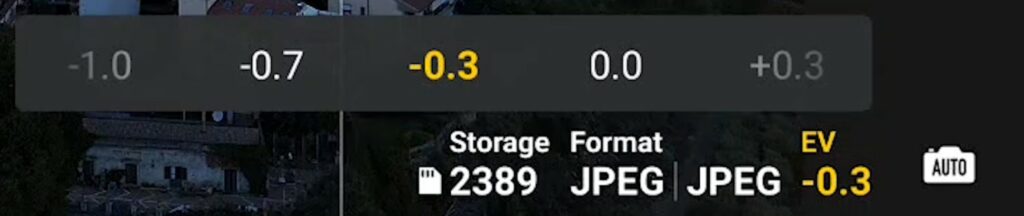
It has a very slight tendency to overexpose, although not as pronounced as the Mini 3 Pro, therefore I prefer to set the EV to a slightly negative value, of -0.3 or-0.7
.
In the camera tab of the Settings, we can set the white balance. I recommend using manual white balance to avoid unwanted shifts of colors
The Four Panorama Modes
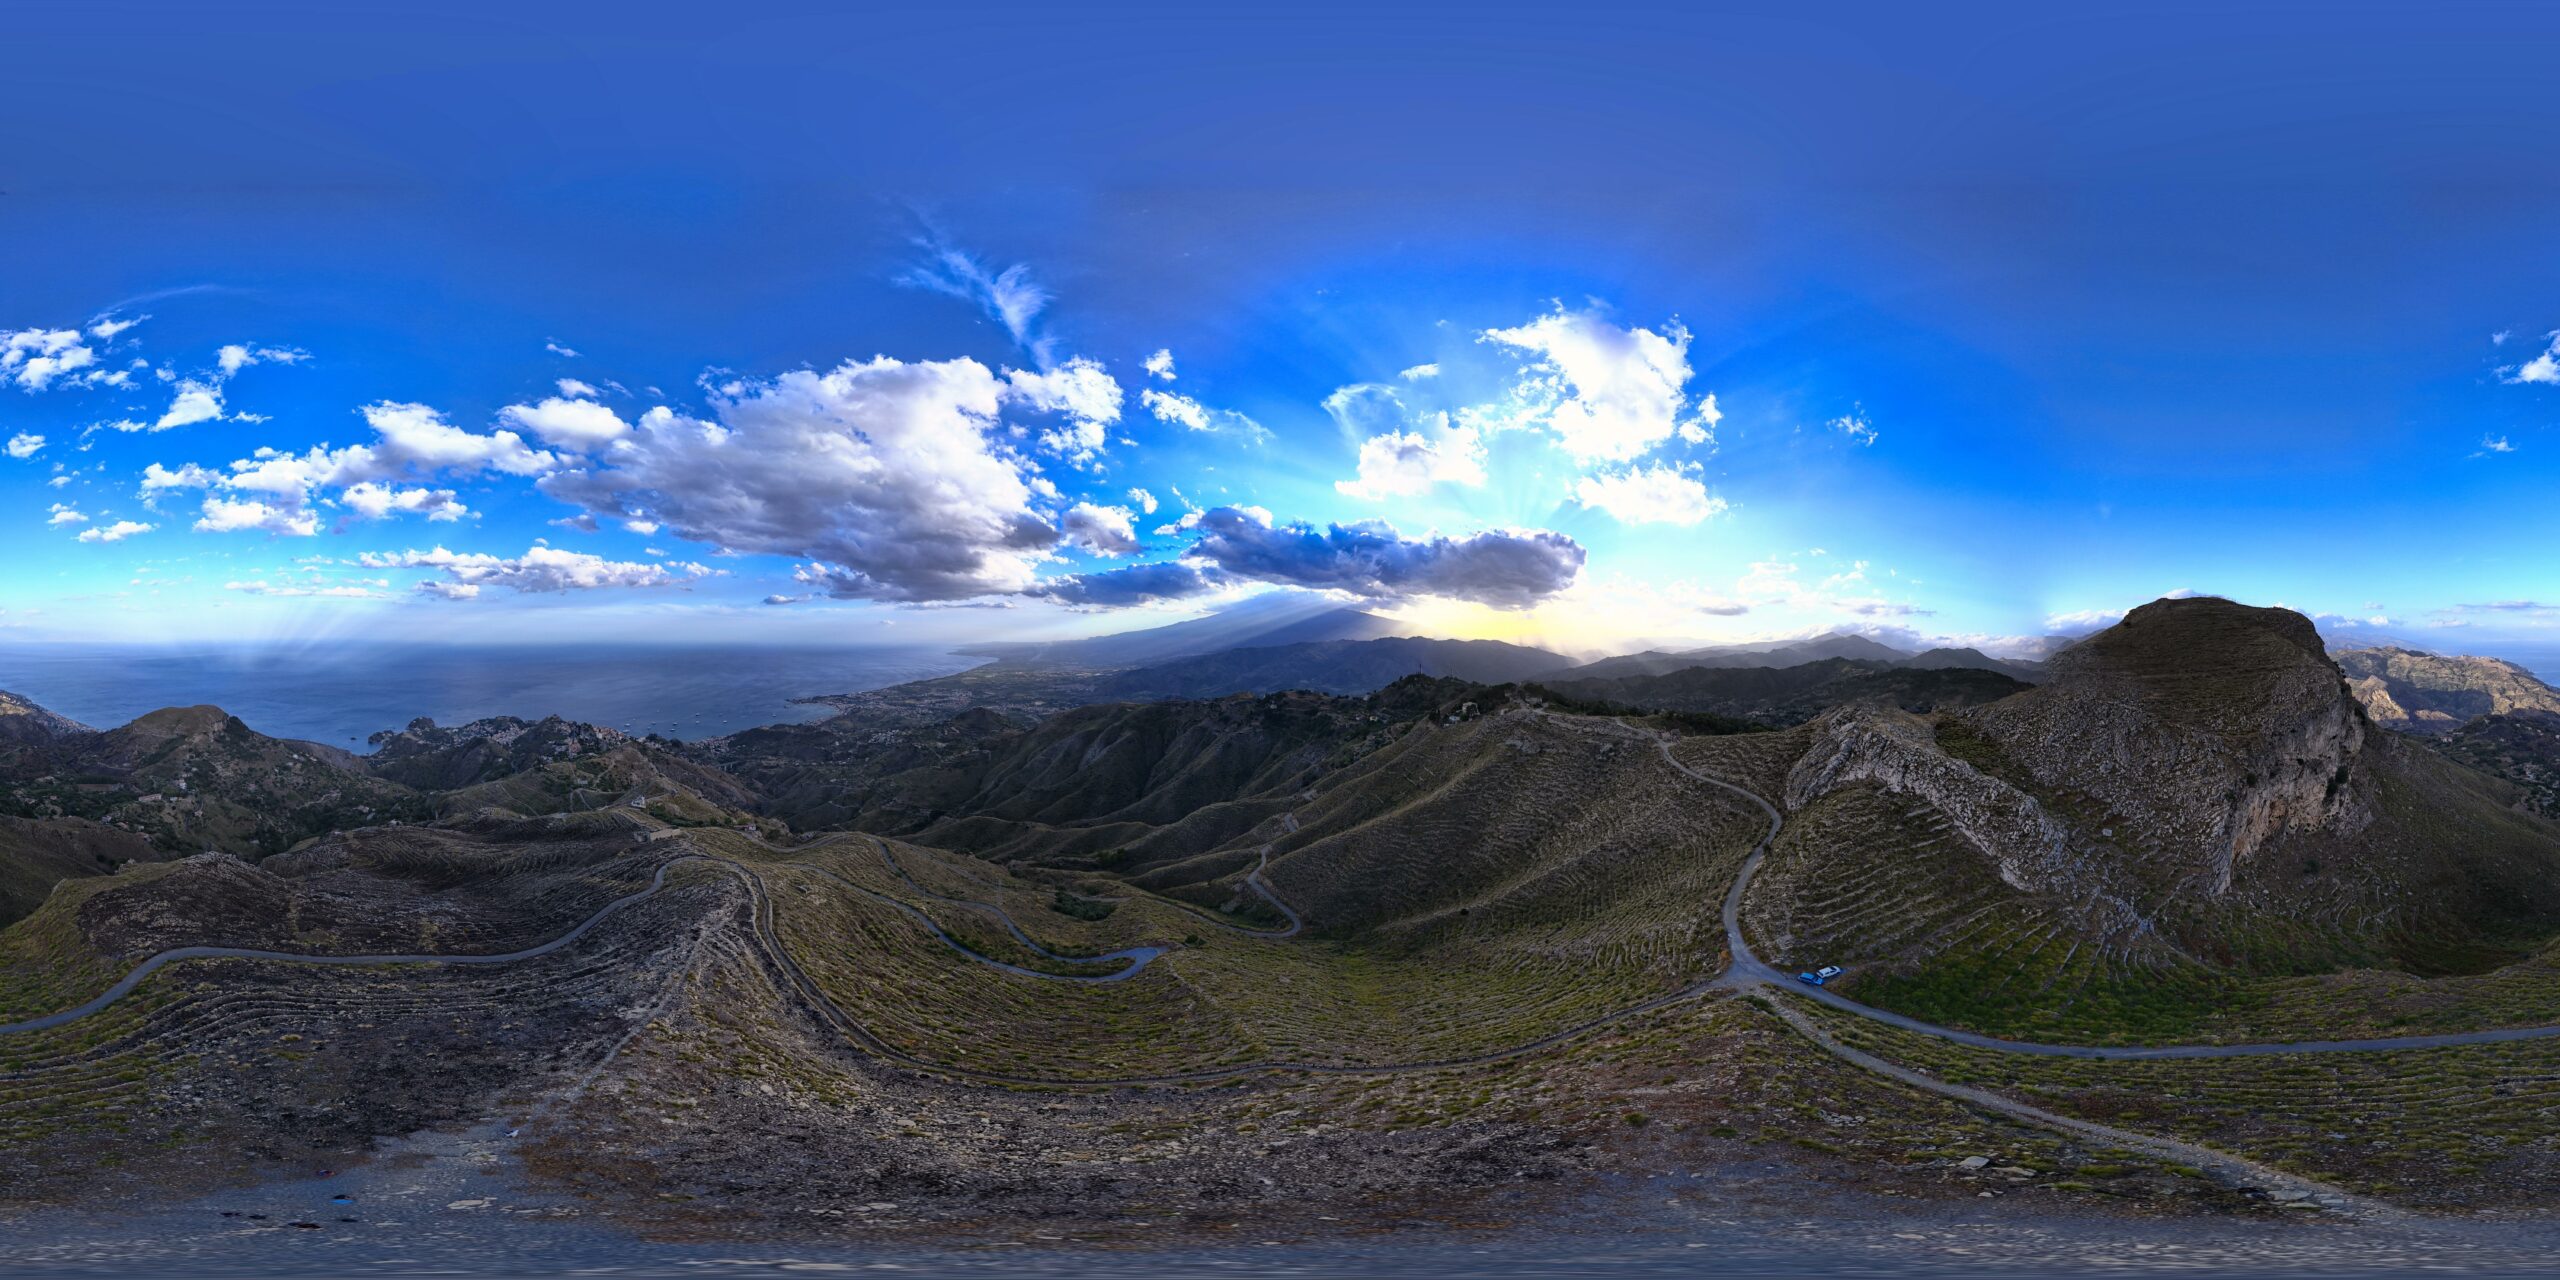
- Sphere mode, the Air 3 shoots 33 photos in rapid succession, practically a 360-degree view, more than the 26 images taken by the Mini 3 Pro 3
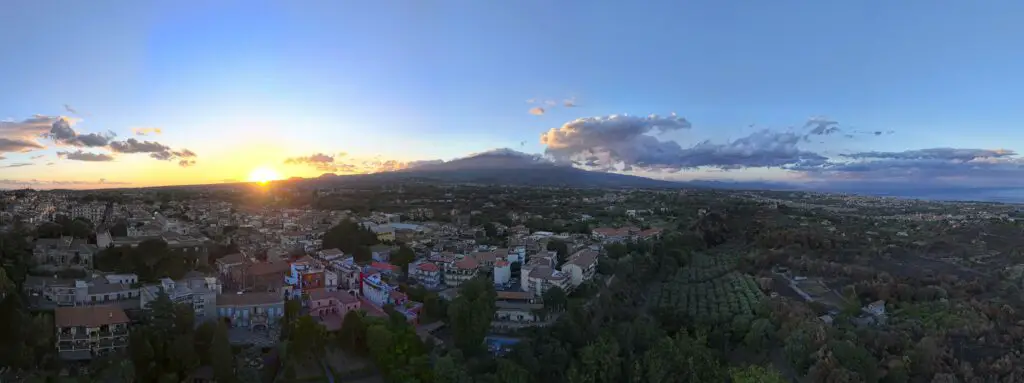
- 180-degree mode shoots 21 photos, three rows of seven photos each. In this mode, it is possible to avoid the sun in the shot, by keeping it at the back of the camera
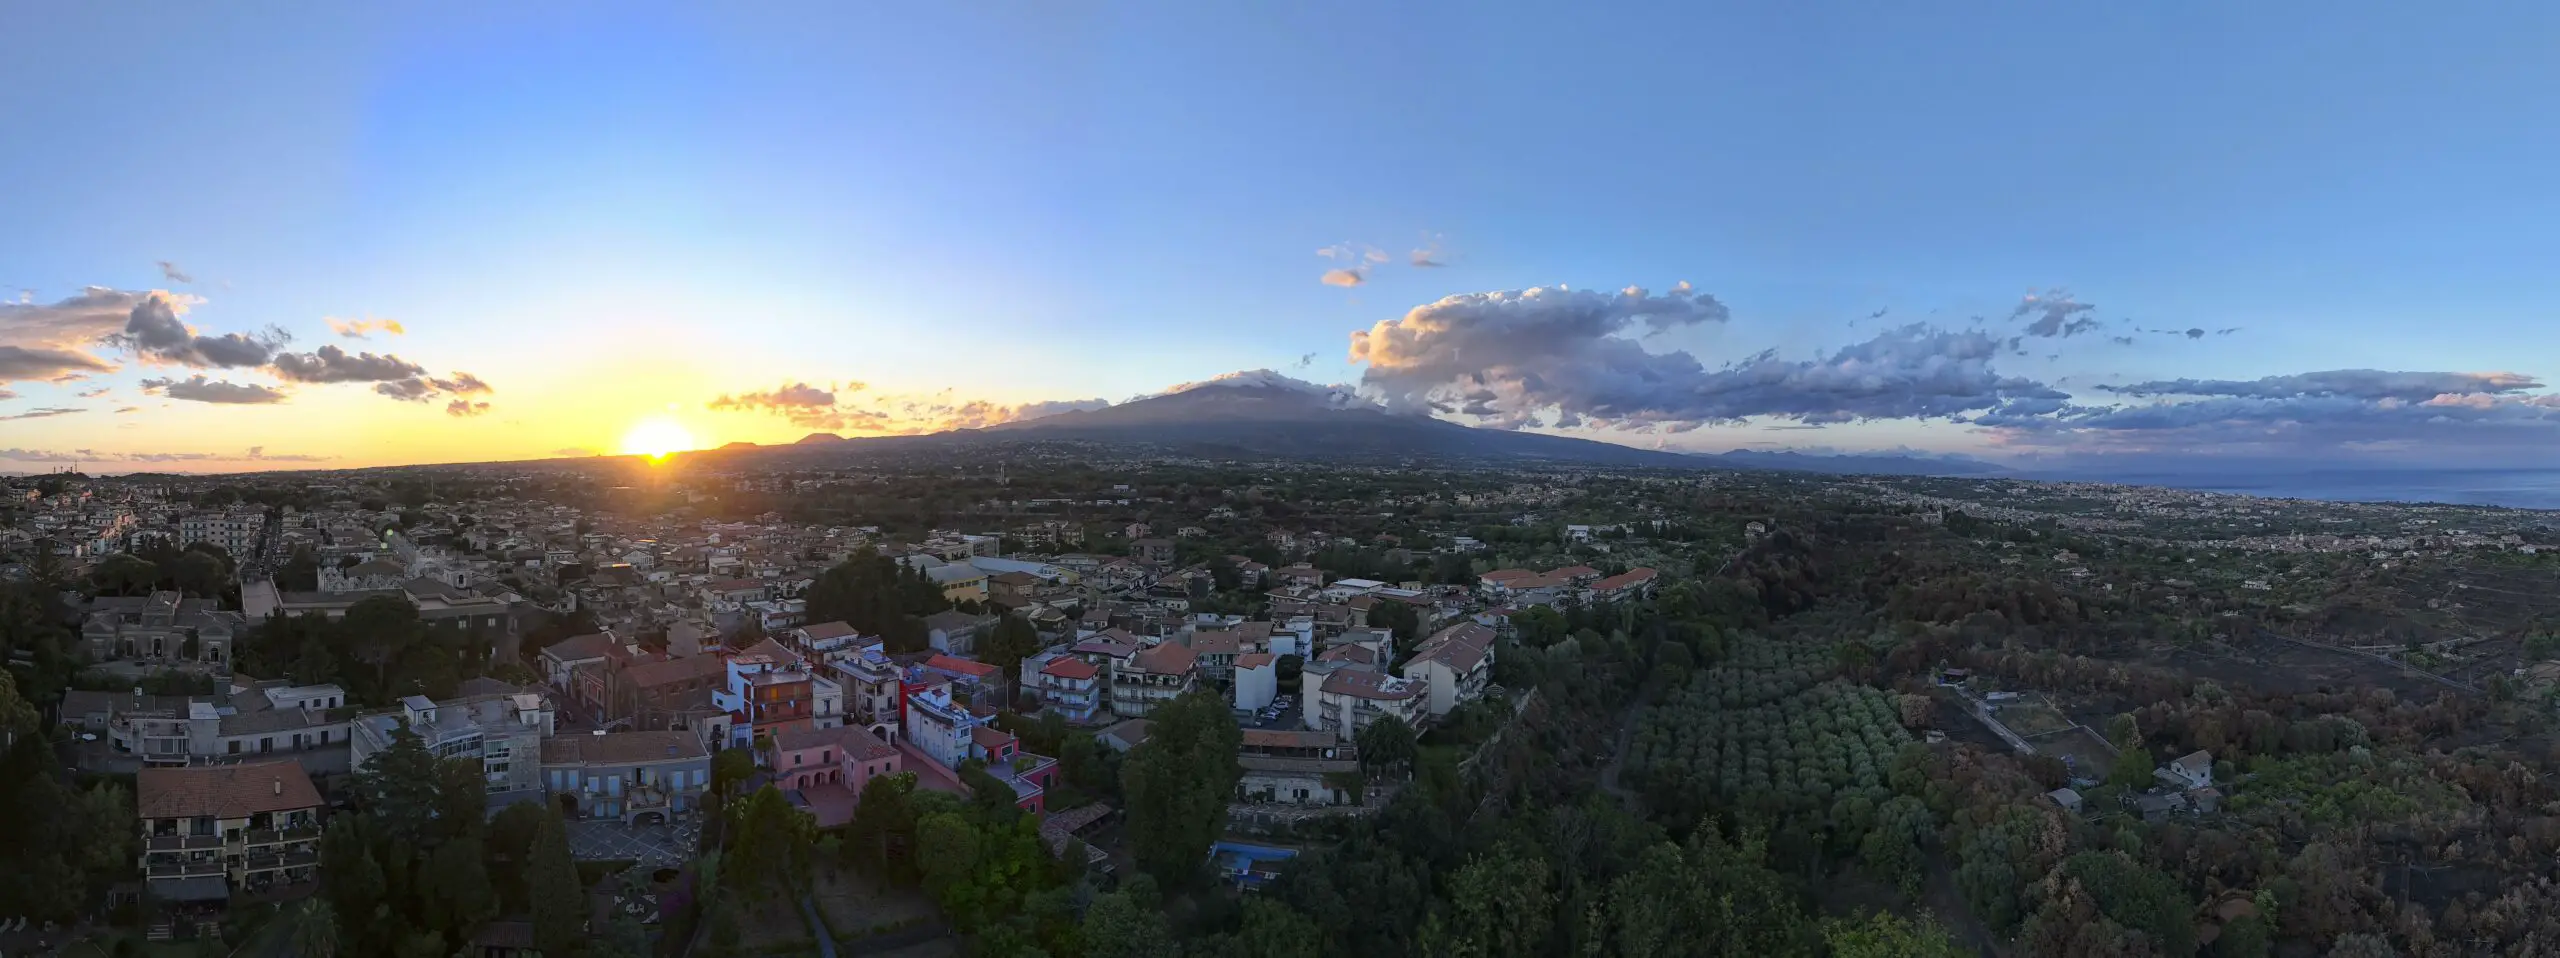
- Wide-angle mode, 9 photos are taken, three raws and three columns
- Vertical consists of a single column of three photos

While taking the photos, the drone will rotate and tilt to optimize the amount of overlap between each shot
Under the shutter icon, an indicator will show the progression of the process in percentage
After having shot all the photos, it will still be busy for a few seconds, as the app is stitching the automated JPEG panorama
Auto-Generated Panorama with the DJI Air 3
The files will be saved on the memory disk. Inside the folder DCIM, there will be two different subfolders:
- One named Panorama with a file for each panorama. Each photo will have the RAW and JPEG files if this option is selected
- Another folder named DJI-001 will contain the files of the auto-generated panoramas
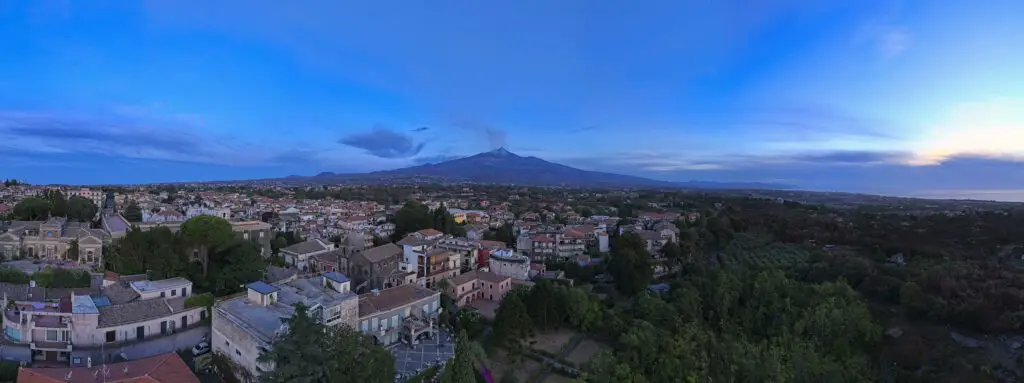
With previous models, I have never taken the auto-generated JPEG file seriously, but this functionality has massively improved, to the point that I have used it for all images in this video
The quality is outstanding and it makes the whole process much easier
In Sphere Panos, the top of the sky is missing and the software extrapolates a fake one. But the Air 3 takes advantage of the extra tilt upwards of the gimbal to reduce the size of the missing sky
Manual Panorama with the Telephoto Tens
the Panorama functionality in the Air 3 only works when the wide-angle lens is selected
But we can take advantage of the 3x zoom factor of the 70mm lens for shooting a manual panorama
In this video, I show how to do it:
Before starting the shooting, make sure to have the rule of thirds overlay by going to the Camera tab of the settings
To stitch the images properly, two adjacent photos must overlap by more than one-third and no more than two-thirds
Let’s say we want a panorama made of three rows of six photos each
We start with the left edge of the middle row. We frame the photo making sure to have a reference point matching the left line of the grid
After hitting the shutter, we pan to the right until the reference point is just outside the left edge. We make sure we have another reference point on the left line and continue this way for the six photos forming the middle row
After shooting the last photo of the middle row, we take a reference point on the bottom edge of the image and tilt the camera down until it is just above the lower line of the rule of thirds
We can now take the first image to the right of the bottom row. We do the opposite of what we did in the first row: We take a reference point on the left edge of the frame, take the first shot, and then pan to the left until the reference is beyond the first vertical line
At the end of the bottom row, we take a reference just below the first vertical line, tilt the camera up until the point is just outside the bottom of the frame and we can now take the six photos of the top row in the same way we did for the bottom one
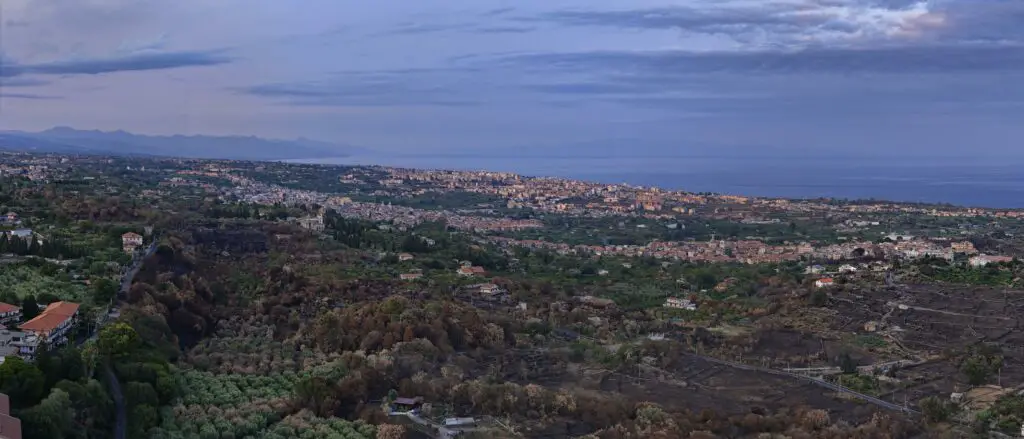
Manual Panorama with 48MP photos
With the Air 3, it is possible to shoot manual panorama photos using the 48 MP mode
Unlike the Mini 3 Pro, the 48 MP mode in the Air 3 is not in the Photo menu, but it can be selected in the Camera tab of Settings
When selecting panorama in the Photo menu to the right, the images will be taken in regular 12 MP mode, regardless of the mode chosen in the settings. In other words, Panorama mode overrides the choice made in the Settings
To get a panorama with 48MP images we need to shoot the photos manually after choosing 48MP mode in the settings, as we did for the ones taken with the telephoto lens
Here you can see the result of simple vertical panoramas in 48 MP mode, shot manually with three vertical images and stitched using On1 Photo RAW