
Drones are the perfect tools for hyperlapses, as they can move smoothly in all directions with seamless transitions between shots, like a dolly in the sky. The point of view can be positioned at different heights, thus avoiding visual obstacles and offering unexpected perspectives
The Mini 3 Pro, Air 2s, and Mavic 3 are the three models of the current DJI line offering full hyper-lapse capabilities
- The Mavic 3 (or 3 Classic) is the most expensive, and for good reasons, the flagship model is also the king of hyperlapses. Detail and color rendition are a step above. It is also the most stable in static time lapses. The very long battery life and the variable aperture add plenty of flexibility
- The Mini 3 Pro is an excellent performer, even though detail and colors are ever so slightly below the other two models. The ability to shoot vertical hyperlapses, the weight below 250 grams, and the possibility to acquire a battery with extended life make it a very desirable tool for hyperlapses, especially in urban situations
- The Air 2s has sensational colors and great detail, but the shorter battery time is an issue. The flying time is much shorter than the one of the Mini 3 Pro. It also tends to drift more than the other two models when hovering for a static time lapse. Even though I love the Air 2s for photography and videography, it is not a model I would suggest to users seriously involved in hyperlapses
I have done specific articles for hyperlapses with the three models: with the Mini 3 Pro, with the Air 2s, and with the Mavic 3
To know more about this technique, I suggest watching my in-depth article Timelapse vs Hyperlapse tutorial which applies not only to drones but also to ground-based cameras and contains some very interesting examples
I have done a Step by step tutorial for beginners on how to shoot a drone time lapse, and another Step by step guide on drone hyperlapses, I suggest them as a starting point for beginners
If You Prefer To Watch This As a Video
Hyperlapse Features
| Mini 3 Pro | Air 2s | Mavic 3 | |
| Weight | 249 grams | 595 grams | 895 grams |
| Sensor size | 1/1.3″ | 1″ | 4/3″ |
| Aperture | f 1.7 | f 2.8 | f 2.8 – f 11 |
| Photo resolution | 12 MP | 20MP | 20 MP |
| Flight time | 34 minutes (47 with Plus battery) | 31 minutes | 46 minutes |
First of all a quick look at the specs for photos of the three different models, as the quality of the individual images is the most important factor for the resulting hyperlapse
DJI Mini 3 Pro Hyperlapse Features
The Mini 3 Pro has a respectable sensor size of 1/1.3”, the smaller of the three models analyzed here, but much bigger than the one of the Mini 2. It has a very wide fixed aperture of f1.7, much wider than the other two models, and this explains the excellent performance of this model in low light and High Dynamic Range photography
The real photo resolution of the Mini 3 Pro is 12 MP and a small weakness of this drone is the slight lack of detail in elements relatively far away. There is a so-called 48 MP mode that increases detail in easy light conditions, but it is not available when shooting hyper lapses
The Mini 3 Pro is the only model that can rotate the camera to shoot vertical hyperlapses, an important feature for users active on social media platforms
Another advantage of the Mini 3 Pro is the weight below the threshold of 250 grams, for more relaxed regulations in many countries, especially for urban flying. On the other hand, this lightweight model has a lower wind resistance compared to the bigger ones, therefore I would not suggest it to users living in very windy areas
More information about Photography with the Mini 3 Pro in this article
DJI Air 2s Hyperlapse Features
The Air 2s has a bigger 1” sensor with a fixed aperture of f 2.8. The real photo resolution is 20 MP. This model is a favorite of many for photo quality, with excellent detail and very natural colors
The battery life announced by DJI is 31 minutes, the lowest of the three models. During my tests, I have noticed that the flying time is much lower compared to the one of the Mini 3 Pro, with a bigger difference compared to the one expected by the announced specs
More information about Photography with the Air 2s in this article
DJI Mavic 3 Hyperlapse Features
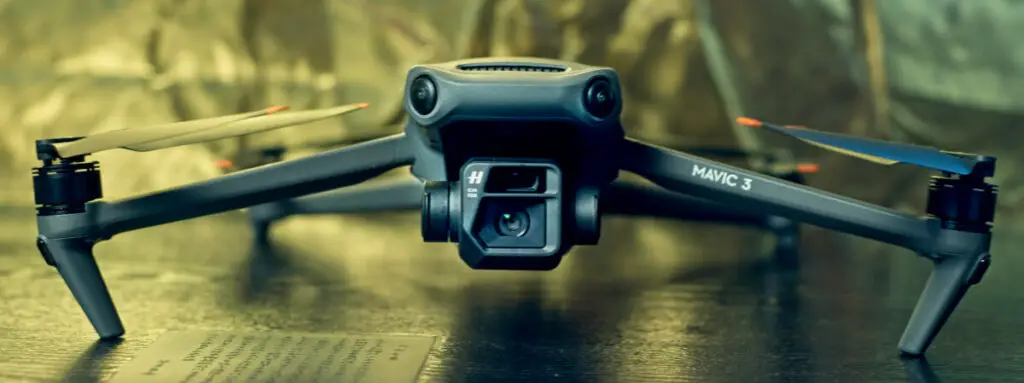
The flagship model of DJI prosumer line has a much larger 4/3” sensor and is the only one offering manual aperture, which makes exposing for hyper lapses much more flexible without the need of constantly swapping ND filters
The photo resolution is 20 MP, the same as for the Air 2s. The battery life is a whopping 46 minutes, this opens up plenty of possibilities for longer hyperlapses or for a longer interval between each photo
More information about Photography with the Mavic 3 in this article
For hyperlapses ND filters are always needed. In this article analyze Why and How to use ND filters
Hyperlapse Length and Interval between Photos
Another very important factor for hyperlapse is battery life, as this will impact the length of the resulting short movie and the frequency of shots
The minimum length for an interesting hyperlapse is 10 seconds. If possible I prefer to take 300 photos, for a final short movie of just above 12 seconds on a 24 fps timeline. In the case of transitions from day to night, longer hyperlapses would be preferable, but this is rarely possible with drones, due to battery life
| Interval between shots | Shooting time |
| 1 second | 5 minutes |
| 2 seconds | 10 minutes |
| 3 seconds | 15 minutes |
| 4 seconds | 20 minutes |
The interval between each photo is another important factor to consider. It takes five minutes to shoot 300 photos at an interval of 1 shot per second. In most cases, the interval used with drones will be 3 or 4 seconds for a shooting time of 15 or 20 minutes, which remains within the battery life of the three models, considering also the time needed to set up the hyperlapse and for a safe return to home
An interval of 3 or 4 seconds is excellent for scenes with cars, boats, and people walking. When the movement is mostly from clouds a longer interval of 5 or 6 seconds may be preferable, but it is only achievable with the Mavic 3 or with the Mini 3 Pro equipped with the special battery
The Mini 3 Pro has an announced battery life of 34 minutes, which is excellent. It is also possible to purchase a Plus battery for an announced maximum flight time of 47 minutes, I strongly recommend it to users who are serious about hyperlapses, as it opens up new possibilities in terms of the length of the movie and the interval between each shot. Sadly this battery is not available in Europe
The Air 2s has an announced maximum flight time of 31 minutes, which is below the standard of the current DJI models. With this drone we are limited to 12 second hyperlapses with a maximum interval of one photo every 3 seconds
The Mavic 3 has an announced battery life of a whopping 46 minutes. The longer flying time together with the variable aperture makes this model the ideal tool for users seriously involved in time lapses and hyperlapses
More details in my article Drone time lapse and hyperlapse for beginners
DJI Drones Hyperlapse Mode
The settings for hyperlapses in DJI Fly app are now practically the same in all three models
By far the most useful of the four hyperlapse modes is Waypoints, the one I use on most occasions. It can perform practically all sorts of complex moves in a very simple and intuitive way. It can also save missions that can be reused with just one click, and this is extremely useful
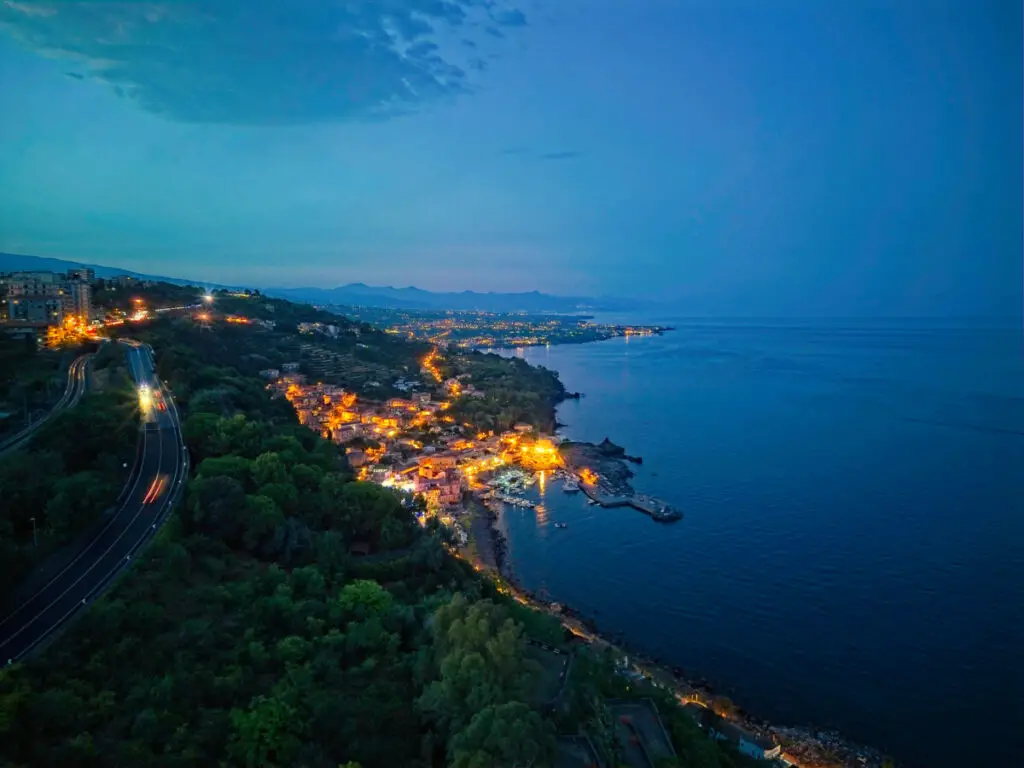
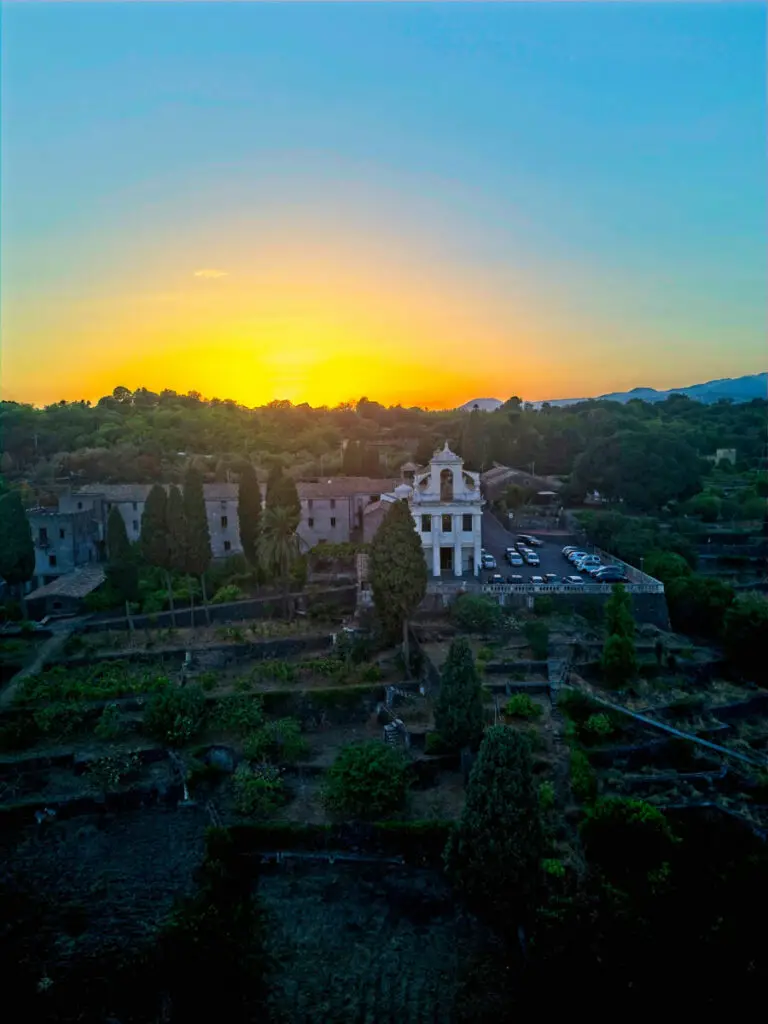
This Waypoint hyper lapse starts with the camera pointed to the ground and then moves to a view of Mount Etna including the sky, therefore the difference in luminosity is huge. The Mavic 3 handle the situation extremely well, thanks to its more extended dynamic range
I have done a specific article about Waypoint hyper lapses
The mode Course Lock can be dismissed, as the same moves can be performed in an easier and more flexible wayusing Waypoint mode
Circle mode is still useful, as a perfect orbiting move is not easy to replicate using Waypoint
Free mode is the one to use for static time-lapses, which are useful when a scene already contains a good amount of movement