Up next in 10

DJI Mini 5 Pro Waypoint Hyperlapse Missions
Show More Show Less View Video Transcript
0:00
In waypoint mode, we create missions
0:03
based on two or more points to establish
0:06
a precise spot. For each point, the
0:08
drone's position, elevation, camera
0:11
orientation, gimbal roll, gimbal tilt,
0:14
and zoom level are stored in memory. The
0:18
software will handle the smooth
0:20
transition between points.
0:23
A mission can be saved and executed at
0:25
different times of the day, under
0:27
varying light conditions, or across
0:29
different seasons.
0:32
We rarely need many points. In most
0:34
cases, I only use two or three.
0:38
You can see examples of mission made
0:40
with no more than four points in my
0:42
video about hyperlapses with Mini 5 Pro.
0:45
I will post a link at the end of this
0:47
one.
0:49
Here I will show you a mission with more
0:52
points adding several variation to each
0:54
point including some new functionalities
0:57
of the Mini 5 Pro.
1:00
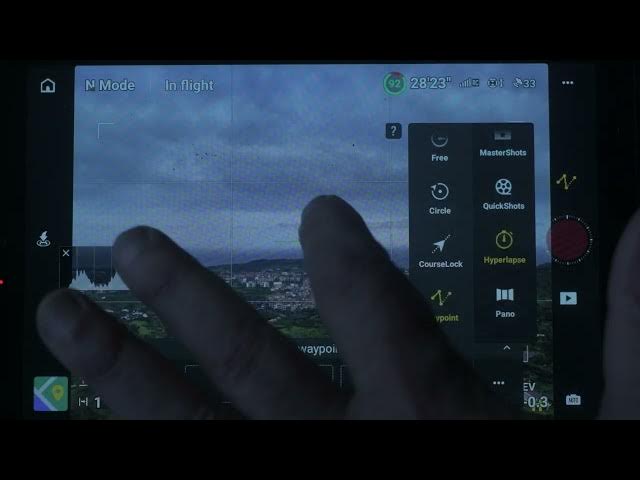
After selecting hyperlapse in the photo
1:01
video menu, a secondary one appears on
1:04
the left with the four hyperlapse modes.
1:07
We choose the one at the bottom way
1:09
points. A small window prompt us to set
1:12
waypoint.
1:14
To set the first point, I fly to the
1:16
desired location. Orient the camera to
1:19
frame the target and tap the first icon
1:22
to the left.
1:25
I want the move to start in a straight
1:26
diagonal line to the right of the
1:28
village.
1:31
So I advance for about 50 m and set the
1:34
second point.
1:39
I move ahead an additional 50 m in the
1:41
same direction and rotate the camera 45°
1:44
to the left.
1:48
Then I rotate the gimbal approximately
1:51
25 degree to the left so that the
1:53
aircraft leans into the turn similar to
1:56
a real airplane.
1:58
This is where I can place the third
2:00
point.
2:02
The aircraft will first flight straight
2:04
from point one to point 2, then initiate
2:07
the turn.
2:09
I advance by another 50 meter.
2:13
Set back the gimbal roll to zero.
2:16
rise in altitude by 10 m
2:19
and tilt the gimbal down to frame the
2:22
village.
2:24
I can set point 4 here.
2:28
I keep moving forward.
2:31
Ascend by 10 more meters. Tilt the
2:33
gimbal down to maintain the village on
2:35
the frame.
2:37
Orient the camera to the right for a
2:39
gentle curve
2:41
and rotate the gimbal to the right by
2:43
20°.
2:46
I can set five here.
2:49
Then I advance by 50 m and bring the
2:52
gimbal rotation back to zero.
2:56
I set 6 here where the curve will hand.
3:00
Finally, I advance by 100 m.
3:05
Raise in altitude by about 10 m and set
3:08
the last point.