live_tv
Livestream Starting Soon
00
Hours
:
00
Minutes
:
00
Seconds
Up next in 10

DJI Mini 5 Pro - How to Shoot a Panorama
Show More Show Less View Video Transcript
0:00
We access panorama mode via the photo
0:02
video button above the shutter on the
0:04
right part of the menu using the icon at
0:07
the bottom.
0:09
The menu to the left displays five icons
0:12
for the different modes free sphere
0:16
180°ree wide angle and vertical.
0:20
We can only access the panorama function
0:21
when the drone is flying.
0:24
We can then choose the exposure mode.
0:27
The bottom on the lower right of the
0:29
screen toggles between auto and manual
0:31
exposure.
0:34
I generally shoot video and photos in
0:36
manual exposure.
0:38
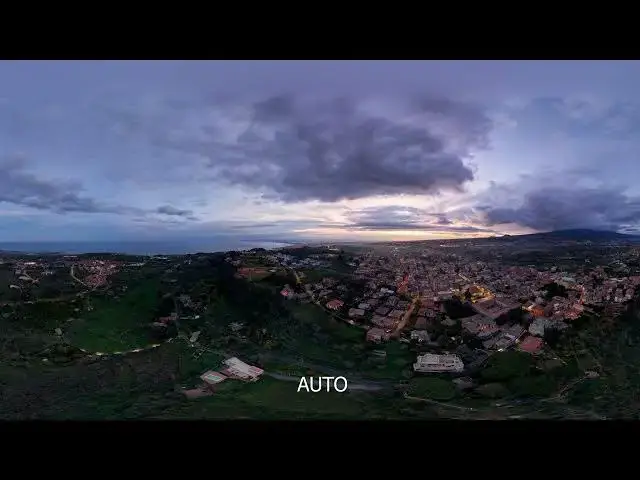
But for panoramas, auto exposure can be
0:41
used. However, it tends to add too much
0:44
light to the element on the ground.
0:47
On most occasion, I prefer the result
0:49
obtain in manual mode. But in low light
0:52
condition, I switch to auto mode.
0:56
The white balance must be set to manual
0:58
to avoid color shifts. With the Mini 5
1:00
Pro, I find the best value to be around
1:03
50 to 100 Kelvin in the light
1:06
conditions. While in low light, a higher
1:09
value is needed.
1:13
By tapping on the area on the left of
1:15
the exposure button, a small windows
1:17
opens
1:19
in the tab original. We can opt to save
1:21
the file of each photo composing the
1:23
panorama in RAW or JPEG format.