live_tv
Livestream Starting Soon
00
Hours
:
00
Minutes
:
00
Seconds
Up next in 10

DJI Mini 5 Pro MasterShots - Settings
Show More Show Less View Video Transcript
0:00
We find master shot in the right part of
0:02
the photo video menu, but it is
0:04
available only when the drone is flying.
0:07
Both auto and manual exposure are
0:09
available.
0:11
During each master shot, the aircraft
0:13
and the gimbal alternate top- down view
0:15
with other facing forward including the
0:18
sky.
0:19
This leads to important shift in
0:21
luminosity.
0:23
For good results, it is crucial to
0:25
expose correctly.
0:28
With auto exposure, the software
0:30
compensate for the different intensity
0:32
of light, creating noticeable shift in
0:35
luminosity.
0:37
A clear sign of an amateur job.
0:45
It is better to use manual exposure to
0:48
control luminosity and then adjust the
0:50
shadows while editing.
0:54
By planning the shots in advance, we can
0:56
reduce the difference in luminosity.
1:01
Better results are obtained by shooting
1:03
around sunrise or sunset or with the sun
1:07
covered by clouds.
1:10
It is also preferable to have the sun
1:12
behind the camera.
1:16
For resolution, there is a choice
1:18
between 4K and 1080p with frame rates of
1:21
30 and 60 frames per second. The 4K
1:25
resolution applies only to the footage
1:27
recorded during the different moves
1:29
while the resolution of the
1:31
autogenerated short movies is 1080p.
1:34
All three color profiles of the Mini 5
1:36
Pro can be used normal, DLOG, M, and
1:40
HLG.
1:42
It is also possible to shoot master
1:43
shots in vertical format. Excellent news
1:47
for user active on social media
1:49
platform.
1:50
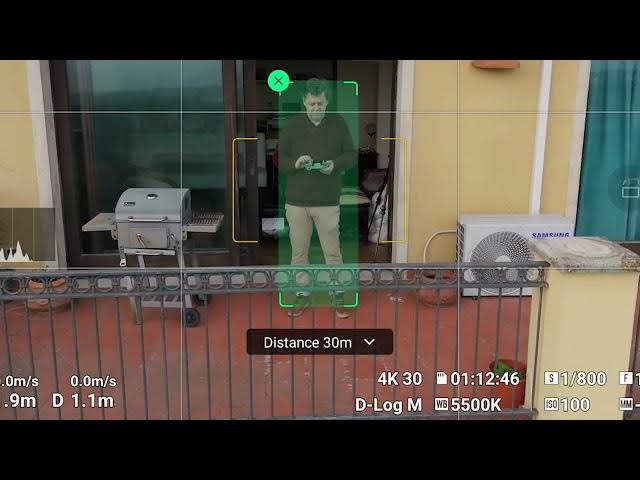
A target must be selected by drawing a
1:52
box around it.
1:55
If a person available within the frame,
1:57
it will be automatically recognized as a
2:00
target and can be selected by simply
2:02
tapping on the plus sign. In the middle,
2:06
a small window displays the estimated
2:08
flight time. By opening it, we can
2:11
select small, medium, or large for the
2:15
range of the moves. The procedure is
2:18
simplified compared to previous models
2:20
where three parameters width, length,
2:22
and height can be set to small, medium,
2:24
or large to control the distance
2:27
traveled during the shoot. With the
2:30
Mini4 Pro and the Flip, the aircraft
2:32
rises considerable in altitude. So it is
2:35
better to start from a relatively low
2:36
altitude otherwise the maximum height
2:39
will be reached and the master shot will
2:41
be aborted
2:43
even if the value small is chosen for
2:45
height.
2:46
This is very annoying.
2:50
The Mini Pro analyzes the scene and
2:52
computes its altitude remaining always
2:55
below the maximum height. A major
2:58
improvement.
3:00
The Mini 5 Pro has an excellent
3:02
omnidirectional obstacle avoidance
3:04
system. However, it is better to start
3:07
at a higher altitude that also running
3:09
obstacles.
3:11
As the master shot is aborted when an
3:13
obstacle is detected
3:15
if you notice that the aircraft is close
3:17
to unexpected obstacle, is it possible
3:20
to exit master shots by pressing the
3:22
post button on the remote controller?