Why Panorama Mode?
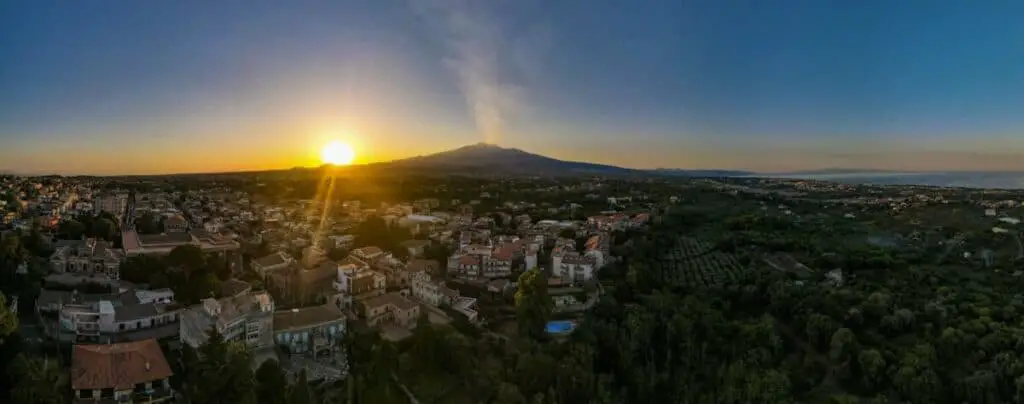
Drones are an ideal tool for panorama photography. With an aerial point of view, it is possible to achieve a comprehensive view without obstacles. In Sphere and 180° modes, there is a substantial distortion and a very unusual representation of familiar scenes. This opens the door to creativity

Another big perk of Panorama photos is the big increase in resolution, especially interesting for large format prints. For this purpose, the most useful modes are wide-angle and vertical, as they have less distortion and are therefore closer to reality. With the Mavic 2 Pro, I have reached a whopping 244MP resolution and the Air 2S has a sensor of the same size, so I expect similar results
Tips and Tricks for Panorama Photography with Drones
There are a few issues that are specific to panoramas and need to be considered when planning the shots
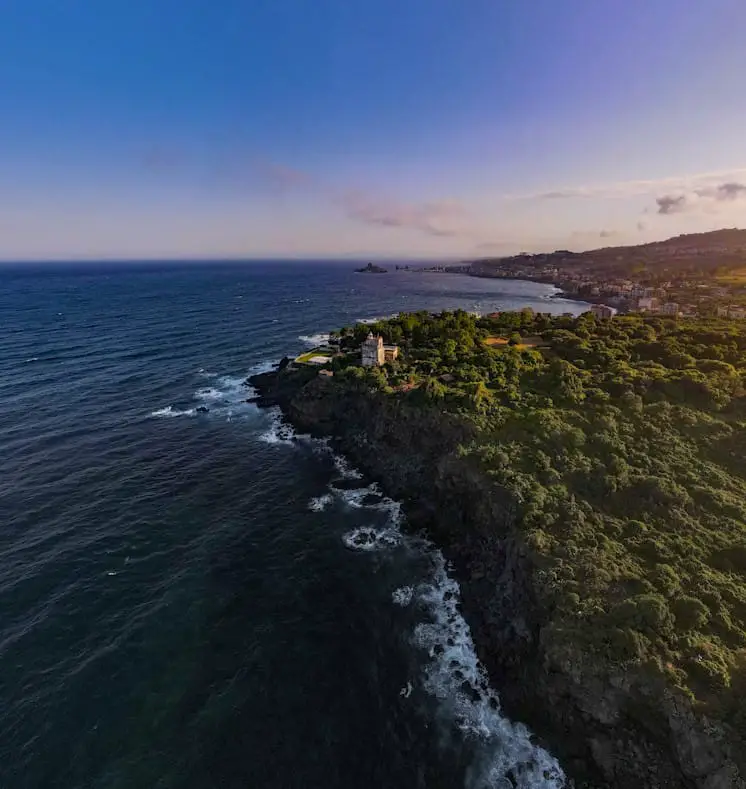
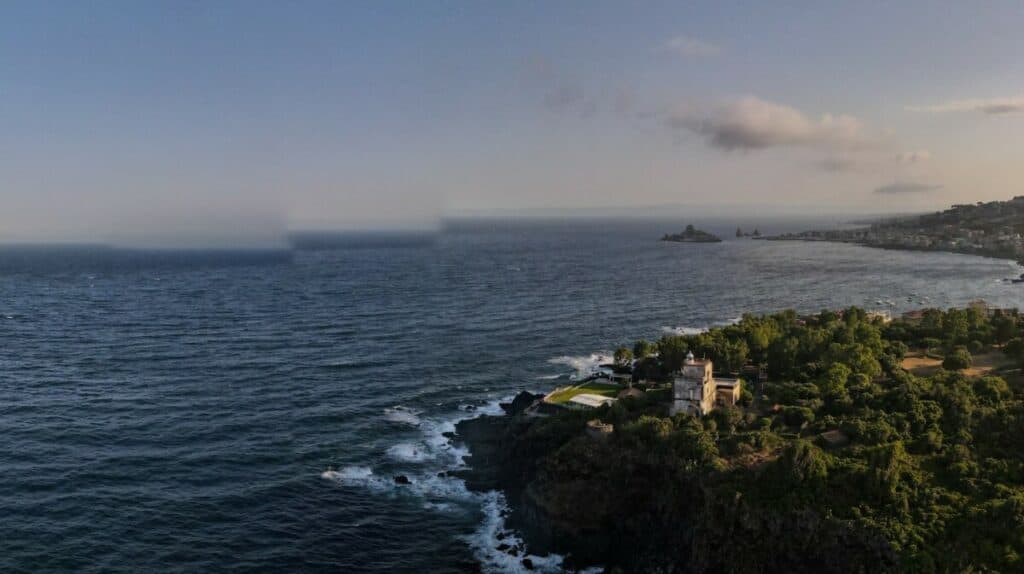
The stitching software needs several reference points to do the job properly. Therefore it is better to avoid scenes with a big portion taken by uniform elements, like water or the sky
With Sphere panoramas (and to a lesser degree with 180-degree ones) the sun will always be in the shot, as well as elements on the ground. In this case, the scene will have a huge dynamic range and it will be very hard to expose correctly
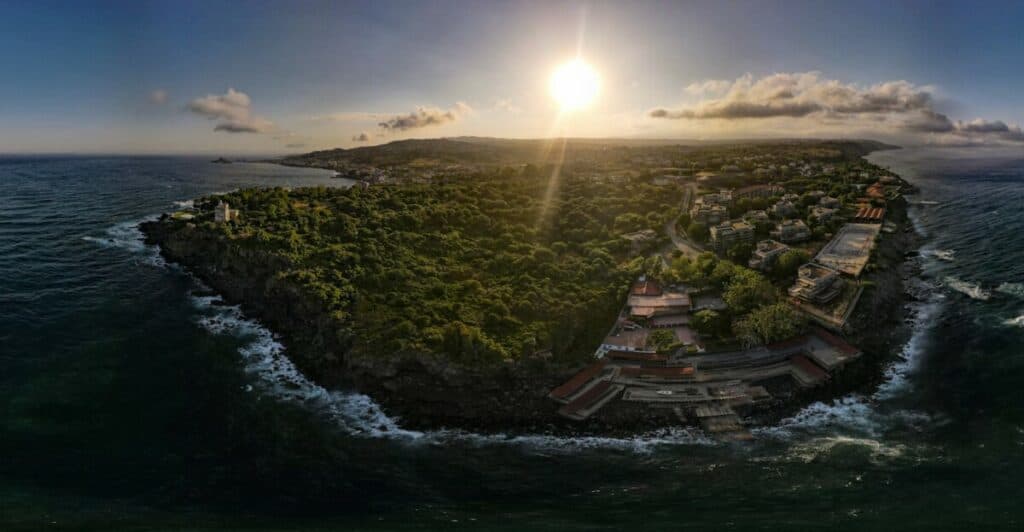
It is suggested to avoid shooting Sphere panorama with the full sun, it is better to choose a day when the sun is covered by clouds, or to shoot just after sunset, or before sunrise. It is important to expose for the highlights, making sure that the area around the sun is not overexposed, as nothing can be done to fix burnt highlights. The shadows will be very dark, but it is in most cases possible to recover them
Another thing to avoid is the use of polarizing filters, as they react differently according to the angle of light, therefore the sky will be uneven in the shots composing the panorama and severe banding can be caused.
ND filters should not cause issues, but some of them have some polarizing effects, I would suggest avoiding any filters when shooting a panorama
For editing and color grading all the images I have used the excellent Luminar Neo, the tool I use for editing and managing all my photos. Click on the link for an in-depth analysis of this program
How to shoot Panorama with the Air 2S
The Panorama function is available only when the drone is flying
We access Panorama mode via the Video/Photo button above the shutter, on the right part of the menu through the icon at the bottom. The menu to the left will display four icons for the different Pano modes
- Sphere
- 180°
- Wide-Angle
- Vertical

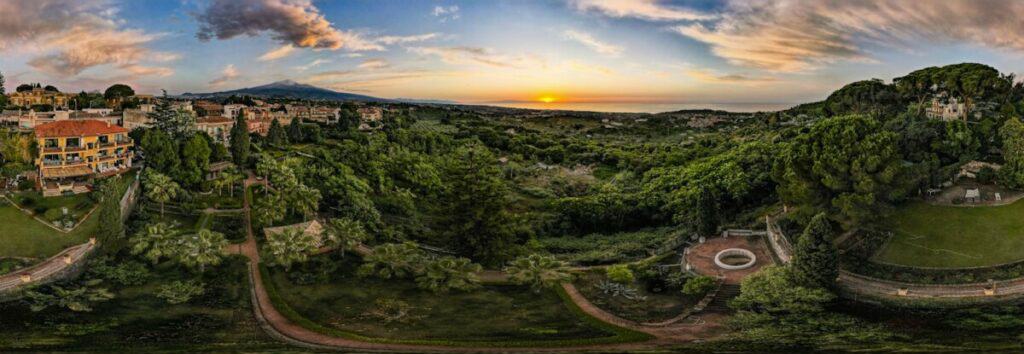
In Sphere mode 26 photos are taken in rapid succession, practically a 360 degrees view over three rows. The view is replicated in a two-dimensional space, with plenty of distortion and the proportion of the scene is modified, thus creating an unexpected and at times surreal look
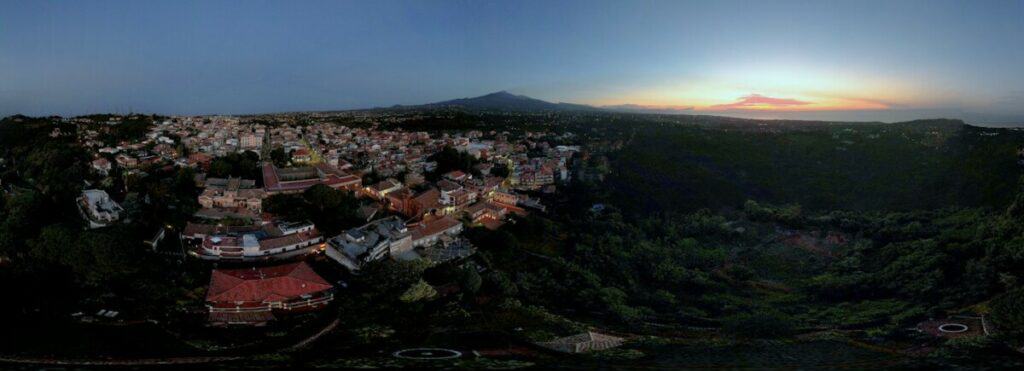
It is better to take several shots for each scene, pointing the camera in more than one direction, as the result can be very different from what is expected. Sphere panoramas can be posted on social media as interactive 360 degrees photos, the viewer will be able to move around the image. It is also possible to generate the famous tiny planet view
180 degrees mode shoots 21 photos, three rows of 7 images. It is similar to Spere, but the distortion and the surreal effect are less pronounced. It is possible to keep the sun out of the frame. It gives a sense of width to a scene

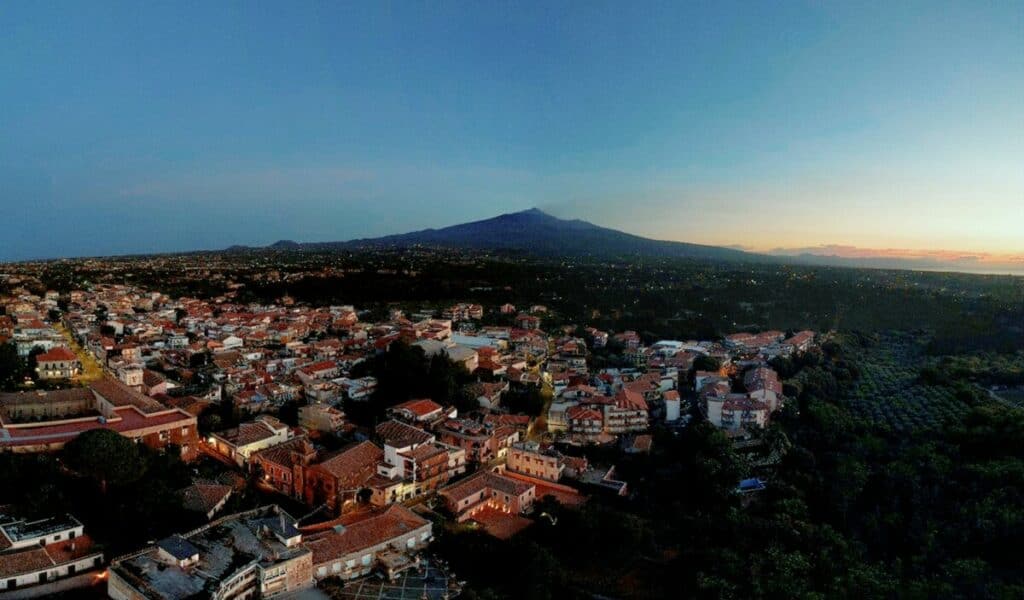
In the Wide Angle mode, 9 photos are taken, with three rows and three columns. The distortion is limited, closer to a traditional photo, but with a much higher resolution. Together with vertical, this is the best mode to use for large prints, or for deep crops
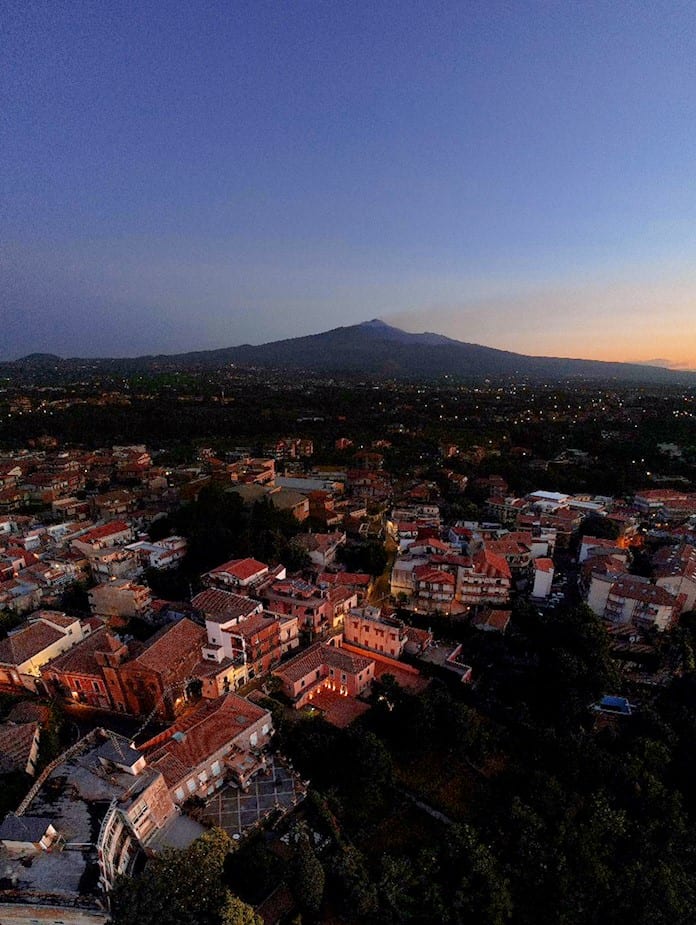
Vertical mode consists of a single column of three photos. It is more suitable for tall subjects, like buildings or mountains, or for a different perspective of a landscape
While taking the images, the drone will rotate and tilt to optimize the amount of overlap between each shot. While shooting, under the shutter icon a numeric indicator will show the progression of the process in percentage, note that after having shot all photos it will be still busy for a few more seconds, as the app is stitching the automatic JPEG panorama
How to Expose in Panorama Mode with the Air 2S
The icon on the bottom right toggles from Auto exposure to Manual (labeled as Pro). In manual mode, after tapping on the icon Auto, which will turn white from yellow, it will be possible to modify the values for ISO and Shutter Speed


In Auto mode, it is possible to modify the overall exposure by tapping on the EV icon

Auto-generated JPEG files
Right after shooting the Panorama, DJI Fly app stitches the image into a JPEG file. This file can be accessed via the album directly on the app and shared on social media. In the case of a Sphere panorama, the file can be shared as an interactive 360° image, the viewer will be able to move around the image
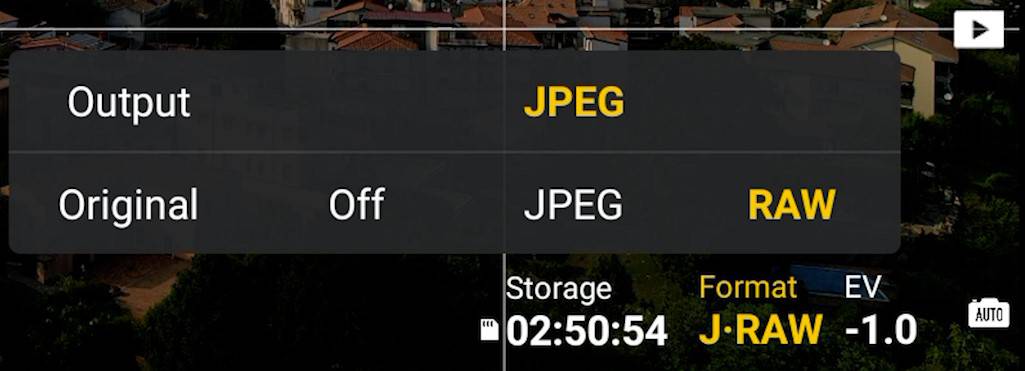
The file is also saved on the memory disk. There will be two different folders, one named Panorama, containing the individual files of each shot if this option was chosen, while another folder named 100 media will contain the auto-generated files
In previous models of the Mavic line, the quality of the JPEG file was disappointing, with severe color banding and other artifacts, but it has improved with the Air 2S. Being a JPEG file color grading capabilities are limited. With panoramas color correction is particularly important, using the RAW files is strongly suggested
Using RAW Files for Panorama Photography
It is possible to save each photo as a RAW file, color grade, and stitch the images using Lightroom or other programs. The benefit is a much wider latitude to recover the shadow and reduce the dynamic range. Due to the size of the files, Panorama photos are demanding in terms of computer resources
Several RAW editing programs like Lightroom, On1 Photo RAW, and Capture One are able to put together photos into panoramas
There are also some programs specialized in Panorama photography, some of them are free, like Hugin and Microsoft ICE. Both programs can stitch RAW files and generate a JPEG panorama; it is also possible to process the photos as RAW, export them to JPEG, and then stitch them. They are both relatively reliable, although the interfaces are rather basic
For hardcore panorama users, there is a premium software called PTGui that is considered the best option for professional panorama. It has a user-friendly interface with more control and is able to do everything related to panorama photography, including spherical interactive panorama to embed in web pages, HDR panoramas, little planet, and so on. PTGui is priced at 125 euros for the basic version and 250 for the Pro version
Related Articles
More Images and Info
In this video, examples and more information about panorama photography with the DJI Air 2S
